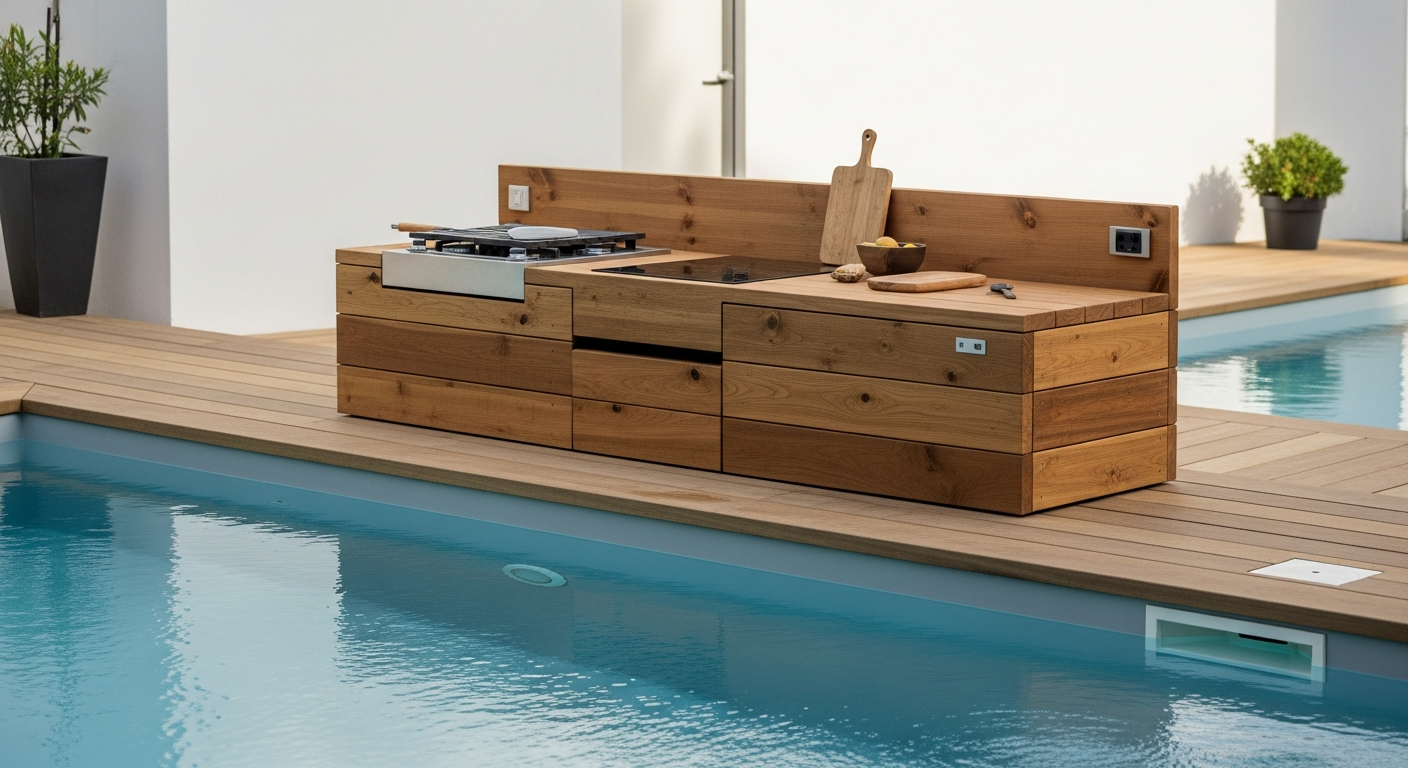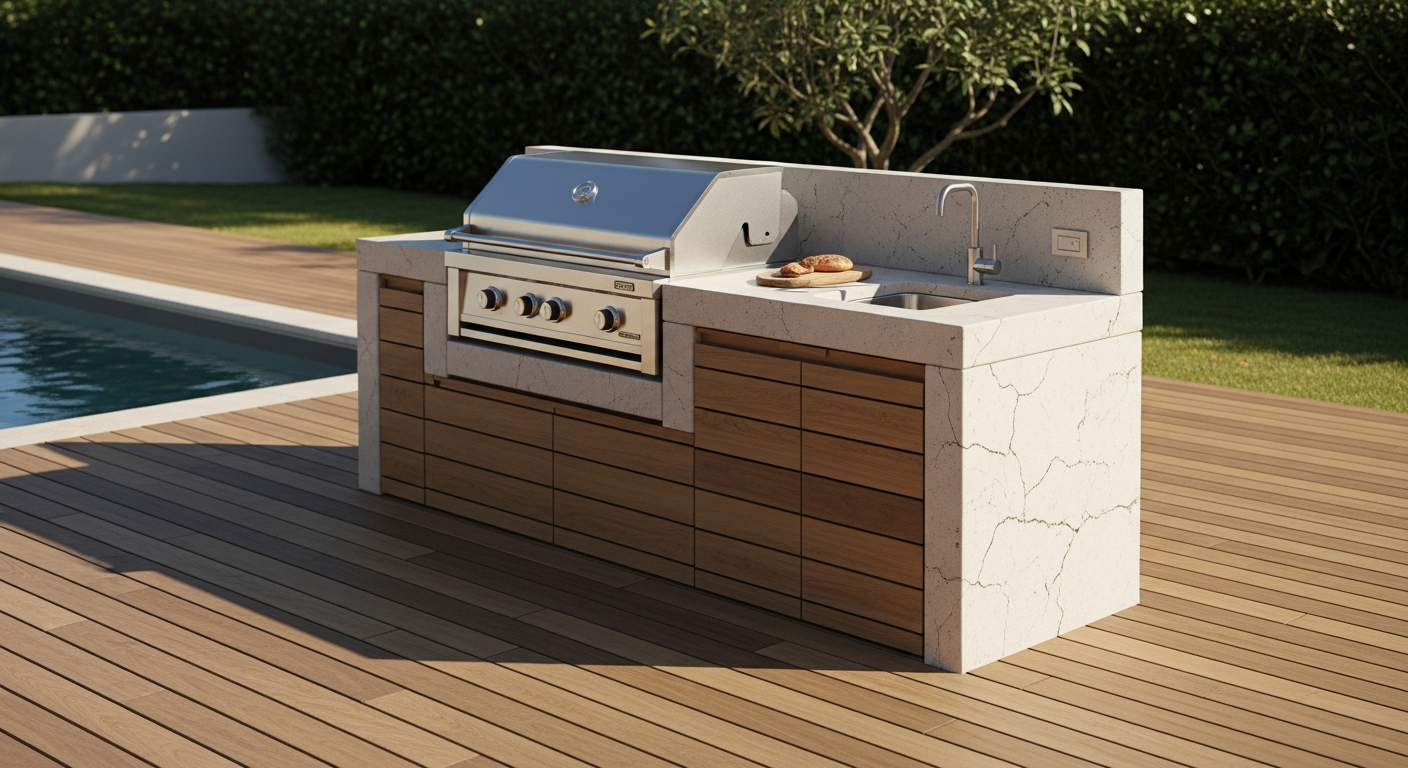
Outdoor Kitchen On Wood Deck: My Protocol to Prevent Structural Failure and Fire Hazards in Collier County
Building an outdoor kitchen on a wood deck in Collier County isn't just about aesthetics; it's a structural and safety engineering challenge. The most critical failure point I consistently find in projects from Naples to Marco Island is the underestimation of concentrated static load and improper thermal management. A typical granite-and-stainless-steel setup can easily exceed 1,500 pounds, a load most standard decks were never designed to support in a single zone. My approach bypasses the common "build and see" method, which often leads to deck sagging, joist failure, or even fire within 24 months due to our region's high humidity and intense sun. I've developed a methodology focused on reinforcing the substructure *before* a single cabinet is placed and creating a non-combustible "floating" base for the grill island. This ensures the deck not only supports the weight but is also shielded from the high heat that accelerates wood decay and creates a significant fire risk.My Diagnostic Framework: The Load Path & Thermal Shielding Protocol
Before I even consider appliance models or countertop materials, my first step is a rigorous assessment of the existing deck structure. I’ve been called to fix projects in beautiful Pelican Bay homes where a gorgeous new kitchen was built on a deck whose ledger board was inadequately attached to the house, a ticking time bomb. My proprietary protocol is a two-part analysis that prevents these catastrophic failures. First is the Load Path Analysis. I don't just look at the deck boards; I trace the entire path the weight will travel from the countertop down to the ground. This involves inspecting the joists, beams, ledger board, and, most importantly, the footings. The sandy, shifting soil in many parts of Collier County requires specific footing considerations that are often overlooked in standard deck construction. The second part is Thermal Dissipation Mapping, where I identify the heat radius of the selected grill and plan a multi-layered defense to protect the wood substructure from both radiant and conductive heat.Technical Deep Dive: Calculating Deflection and Creating a Fire-Resistant Sub-Assembly
For the Load Path Analysis, I calculate the anticipated pounds per square foot (PSF) of the kitchen island. A key mistake is averaging this weight across the whole deck. I focus on the specific joists that will bear the load. My minimum standard is to double or triple the joists directly beneath the kitchen frame, reducing the span and increasing the load-bearing capacity by over 50%. I also insist on adding mid-span blocking between these reinforced joists to prevent any lateral twisting under load. If the footings are inadequate, we add new concrete footings directly under the kitchen's primary support posts, completely isolating its weight from the rest of the deck. For the Thermal Shielding, my technique involves building a shallow frame from steel studs on top of the reinforced deck joists. I line this frame with 1/2-inch cement backer board, creating a non-combustible floor. Crucially, I maintain a 1-inch air gap between the deck boards and the bottom of this cement board assembly. This air gap is the "pulo do gato"—it prevents direct heat conduction and allows for air circulation, which is vital for preventing moisture buildup and rot in our humid climate. This system meets and exceeds local fire code requirements for clearance from combustible materials.Implementation: A Step-by-Step Build for Collier County's Climate
Executing this correctly involves precision and the right materials. The intense sun and salt air around waterfront properties demand a higher standard than inland projects. Here is the exact implementation sequence I follow.- Step 1: Substructure Fortification. Based on the load path analysis, I add new footings and support posts directly under the kitchen's footprint. All existing joists in that zone are retrofitted with an identical joist sistered alongside, fastened with structural screws.
- Step 2: Material Selection for Coastal Conditions. I specify marine-grade 316 stainless steel for all hardware, fasteners, and appliance cabinets. For any exposed wood, I recommend high-density hardwoods like Ipe or Cumaru, which are naturally resistant to the rot and insects prevalent in our area.
- Step 3: Building the Thermal Shield. I construct the steel stud and cement board sub-platform as detailed above, ensuring the air gap is maintained. All seams in the backer board are sealed with high-temperature silicone caulk.
- Step 4: Assembling the Kitchen Frame. The outdoor kitchen's frame is then built directly on top of this fire-resistant platform, not the wood deck itself. This isolates the entire structure.
- Step 5: Professional Utility Integration. I always coordinate with a licensed gas fitter and electrician for running gas lines and electrical conduits. All outdoor-rated outlets must be GFCI-protected, a non-negotiable safety requirement.
Precision Adjustments and My Final Quality Assurance Checks
The final stage is about refinement. One issue I’ve seen is vibration from refrigeration units transferring through the deck, creating a subtle but annoying hum. I mitigate this by placing neoprene vibration dampening pads between the kitchen frame and the cement board shield. Furthermore, I perform a water-run test to ensure all rainwater properly drains away from the structure and through the deck boards, preventing any pooling that could compromise the wood over time. My final sign-off only happens after a 24-hour heat cycle test, where I run the grill at a medium temperature to ensure the underlying deck structure's temperature doesn't increase by more than a few degrees. Have you already accounted for the torsional load that a cantilevered bar-top section will add to your deck's support beams, and how will you prevent that from causing joist separation over time?Written by

Tags
wooden garden storage cabinet
wood outdoor kitchen island
outdoor wood cooking station
outdoor kitchen island wood
exterior wood cabinets