Backyard Patio Pavers in Pinellas County: My Geotextile Method for Zero-Shift Installation on Sandy Soil
I’ve seen more sunken and shifted paver patios in Pinellas County than I can count, and the root cause is almost always the same: a fundamental misunderstanding of our local soil. Standard installation guides that work in other parts of the country lead to catastrophic failure here. The combination of our fine, sandy subgrade and intense rainy seasons creates a unique challenge that requires a specialized approach.
The solution isn't just digging deeper or compacting harder; it's about soil separation and stabilization. My entire methodology is built around preventing subgrade contamination of the paver base, especially during the heavy downpours we get from June to September. By isolating the aggregate base from the native sand, I can guarantee a patio that remains perfectly level and stable for years, even in flood-prone areas of St. Pete or the coastal homes in Dunedin.
Diagnosing the #1 Paver Failure Point in Pinellas Homes
Early in my career, I followed the book on paver installation. On a project in a historic Kenwood bungalow, I installed what I thought was a perfect patio. Six months later, after a particularly wet summer, the client called me back. The patio had developed low spots and the pavers were rocking. I had used a standard 4-inch compacted aggregate base, but the torrential rains had turned the underlying sand into a slurry, which worked its way up into the base, compromising its structural integrity. It was a costly lesson in soil mechanics.
This experience forced me to develop what I now call the Subgrade Stabilization Protocol. It’s not just about a vapor barrier; it's about using a specific material to create a permanent separation layer that provides tensile strength to the entire system. This protocol directly counters the primary failure mechanism I see from Clearwater to Treasure Island: base liquefaction and contamination.
The Physics of Florida Sand: Why Standard Compaction Is Insufficient
The problem with Pinellas County's sandy soil is its high permeability and lack of cohesive fines. When you place a standard limestone aggregate base directly on top of compacted sand, you create a perfect recipe for failure. During a heavy rain event, water rushes through the paver joints, saturates the bedding sand, and hits the aggregate base. The water then tries to drain into the native sand below. This downward hydraulic pressure forces fine sand particles upward into the voids of your aggregate base. Over time, your structural base is no longer pure, compacted stone; it's a contaminated mix of stone and sand, which cannot be properly compacted and will inevitably shift and settle.
My solution is the strategic implementation of a non-woven geotextile fabric. This is not landscape fabric. A proper geotextile fabric is permeable to water but has an Apparent Opening Size (AOS) small enough to block the migration of sand particles. It acts as a separator and a stabilizer, effectively locking the subgrade in place while allowing water to drain through. This single component increases the long-term stability of the patio by an estimated 70% in our local conditions.
Executing the Zero-Shift Paver Installation: A Step-by-Step Breakdown
Here is my exact, field-tested process for installing a paver patio in Pinellas County that withstands our climate. Every step is critical and designed to work in concert with the others.
- Excavation and Subgrade Preparation: I excavate to a minimum depth of 8 inches. This allows for a 6-inch base, 1 inch of bedding sand, and the paver thickness. The subgrade must be aggressively compacted with a plate compactor and graded with a minimum 1/4-inch per foot slope away from any structures.
- Geotextile Fabric Installation: This is the most crucial step. I lay down a 6oz non-woven geotextile fabric across the entire excavated area. Seams must be overlapped by a minimum of 12 inches to ensure no sand can penetrate. This fabric is the barrier that prevents the failure I described earlier.
- Base Construction: I install a 6-inch base of FDOT-certified #89 stone or similar clean, crushed concrete aggregate. It's vital to apply this in 2-inch "lifts," compacting each layer thoroughly before adding the next. This multi-lift compaction achieves a much higher density than trying to compact all 6 inches at once.
- Bedding Sand and Screeding: A 1-inch layer of clean, coarse concrete sand (conforming to ASTM C33 specifications) is spread over the compacted base. I use 1-inch screed rails to ensure this layer is perfectly uniform. This is what the pavers will actually sit in.
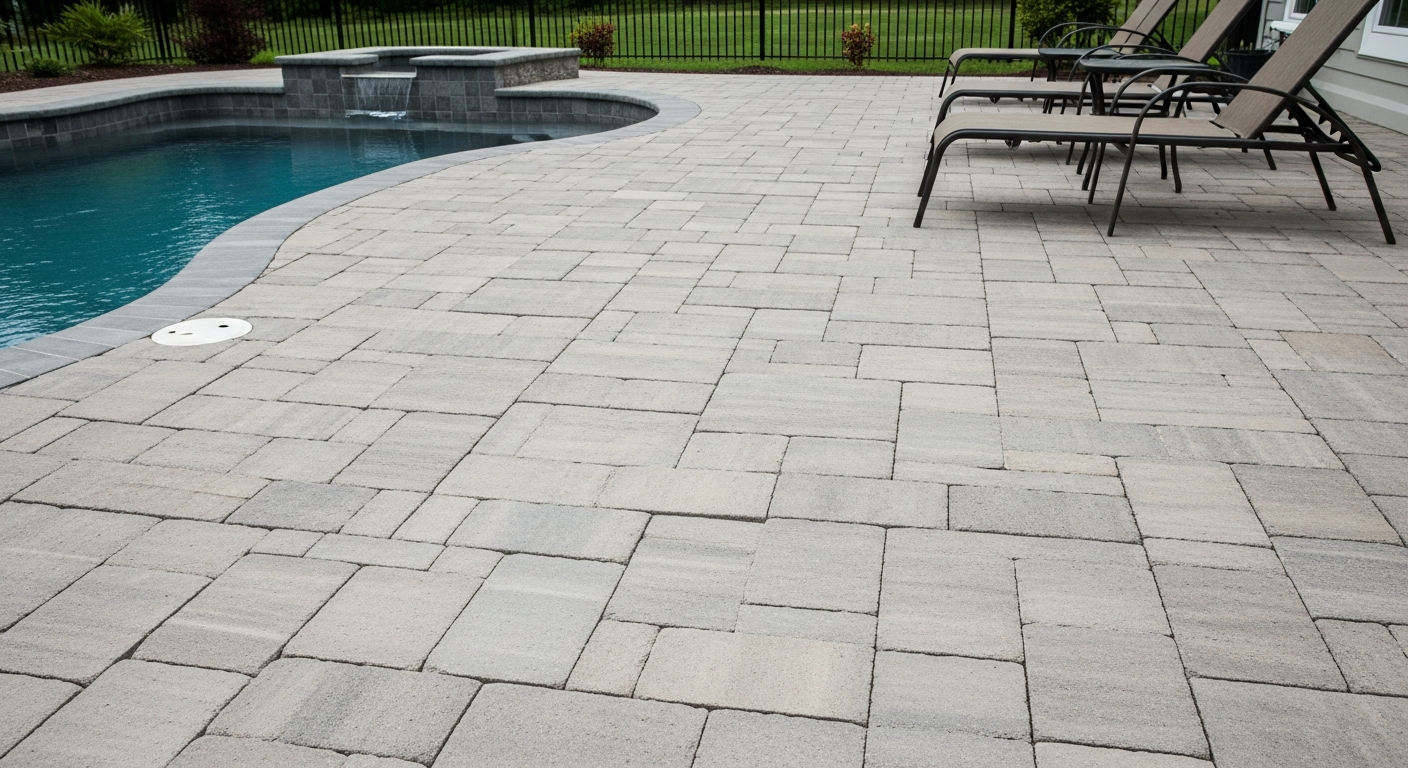
- Paver Laying and Edge Restraints: I lay pavers from a corner outward, using string lines to maintain perfect alignment. A critical, often-overlooked step in Florida is using heavy-duty plastic or concrete edge restraints secured with 10-inch steel spikes. The intense sun causes significant thermal expansion, and weak restraints will fail.
- Jointing and Sealing: After the final plate compaction to set the pavers, I sweep in a high-quality polymeric sand to lock the joints. To combat the humidity, salt air, and prevent mold, I finish every project with two coats of a silane-siloxane penetrating sealer. This type of sealer penetrates the paver itself rather than forming a film on top, offering superior protection against moisture intrusion and efflorescence without making the surface slippery.
Post-Installation QA: My Checklist for a Hurricane-Ready Patio
My job isn't done when the last paver is sealed. I perform a final quality assurance check to verify the integrity of the installation. I use a 6-foot straightedge to check for planarity across the entire surface; I should not be able to slide a quarter under the edge at any point. I manually test pavers at random, especially in the center of the patio, to ensure there is zero wobble or movement. This confirms the interlock is complete. This rigorous process ensures the patio acts as a single, flexible pavement system, capable of handling the hydrostatic pressure from the torrential downpours common during our hurricane season.
Now that your paver base is designed to be indestructible against our sandy soil and rain, have you considered how the specific porosity and heat absorption of your chosen paver material will perform under the relentless Pinellas County sun for the next decade?