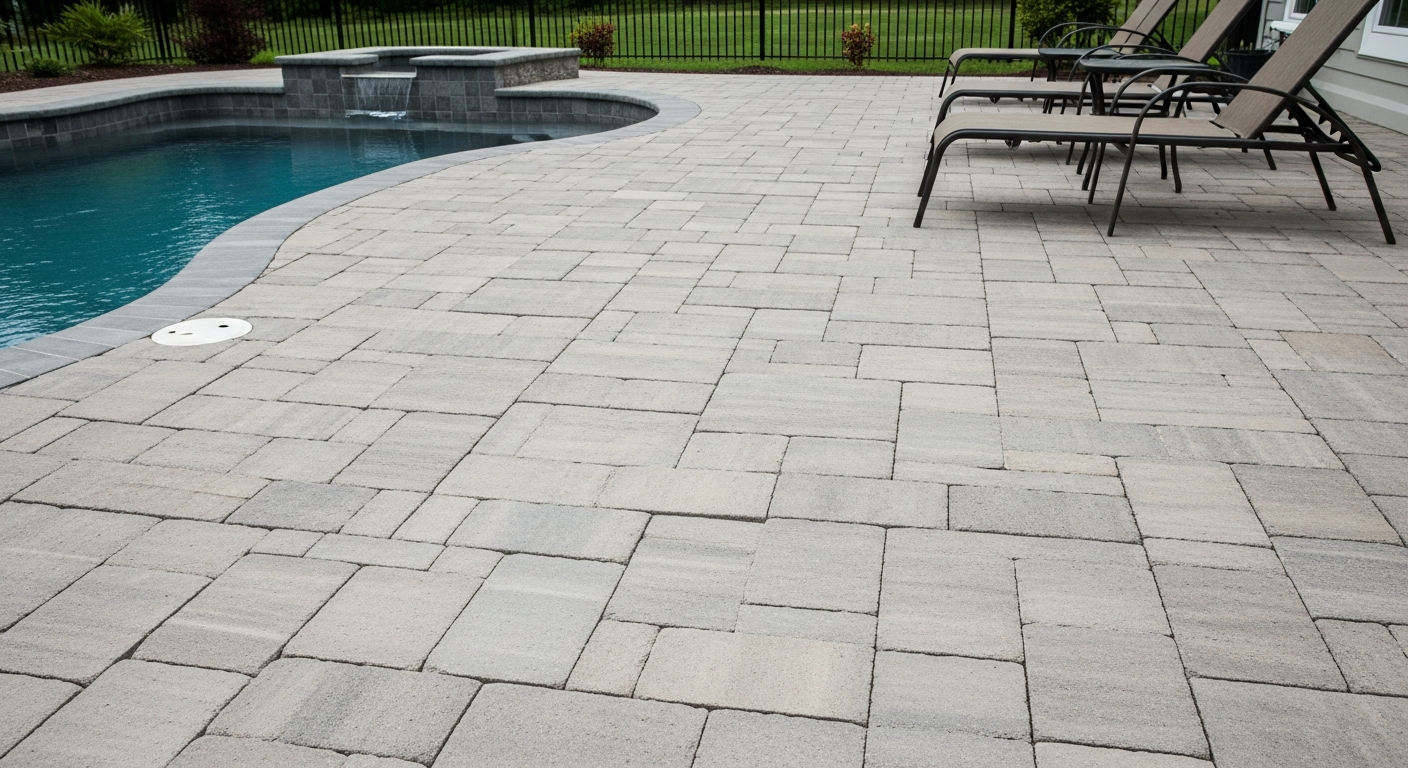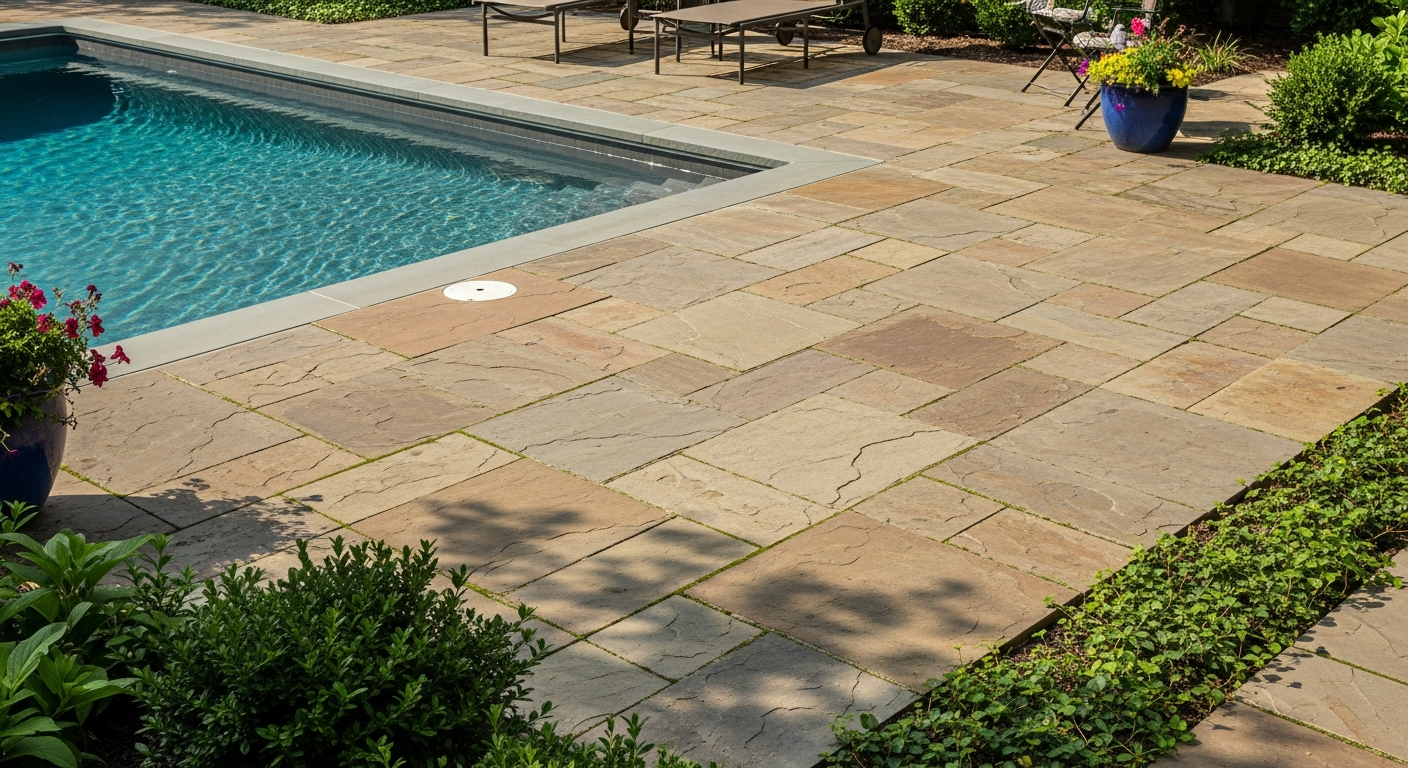
Backyard Stone Patio in Osceola County: My Protocol for 30-Year Integrity Against Soil Subsidence
I’ve repaired more sunken and cracked stone patios in Osceola County than I can count, particularly in the newer single-family home developments around St. Cloud and Kissimmee. The common thread isn't the quality of the stone; it's a fundamental misunderstanding of our local soil composition. The biggest mistake I see is contractors applying a generic, one-size-fits-all base preparation method to our sandy, poorly draining soil, which guarantees failure within three to five years. My entire approach is built around defeating the two primary local enemies: torrential rain and sub-base erosion. A beautiful patio is worthless if the ground beneath it shifts after the first intense summer storm. My protocol focuses 90% of the effort on creating a geotechnically sound, water-permeable foundation that remains stable for decades, a step that most crews rush or completely overlook.The Core Diagnostic: Why Standard Patio Bases Fail in Central Florida
My methodology, which I call the Osceola-Specific Layered Compaction Method, was born from a costly lesson on a project in Celebration. The client had a beautiful flagstone patio that had developed a severe "belly" in the center after just one rainy season. The original installer used the standard 4-inch gravel base. For our region, this is a critical error. The fine sand particles of the native soil had worked their way up into the gravel base during heavy rains, while the gravel was simultaneously pushed down, creating a void. The result was a catastrophic sinking of the pavers. This failure analysis is the foundation of my work. Standard methods fail because they don't account for soil migration. My diagnostic process always begins with a soil assessment. I'm not just looking at the topsoil; I'm evaluating the compaction and drainage characteristics to determine the precise depth and aggregate composition required. A patio built on the sandy soil near East Lake Tohopekaliga requires a different sub-base specification than one on the denser clay-mix soil you might find further west.Technical Breakdown of the Layered Compaction Sub-Base
The secret to longevity isn't just digging deep; it's about creating distinct, functional layers that work together to manage water and prevent soil mixing. Here’s the technical composition of the sub-base I engineer for every Osceola County project:- Geotextile Barrier: This is the most crucial, non-negotiable element. I exclusively use a non-woven polypropylene geotextile fabric (at least 6 oz./sq. yd.). This fabric acts as a separator, allowing water to pass through freely but physically preventing our fine Florida sand from contaminating the aggregate base. It's the line of defense against erosion from below.
- Drainage Layer (#57 Stone): The first layer of aggregate is a 4- to 6-inch base of clean, angular #57 stone. Its larger size creates significant voids, allowing massive amounts of water from our afternoon downpours to drain through quickly without saturating the base.
- Leveling Layer (#89 Stone or Granite Screenings): On top of the #57 stone, I lay a 2-inch layer of smaller, finer #89 stone. This layer locks into the larger stone below but provides a smoother surface for the next step, preventing the bedding sand from filtering down.
- Compaction KPI: Each of these aggregate layers is laid in 2-inch lifts (layers) and compacted with a plate compactor until a minimum Proctor density of 95% is achieved. Anything less results in slow, long-term settlement.
Implementation Protocol: From Excavation to Final Lock-in
Executing this method requires precision. One misstep can compromise the entire system. Having refined this process over dozens of local projects, I've established a clear, repeatable implementation sequence.- 1. Strategic Excavation: I mandate an excavation depth of 8 to 10 inches, which shocks many clients. This depth is necessary to accommodate the full thickness of my layered sub-base, the sand bed, and the stone itself, ensuring the final patio sits at the correct grade.
- 2. Geotextile and Aggregate Installation: The geotextile fabric is laid down, extending up the sides of the excavated area like a liner. Then, the aggregate layers are added and compacted in the 2-inch lifts I mentioned previously. I personally check the compaction density at multiple points.
- 3. Bedding Sand Application: A uniform 1-inch layer of ASTM C33 concrete sand is screeded perfectly level over the compacted base. Using play sand or other non-spec sand is a common shortcut that leads to pavers shifting over time.
- 4. Stone Setting and Jointing: After the stones are set, the joints are filled with high-quality polymeric sand. In our humid, rainy climate, this is essential. It hardens like a mortar when activated with water, locking the stones together and, more importantly, preventing weed growth and ant infestations, a constant battle for homeowners in Osceola. A common error I fix is when installers apply it to a damp surface, which prevents it from setting correctly. The pavers must be bone-dry.
Precision Finishing and Quality Assurance Standards
The final details are what separate a good patio from a great one. My quality assurance checklist focuses on two critical aspects for longevity in our environment. First is the grade or slope. I enforce a strict, non-negotiable minimum 2% grade (a 1/4-inch drop for every foot of length) directed away from the home's foundation. This actively channels the sheeting water from our torrential downpours off the patio surface, preventing pooling and infiltration. Second is the edge restraint. Without a robust edge, the outer stones will inevitably begin to creep outwards. I exclusively use commercial-grade concrete or plastic paver edging secured with 10-inch steel spikes driven into the compacted base before the final landscaping is done. Before you even begin to select your flagstone, have you calculated the precise sub-base depth required for your property's specific soil percolation rate, or are you preparing to follow a generic 4-inch standard?Written by

Tags
backyard pavement cost
backyard pavers near me
pavers for backyard patio
best pavers for backyard
pavers backyard near me