
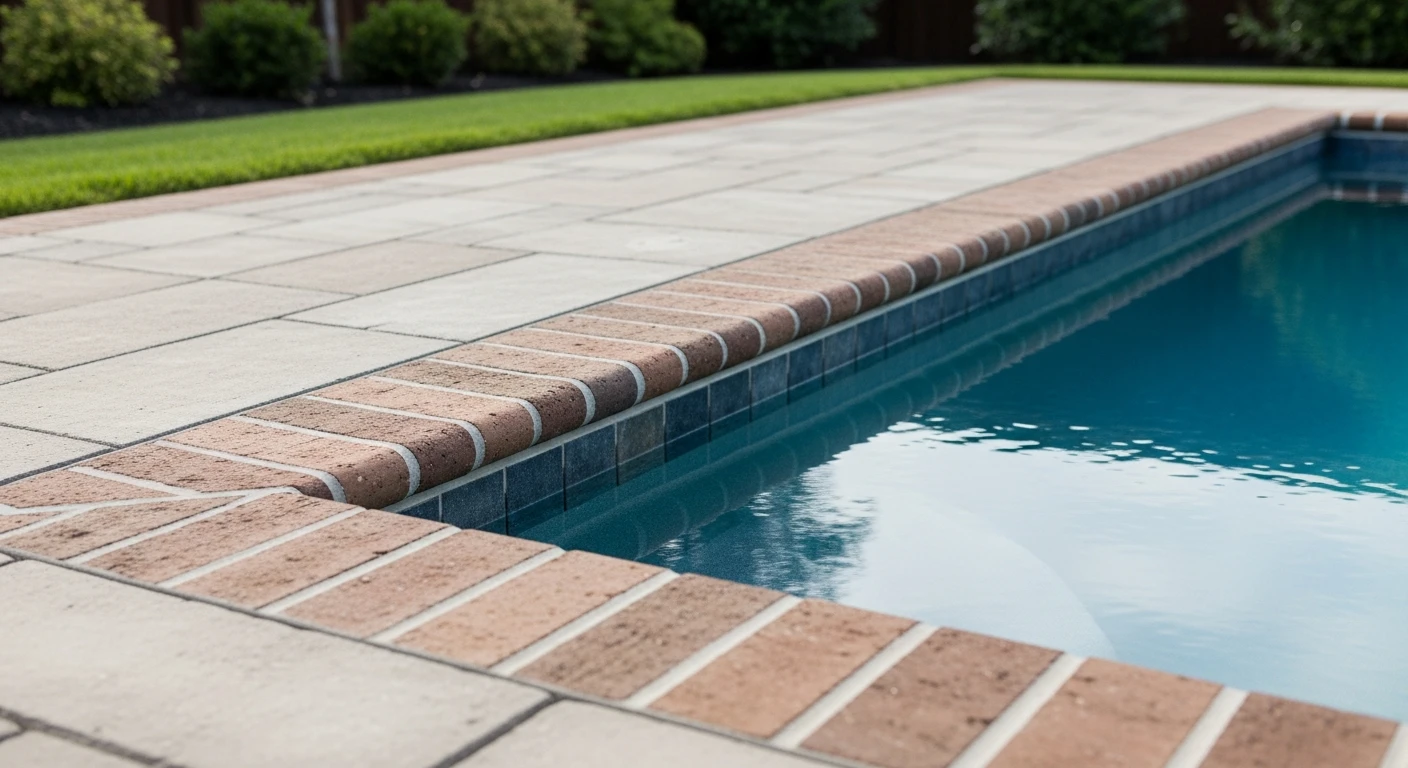
Brick Paver Edging in Osceola County: A Protocol for Mitigating Sub-Base Washout and Paver Creep
The most common point of failure I see in brick paver installations across Osceola County isn't the pavers themselves; it's the edging. Standard plastic edging, often installed as an afterthought, simply cannot withstand the combination of our sandy, shifting soil and the intense hydrostatic pressure from our torrential summer downpours. This leads to paver creep, joint separation, and eventual sub-base washout, a costly repair I’ve been called to fix in countless properties from the newer developments in St. Cloud to established homes in Kissimmee. My approach directly counters these local environmental pressures. I’ve refined a methodology that focuses on creating a monolithic structure where the edging is not just a border, but a foundational anchor for the entire paver field. This system is designed to extend the functional lifespan of a paver patio or driveway by an estimated 25-30% by preventing the initial micro-movements that cascade into total system failure. It's about treating the edge as the most critical structural component, not just a cosmetic trim.Diagnosing Edging Failure: My Osceola County Lock-in Methodology
After repairing a large, failing pool deck in Celebration where the original contractor used standard 8-inch spikes on plastic edging, I realized the core problem: the spikes had nothing substantial to grip in the loose, sandy sub-base. The heavy rains would saturate the ground, the soil would lose its shear strength, and the edging would simply push outward. My Osceola County Lock-in Method was developed to solve this specific issue. It’s based on two principles: increasing the anchoring depth and creating a wider, more stable sub-base "shelf" that distributes pressure over a larger area. Standard installation techniques simply don't account for the unique soil and weather dynamics we face here.Technical Deep-Dive: Material Selection and Base Fortification
The success of the Lock-in Method hinges on two critical, non-negotiable components. First is the material. I’ve almost entirely abandoned standard flexible plastic edging for Osceola County projects. It degrades under our intense UV exposure, becoming brittle in 3-5 years. Instead, I specify either heavy-duty concrete curbing poured in-situ or a commercial-grade aluminum alloy edging. These materials provide the rigidity needed to resist lateral forces and are impervious to sun damage. Second, and more importantly, is the sub-base preparation. The true "secret" is extending the compacted base material at least 6 inches beyond the final paver line. This creates a stabilization shelf. When the edging is spiked into this extended, compacted shelf—not just into the native sandy soil—its holding power is increased exponentially. For the spikes themselves, I mandate a minimum of 12-inch galvanized steel spikes, driven every 12-18 inches. This length is crucial to bypass the loose topsoil and anchor into the more stable, deeper substrate.Implementation Protocol: A Step-by-Step Breakdown
Executing this method requires precision. A deviation in any step compromises the entire system's integrity. I've standardized my process to ensure consistent, predictable results, whether I'm working on a tight walkway in a Poinciana subdivision or a sprawling driveway.- Step 1: Trench Excavation: The trench for the edging must be excavated to a depth that accommodates 4-6 inches of compacted base material plus the height of the edging itself. Crucially, it must be wide enough for the 6-inch stabilization shelf.
- Step 2: Base Installation and Compaction: Install and compact the base material (typically a DOT-approved paver base) inside the trench. This is a critical action. The compaction must achieve a minimum of 95% Proctor density to provide the necessary support.
- Step 3: Edging Placement: The edging is set directly on top of this compacted shelf. The top of the edging should be set at an elevation that it sits just below the paver's chamfer, making it nearly invisible once the joint sand is swept in.
- Step 4: Angular Spike Driving: Drive the 12-inch spikes through the edging at a 15-degree angle away from the paver field. This angle dramatically increases the pull-out resistance compared to driving them straight down.
- Step 5: Meticulous Backfilling: Backfill against the outside of the edging with the excavated soil, compacting it in 2-inch lifts. This locks the entire assembly into place, preventing it from tilting outward under load.
Precision Adjustments and Quality Assurance Standards
For projects with significant curves, small relief cuts may be needed on the backside of concrete edging before it fully cures to achieve a smooth radius without compromising strength. With aluminum, using the manufacturer-specific connectors is non-negotiable to maintain structural continuity. After installation, I perform my own QA check: the "Mallet Tap Test." I tap along the outside of the installed edging with a rubber mallet. The sound should be a dull, solid thud. Any hollow or resonant sound indicates a void in the backfill, a weak point that must be corrected immediately before any pavers are laid. This simple test has prevented dozens of potential failures by identifying poor compaction before it becomes a problem. Now that you understand the mechanics of creating a truly permanent paver edge, have you considered how the thermal expansion and contraction of your chosen paver material will exert additional stress against this system during Osceola's extreme temperature swings?Written by

Tags
driveway edging blocks
concrete paver edging
patio paver edging
pool edge pavers
patio edge restraint


