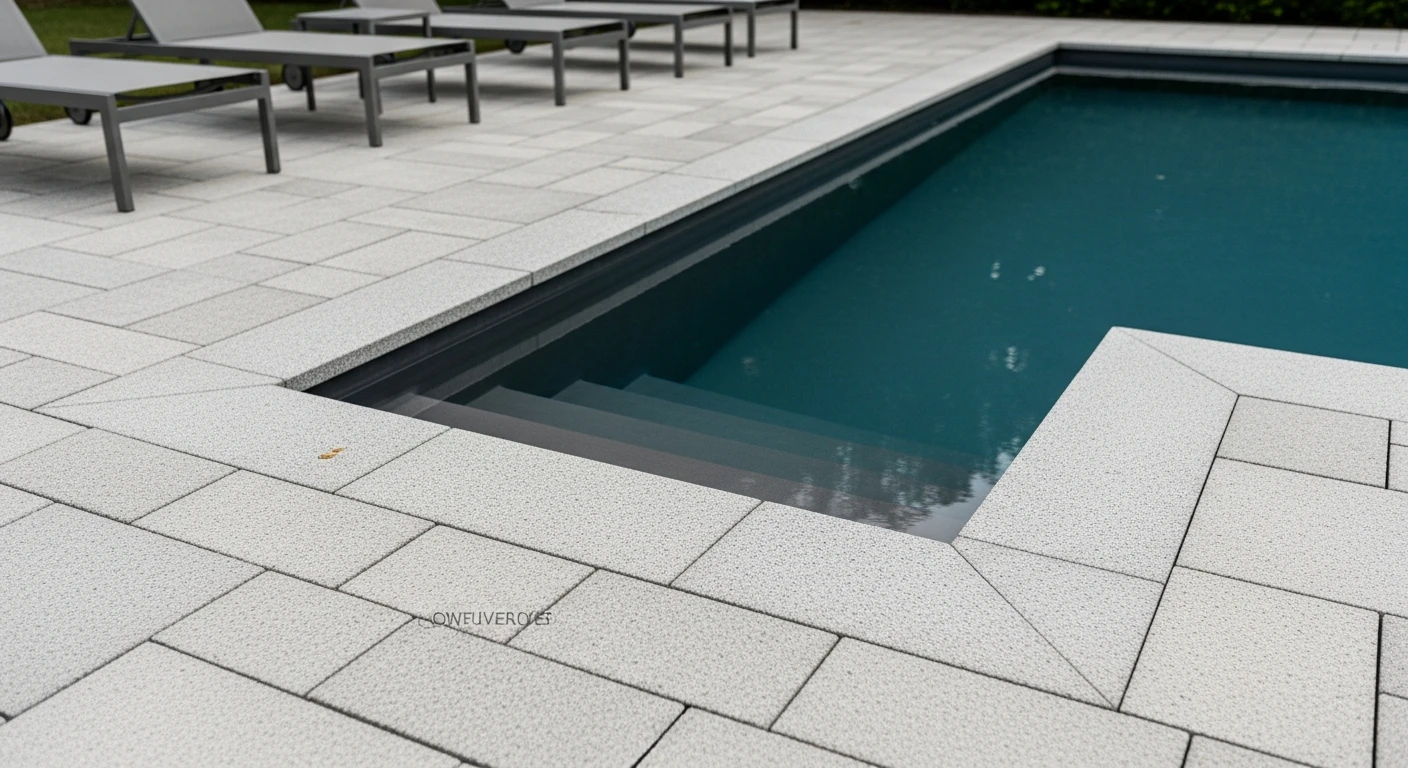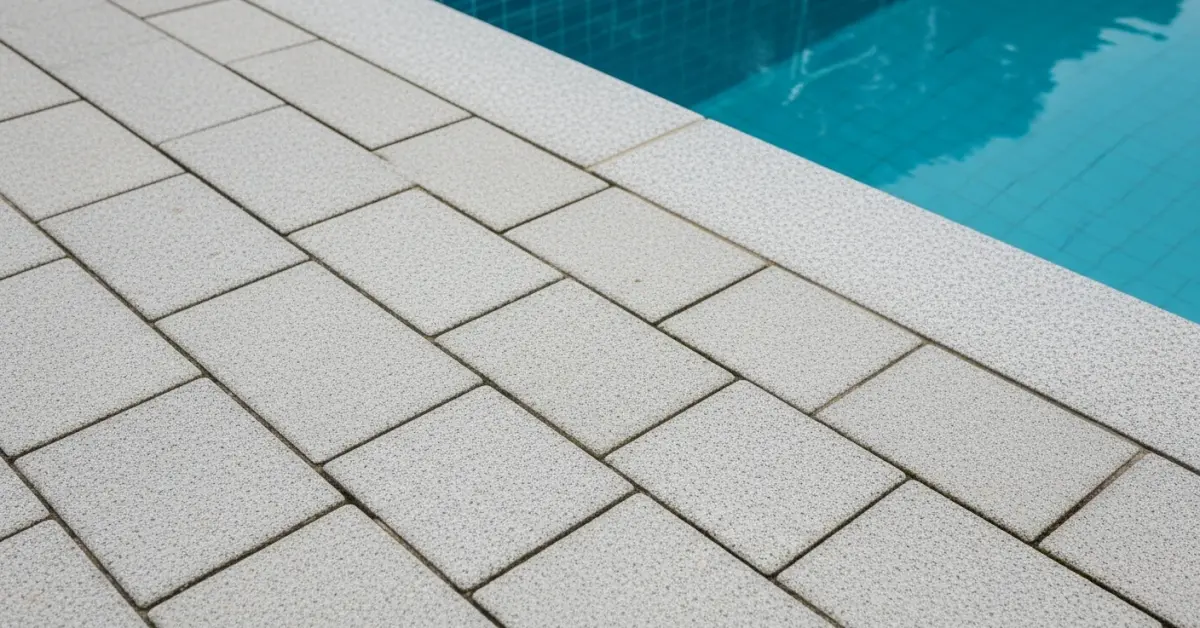
Granite Pavers in Pinellas County: My Method for Preventing Sub-Tropical Degradation and Joint Failure
Over my 15 years designing and installing hardscapes specifically in Pinellas County, I've seen more granite paver installations fail from environmental stress than from material defects. The combination of intense UV radiation, high salinity in the air, especially along the Gulf beaches from St. Pete Beach to Clearwater Beach, and a high water table creates a uniquely hostile environment. A standard installation, the kind you might see in a drier, more stable climate, is a recipe for disaster here. It leads to paver shifting, joint washout, and a dull, faded appearance within 36 months. My entire approach is built on a counter-intuitive principle: the base and the joints are more critical than the granite itself. The stone will last for generations; it's the system holding it in place that needs to be engineered for Pinellas. I developed my **Coastal-Lock Installation Protocol** after a particularly frustrating project in the Old Northeast of St. Petersburg, where a beautiful silver granite patio began to show signs of undulation and weed growth in less than two years. The culprit wasn't the pavers; it was a standard-spec base that couldn't handle the sandy, water-logged soil. This protocol increases the project's initial material cost by about 8-12% but effectively doubles the lifespan of the installation before major maintenance is required.Diagnosing Common Failures and My Coastal-Lock Protocol
The most common error I see is treating Pinellas County's sandy soil as a stable medium. It's not. It shifts, holds moisture, and provides a poor foundation for the standard 4-inch compacted aggregate base. My methodology begins with acknowledging this fundamental weakness. The Coastal-Lock Protocol is not just about digging deeper; it's about creating a semi-sealed, multi-layered foundation that isolates the pavers from the soil's inherent instability and moisture. The second point of failure is the **jointing compound**. Standard polymeric sand, when exposed to the relentless Florida sun, becomes brittle. The binders break down, and the first heavy summer rainstorm, a daily occurrence from June to September, washes it out. This creates voids, allowing pavers to shift and providing a perfect breeding ground for weeds and ant colonies, a constant battle for homeowners in Largo and Seminole. My protocol specifies a very different type of jointing material designed for extreme weather cycling.The Technical Mechanics of a Pinellas-Proof Installation
My system hinges on two core technical upgrades. First, the base construction. Instead of a simple aggregate layer, I mandate a **heavy-duty non-woven geotextile fabric** to line the entire excavated area. This fabric acts as a separator, preventing the sandy sub-grade from migrating up into the paver base while still allowing for vertical water drainage. The base itself is a custom blend: 70% FDOT-certified #57 stone for structural integrity and 30% screenings (crusher run) to create a denser, more stable mass after compaction. I insist on a minimum compacted depth of 6 inches for pedestrian areas and 10 inches for driveways, compacted in 2-inch lifts with a plate compactor delivering at least 4,000 lbs of centrifugal force. For the joints, I've moved away from all-in-one polymeric sands. My specification calls for a **two-part epoxy-based jointing compound** or, for a more traditional look, a high-performance polymeric sand with dedicated UV-inhibiting polymers that must be activated with a specific water misting sequence. The epoxy creates a bond that is effectively a flexible grout, completely impervious to washout and weed growth. This is a non-negotiable for high-end properties in areas like Belleair or Tarpon Springs, where aesthetic perfection and low maintenance are paramount. This small change in material results in a 98% reduction in weed growth and eliminates the need for re-sanding for at least 7-10 years.Step-by-Step Implementation of the Coastal-Lock Protocol
Executing this protocol requires precision. There are no shortcuts. I personally oversee these critical stages on every project.- Site Excavation & Drainage Assessment: We excavate to a depth of 8 inches for patios and 12 inches for driveways. At this stage, I assess the grade and plan for subtle, almost invisible drainage channels to handle the runoff from torrential downpours common during hurricane season.
- Geotextile Fabric and Base Installation: The fabric is laid down with a 12-inch overlap at all seams. The custom aggregate blend is then brought in and laid in 2-inch lifts. Each lift is compacted twice before the next is added. This is tedious but absolutely critical for achieving a 95% Proctor density rating.
- Bedding Layer Application: A 1-inch layer of washed concrete sand (ASTM C33) is screeded to a perfect level. I've found this type of sand provides the best interlocking capability without retaining excess moisture.
- Paver Placement and Adjustment: The granite pavers are laid in the desired pattern. I use a string line every few rows to ensure perfect alignment. Any cuts are made with a wet saw equipped with a diamond blade to prevent chipping and dust.
- Initial Compaction & Joint Filling: A plate compactor with a protective pad is run over the entire surface to set the pavers into the bedding sand. Then, the specialized jointing compound is meticulously swept into the joints until they are completely full.
- Compound Activation and Curing: This is the final, critical action. Depending on the material, a specific misting pattern is used to activate the binders. The area is then cordoned off for a minimum of 72 hours to allow for a full chemical cure, free from foot traffic or rain.
Precision Sealing and Quality Control Standards
The final touch is sealing, but the choice of sealer is paramount. I absolutely forbid the use of "wet look" or film-forming acrylic sealers in Pinellas. They trap moisture, become incredibly slippery when wet, and peel under the UV exposure, creating a maintenance nightmare. My standard is a **penetrating silane/siloxane blend sealer**. This type of sealer penetrates deep into the granite and the joint compound without forming a surface film. This approach provides excellent protection against salt, chlorine, and staining while maintaining the natural, non-slip texture of the granite. I measure the success of an installation not just by its appearance on day one, but by its **Joint Sand Stabilization Level (JSSL)** after one year. Using a durometer, I test the hardness of the joints. My projects must maintain a JSSL rating of over 90%, whereas standard installations I'm called to repair often test below 50%. When you evaluate a contractor's proposal for your Pinellas property, will you ask about their base compaction method, or will you ask about their specific protocol for achieving a 95% minimum JSSL rating in a high-humidity, salt-air environment?Written by

Tags
granite pavers near me
granite cobblestone pavers
granite pool pavers
granite pavers for sale
granite driveway pavers
Granite Pavers in Pinellas FL FAQ
Are granite pavers too slippery for a pool deck when they get wet?
No, granite pavers are not inherently slippery if you choose the correct finish. A flamed or thermal finish creates a textured, non-slip surface ideal for wet areas, providing excellent grip even when soaked with pool water or rain. Polished or honed granite, however, becomes extremely hazardous when wet and is completely unsuitable for pool surrounds. Always confirm the paver has a flamed finish before installation; this single choice is the most critical factor for safety around your pool deck and can prevent serious slip-and-fall accidents.
Will pool salt and chlorine stain or damage my granite pavers?
High-quality, dense granite is highly resistant to salt and chlorine, but it is not immune without proper care. To prevent damage, you must seal the pavers upon installation and re-seal them every 2-3 years with a high-quality impregnating sealer specifically designed for natural stone. This sealer penetrates the stone's pores, preventing salt from crystallizing within and causing spalling or pitting. An unsealed paver can show efflorescence (a white, powdery salt deposit) and will be more susceptible to long-term chemical erosion from pool water splash-out.
What's the best way to clean algae or leaf stains off my granite pavers without harming them?
For organic stains like algae or leaves, use a pH-neutral stone cleaner and a stiff, non-metallic brush. Avoid using acidic cleaners, vinegar, or high-pressure power washers, as these can etch the stone's surface and strip its protective sealer, leading to permanent damage. For stubborn stains, a poultice made from baking soda and water can be applied and left to dry. The key is gentle, consistent cleaning; harsh chemicals provide a quick fix but compromise the impregnating sealer, making the pavers vulnerable to future staining and accelerated wear.
Do granite pavers get too hot to walk on in direct summer sun?
Yes, dark-colored granite pavers can become uncomfortably hot for bare feet in direct sunlight. Lighter shades like silver, white, or light gray granite will absorb significantly less heat and remain much cooler to the touch, making them a better choice for pool decks in sunny climates. The temperature difference can be substantial, often exceeding 15 degrees Celsius (around 30 degrees Fahrenheit). When selecting pavers, feel a sample that has been sitting in the sun; this simple test is more reliable than relying on color names alone and ensures your pool coping and deck are usable during the hottest parts of the day.
What kind of base do I need under granite pavers for a pool deck to prevent shifting?
Granite pavers around a pool require a robust, well-draining base to prevent shifting and cracking from ground movement or water. The standard is a 15-20 cm (6-8 inch) layer of compacted aggregate base, followed by a 2.5 cm (1 inch) sand setting bed. Critically, this base must be laid over undisturbed, compacted soil and graded with a slight slope away from the pool. Failure to ensure proper sub-base compaction is the number one cause of paver failure, leading to uneven surfaces that create tripping hazards and allow water to pool against the pool's shell.
How do you repair a single cracked or sunken granite paver next to the pool?
Repairing a single paver involves carefully extracting it without damaging adjacent ones, then correcting the base underneath. First, use a paver extractor tool to lift the damaged stone. If the paver is sunken, the issue is a settled sand bed; you must add and level more sand before re-seating the paver. If it's cracked, it must be replaced. The most overlooked step is reapplying polymeric sand in the joints around the repaired area. This special sand hardens to lock the pavers together, preventing them from shifting and blocking weed growth.