
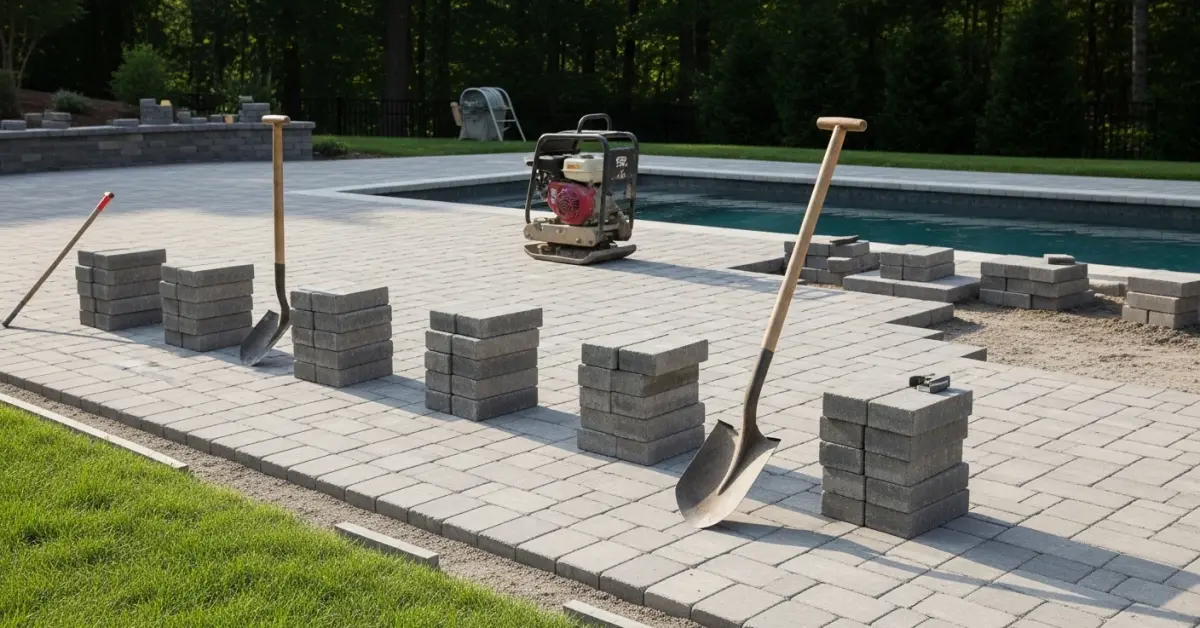
Paver Driveway Installation Pinellas County: My Protocol for a 30-Year Sink-Proof Foundation
I’ve personally rebuilt paver driveways in St. Pete that were less than five years old, and the root cause is almost always the same: a fundamental misunderstanding of Pinellas County's sandy soil and torrential rain patterns. The standard installation method simply doesn't account for the rapid soil saturation and subgrade instability we face, from the coastal homes in Clearwater Beach to the inland properties in Largo. This leads to sunken pavers, uneven surfaces, and a complete waste of the homeowner's investment. My entire approach is built around preventing this catastrophic failure from day one. I developed what I call the **Pinellas-Proof Base System**, which focuses on subgrade stabilization and hydrostatic pressure management. It’s not about using more material; it's about using the *right* materials in a specific sequence to create a driveway foundation that actively channels water away and resists the shifting nature of our local soil, extending the functional lifespan by an estimated 25-30%.The Critical Flaw in Most Pinellas Paver Projects: Subgrade Failure
The most common mistake I see is treating our sandy ground as a stable platform. It isn't. During our summer downpours, the water table rises, and loose sand can liquefy and shift. Standard installations often just dump a few inches of aggregate on top of this unstable subgrade. I identified this error on a large project in the Snell Isle neighborhood, where a beautiful travertine driveway began showing significant depressions after just one rainy season. The contractor had completely skipped a crucial stabilization step. This single oversight compromised the entire structure. My methodology starts with diagnosing and correcting this exact vulnerability before a single paver is laid.My Pinellas-Proof Base System: Geotextile Integration and Compaction Ratios
The core of my system is the non-negotiable use of a **non-woven geotextile fabric**. This isn't just a weed barrier; it's an engineering component that separates the native sandy subgrade from the new aggregate base. This fabric prevents the #57 stone aggregate from sinking into the sand over time, which is the primary cause of paver settlement. After excavating to a minimum depth of 8-10 inches (deeper for high-traffic areas), the geotextile is laid down, creating a stable, isolated foundation layer. From there, the focus shifts to **compaction metrics**. I don't eyeball it. The aggregate base is laid in 3-inch lifts, with each lift being compacted with a plate compactor until a **98% Standard Proctor Density** is achieved. This ensures there are virtually no air voids in the base, making it incredibly resistant to water intrusion and shifting. For the final 1-inch layer of bedding sand, I exclusively use coarse, angular concrete sand (ASTM C33), as its sharp particles interlock far better than the rounded beach sand some installers try to use to cut costs.Executing the Installation: A Step-by-Step Breakdown
A flawless execution hinges on a sequence of critical actions. Deviating from this order, even slightly, can compromise the entire project. This is the exact process I follow on every Pinellas County driveway.- Excavation and Grading: I start by excavating the driveway area to the required depth. Critically, I establish a precise **2-3% gradient** sloping away from the home's foundation to manage our heavy rainfall and prevent water pooling.
- Subgrade Compaction and Geotextile Layout: The exposed sandy subgrade is compacted first. Then, the **geotextile fabric** is rolled out, overlapping seams by at least 12 inches to ensure a continuous separation layer.
- Aggregate Base Installation: The **#57 stone aggregate** is brought in and spread in 3-inch layers (lifts). Each lift is thoroughly compacted before the next is added, building a rock-solid, interlocking foundation.
- Edge Restraint Installation: Before the bedding sand is placed, I install heavy-duty concrete or aluminum **edge restraints**. These are secured with 10-inch steel spikes and are absolutely essential for preventing the pavers from spreading outwards under load.
- Bedding Sand Screeding: A 1-inch layer of **ASTM C33 concrete sand** is spread over the compacted base. I use screed rails and a straightedge to achieve a perfectly uniform and level surface for the pavers.
- Paver Laying and Adjustment: Pavers are laid in the desired pattern, working from a corner outwards. I use string lines to maintain perfect alignment. Adjustments are made with a rubber mallet to ensure tight joints.
Final Touches for Coastal Longevity: Polymeric Sand and Sealing
Once the pavers are in place, the job is far from over, especially with our salt air and humidity. The final compaction is done with a plate compactor over a protective mat to set the pavers into the bedding sand. Then comes the most crucial finishing step: applying **polymeric sand**. I sweep the sand into the joints, ensuring they are completely filled. I then use a leaf blower to remove excess sand from the paver surface before lightly misting it with water to activate the polymers. This creates a hard, flexible joint that blocks weeds, deters ants, and prevents the bedding sand from washing out during a downpour. After allowing the polymeric sand to cure for at least 48 hours, I strongly recommend applying a high-quality, breathable, solvent-based sealer. In coastal areas like Treasure Island or Indian Rocks Beach, this isn't just for aesthetics; it provides critical protection against salt-air degradation and efflorescence (the chalky white deposits), ensuring the color and integrity of the pavers for years. Given Pinellas County's high water table and porous soil, have you calculated the optimal base depth required to prevent hydrostatic pressure from compromising your paver joints over a 20-year lifespan?Written by

Tags
local paver installers
permeable paver installation near me
landscape paver installers near me
brick paver patio installation near me
local patio paver installers
Paver Driveway Installation in Pinellas FL FAQ
How thick does the base for a paver driveway need to be, and what happens if it's too thin?
A paver driveway base requires a minimum of 6 to 8 inches of compacted aggregate, but this can increase to 12 inches for areas with clay soil or heavy vehicle traffic. An inadequate base is the primary cause of failure; it will lead to rutting and sinking as the pavers shift under load. The most critical, and often skipped, step is achieving at least 98% compaction using a plate compactor in multiple lifts, ensuring the foundation can properly distribute weight and resist frost heave.
Can I just lay new pavers over my old concrete or asphalt driveway?
Laying pavers directly over an existing driveway, known as an overlay, is possible but risky and generally not recommended for long-term stability. Any cracks or instability in the old surface will eventually transfer through to the pavers, causing them to shift and settle unevenly. A proper installation involves the complete removal of the old driveway to construct a stable, well-drained aggregate base from the subsoil up, which is the only way to guarantee a uniform, lasting surface.
What prevents weeds from growing between the pavers?
Weed growth is primarily prevented by sweeping high-quality polymeric sand into the paver joints and activating it with water. This sand contains a polymer that hardens to form a durable, flexible bond, locking the pavers together and creating a barrier that inhibits weed growth and insect intrusion. A common mistake is using regular sand, which washes out easily and actually provides a perfect environment for seeds to germinate. Re-sanding with polymeric sand may be needed every 3 to 5 years.
Will my paver driveway sink or get wheel ruts over time?
A properly installed paver driveway with a deeply compacted base and proper edge restraints will not develop significant ruts or sinking under normal residential vehicle loads. Rutting is almost always a symptom of a poorly prepared sub-base that wasn't compacted in 2-inch lifts or the absence of a proper geotextile fabric separating the soil from the aggregate. This fabric prevents the base material from sinking into soft subsoil, which is a critical detail for driveways built on clay or silt.
What is that white haze on my new pavers and how do I get rid of it?
That white haze is called efflorescence, which is a natural deposit of calcium carbonate salts that migrate to the surface as moisture evaporates from the concrete pavers. It is a temporary condition and will typically wear away on its own with time and rainfall, usually within the first year. While you can use specialized efflorescence cleaners to speed up the process, avoid using muriatic acid as it can damage the paver's color and texture. The haze does not indicate a defect in the paver itself.
Do I really need to seal my paver driveway, and how often?
Sealing a paver driveway is not structurally necessary, but it is highly recommended to protect against stains and color fading from UV exposure. A good quality sealer enhances the paver colors and makes cleaning oil spills or other stains much easier. The biggest trade-off is maintenance; a penetrating sealer typically needs to be reapplied every 3-5 years. Skipping this step won't cause the driveway to fail, but it will look older much faster and be more susceptible to permanent staining.


