
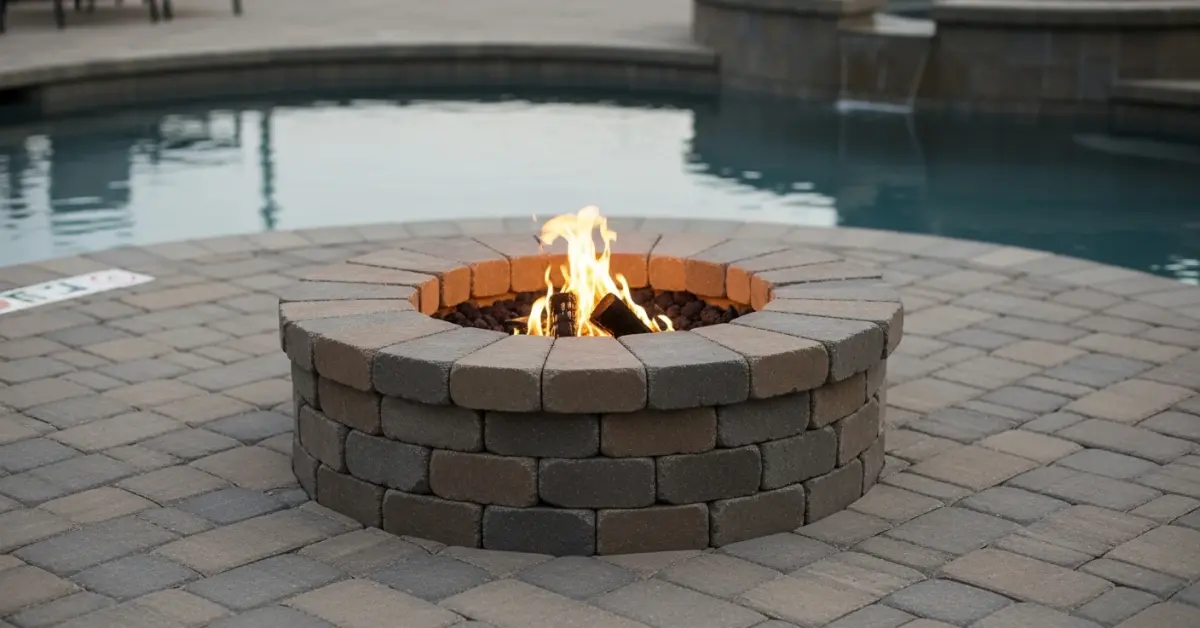
Paver Firepit Installation: A Protocol to Prevent Sub-Base Failure in Osceola County
Most paver firepits I've seen fail in Osceola County, from Kissimmee to the newer developments in St. Cloud, don’t fail because of the blocks. They fail from the ground up. The culprit is a sub-base that's completely unprepared for Florida's combination of "sugar sand" soil and torrential summer downpours, leading to shifting, sinking, and ultimately, a cracked and unsafe structure. My entire approach is built around preventing this predictable failure. After seeing a high-end project in Celebration require a complete rebuild within two years due to base washout, I developed a methodology that focuses on geotextile reinforcement and a specific aggregate layering that creates a stable, water-permeable foundation. This isn't about just digging a hole and filling it with gravel; it’s about engineering a sub-structure that will outlast the pavers themselves.The Sub-Base Diagnosis: Why Standard Methods Fail in Florida Soil
The typical advice you find online—dig down 4-6 inches and add paver base—is a recipe for disaster here. Osceola County's sandy soil has very poor load-bearing capacity and becomes fluid during heavy rain. The aggregate base mixes with the sand, compromises its structural integrity, and the entire firepit begins to settle unevenly. This is what I call Sub-Base Contamination, and it’s the primary cause of premature failure. My methodology, the "Hydro-Static Lock System," is designed specifically to counteract this. It separates the native soil from the aggregate base, allows for massive water percolation without compromising stability, and locks the pavers in place. It’s not the fastest method, but it’s the one that prevents me from getting callback repairs for a structure I built.Technical Deep Dive: The Hydro-Static Lock System
The system is a sequence of three critical layers, each with a specific function. Ignoring one invalidates the others.- Layer 1: The Separation Barrier. This is the most-skipped step and the most crucial. After excavating to a depth of 10 inches (not 6), I lay a non-woven geotextile fabric. Its job is not to block weeds, but to keep the fine sand particles from migrating up into the aggregate base during periods of soil saturation. It stabilizes the soil below while allowing water to pass through freely.
- Layer 2: The Drainage and Structural Core. I do not use a single type of paver base. I start with a 4-inch layer of #57 stone (or an equivalent clean, angular stone). This creates large voids for rapid water drainage. After compacting this layer, I add a 3-inch layer of #89 stone, which has smaller particles that lock into the #57 stone, creating an incredibly stable but still permeable base.
- Layer 3: The Bedding Course. This is a precisely 1-inch screeded layer of washed concrete sand. Any more than an inch, and you introduce instability; any less, and you can't properly level the pavers. This thin layer is the final seating for the blockwork.
Step-by-Step Implementation for a 20-Year Lifespan
Building a firepit that can withstand a Florida hurricane season requires precision at every stage. This is my exact field process.- Excavation and Initial Compaction: Mark your circle and excavate to a clean 10-inch depth. Compact the native sandy soil at the bottom of the pit with a hand tamper or plate compactor.
- Geotextile Installation: Lay the fabric, ensuring it extends up the sides of the entire excavation. Any seams must have a 12-inch overlap. This is non-negotiable.
- The Aggregate Layers: Add the 4-inch layer of #57 stone. Compact it. Add the 3-inch layer of #89 stone. Compact it in two separate 1.5-inch lifts to achieve maximum stone-on-stone interlock. Check for level across the entire base.
- Screeding the Sand Bed: Lay two 1-inch pipes across your base and pour the concrete sand. Use a straight 2x4 to screed across the pipes, removing the excess. This guarantees a perfectly flat, 1-inch bedding course. Remove the pipes and fill the voids.
- Laying the Block and Insert: Lay your first course of paver blocks, ensuring they are perfectly level. Use a high-temperature concrete adhesive like Loctite PL Premium between each course. A steel fire ring insert is mandatory to protect the concrete blocks from direct flame and thermal shock, which causes spalling.
- Jointing and Curing: For the patio area around the firepit, I only use a high-grade polymeric sand that hardens and resists washout from heavy rain. Allow the structure and adhesive to cure for at least 72 hours before the first use.
Precision Adjustments for Osceola County's Climate
Living here means adapting to the humidity and sun. I make two final adjustments that are unique to our local environment. First, every paver in the surrounding patio gets treated with a high-quality silane-siloxane penetrating sealer. This prevents the inevitable black mold and algae growth that plagues porous surfaces in Central Florida's humidity. Second, I ensure the firepit has a slight, imperceptible grade away from any lanai or covered patio, directing rainwater to a planned drainage area, not allowing it to pool near the home's foundation. Before you bond the first two blocks, have you verified that your chosen paver's compressive strength (PSI) is rated to handle the cyclical thermal stress of a wood-burning fire, or are you just hoping it won't crack?Written by

Tags
paver patio with fire pit
paver patio and fire pit
pavers for fire pit area
firepit patio stones
paver patio designs with fire pit
Paver Firepit in Osceola FL FAQ
Can I build a firepit directly on top of my existing paver patio?
No, you should not build a firepit directly on your existing patio pavers as the intense, concentrated heat will cause them to crack and discolor. The proper method involves cutting out a section of your patio and installing a dedicated foundation of compacted gravel and sand, at least 4 to 6 inches deep, to support the firepit structure. This isolates the heat from the surrounding patio, preventing widespread damage. Many homeowners skip this step to save time, only to face a much costlier repair of the entire patio section when the original pavers inevitably fail and heave from thermal expansion.
Do I absolutely need a steel ring insert for my paver firepit?
Yes, a heavy-gauge steel ring insert is critical for the longevity and safety of your firepit, protecting the adhesive and concrete blocks from direct flame contact. Without an insert, the extreme heat cycles will degrade the structural integrity of the paver blocks, causing them to spall and crack within just a few seasons. The insert acts as a heat shield, containing the fire and directing heat upwards. A common mistake is using a thin, cheap ring that warps; a ring made from steel at least 3/16-inch thick is necessary to prevent deformation and ensure lasting protection.
What is the best material to put at the bottom of the firepit itself?
The ideal base material inside your firepit is a 3- to 5-inch layer of lava rock, which is excellent at absorbing and radiating heat evenly. Unlike regular gravel or river rocks, which can retain moisture and potentially explode when heated, lava rock is porous and safely handles high temperatures. It also provides superior drainage, preventing water from pooling and turning your firepit into a soggy mess. Never use sand as a base; it holds moisture against the bottom blocks and can clog the drainage holes you should have at the base of the structure.
How far away from my house and other structures should the firepit be?
Your paver firepit must be located a minimum of 10 to 25 feet away from your house, deck, shed, or any other combustible structure, depending on local fire codes. Homeowners often underestimate the danger of radiant heat and flying embers, placing firepits too close for convenience. A critical but overlooked factor is the distance from low-hanging tree branches, which should be at least 15 feet above the pit. Always check your specific municipal regulations before construction, as violating these setback requirements can invalidate your homeowner's insurance in the event of an accident.
Will a wood-burning firepit stain my light-colored pavers with soot?
Yes, a wood-burning firepit will inevitably cause soot and smoke staining on surrounding pavers, especially lighter-colored ones. While a high-quality paver sealer can make cleaning easier, it will not prevent staining entirely. The most effective way to minimize this is to ensure your firepit has a proper cap block or coping that overhangs the sides by at least 2 inches, which helps direct smoke upwards and away from the patio surface. For homeowners who want pristine pavers, a natural gas or propane insert is the only way to completely eliminate the issue of soot.
Can I use any type of paver to build the firepit walls?
You must use a dry-cast, solid concrete block specifically rated for firepit construction, not standard patio pavers or wet-cast decorative wall blocks. Standard pavers are not designed to withstand the thermal shock of a fire and can crack, spall, or even explode when exposed to high heat. Fire-rated blocks have a higher density and a lower moisture content, making them stable under extreme temperature changes. Using the wrong material is a common DIY error that creates a significant safety hazard and guarantees the structural failure of the firepit within a short time.


