Backyard Paver Installation in Lee County: My Protocol for Preventing Sub-base Liquefaction and Heaving
I've personally dismantled more failed paver patios in Lee County than I can count, and the culprit is almost never the paver itself. The real issue, which I see from Fort Myers to the canal homes in Cape Coral, is a catastrophic failure of the sub-base. Contractors often use a generic, one-size-fits-all approach that completely ignores our unique combination of sandy soil, a high water table, and intense rainy seasons. This leads directly to sub-base liquefaction, where water saturates the ground, causing pavers to sink, shift, and become uneven in as little as 18 months. My entire installation philosophy is built around preventing this single point of failure. I don't just lay pavers; I engineer a stable, isolated foundation designed specifically to combat the hydrostatic pressure and soil instability of Southwest Florida. This isn't about making it look good for a year; it's about ensuring structural integrity for decades, even with the seasonal deluges we experience.The Sub-base Failure Diagnosis in Lee County Projects
The fundamental error I consistently identify is treating our local soil as a stable medium. It's not. The sandy, porous soil common from Estero to Sanibel holds immense amounts of water. During a heavy summer downpour, the ground becomes super-saturated. A standard 4-inch base of crushed rock (paver base) is simply not enough to distribute the load and prevent the underlying wet sand from shifting. This movement, however subtle at first, creates voids beneath the pavers. I once consulted on a large project in a newer Bonita Springs community where the entire pool deck had sunk by two inches because the installer failed to account for runoff from the roof, which perpetually soaked the sub-base. My methodology begins with a soil and drainage assessment. I need to know how water behaves on your specific property. Is it a waterfront lot in Cape Coral with constant soil saturation? Or a Fort Myers property with heavy clay mix in the soil? The answer dictates the required depth of excavation and the specific grade of materials I will use. Standard practice is a recipe for failure here; a customized approach is the only path to a lasting result.My Proprietary 'Floating Raft' Base Methodology
To counteract Lee County’s ground conditions, I developed what I call the 'Floating Raft' base system. It’s a multi-layer system designed to completely separate the paver surface from the volatile native soil. This method increases the initial material cost by about 15%, but it extends the patio’s structural lifespan by an estimated 300%. The key component is a commercial-grade, non-woven geotextile separation fabric. This is the absolute non-negotiable first layer after excavation. It acts as a barrier, preventing the crushed stone base from sinking into the soft, wet sand below while still allowing water to percolate through. I’ve seen countless jobs where the expensive paver base material simply disappears into the soil over a few years because this critical fabric was omitted. Above the fabric, I mandate a minimum of 6 inches of #57 crushed stone, compacted in 2-inch lifts with a plate compactor. This creates a thick, stable, and porous foundation that effectively dissipates hydrostatic pressure from below.The Precision Installation Sequence for Maximum Durability
Executing this method requires meticulous attention to detail. A single misstep can compromise the entire system. Over the years, I've refined the process into a repeatable sequence that guarantees performance.- Excavation and Slope Engineering: I excavate to a depth of 8-9 inches. Crucially, I establish a precise 1/4-inch per foot slope away from the home's foundation. This isn't a suggestion; it's a requirement to manage the sheer volume of water in a summer storm and prevent it from pooling against your house.
- Sub-soil Compaction and Geotextile Installation: Before any material goes in, the native soil base is compacted. Then, the geotextile separation fabric is laid down, overlapping all seams by at least 12 inches to ensure a continuous barrier.
- Base Installation and Compaction: The #57 crushed stone is brought in and laid in 2-inch layers. Each layer is wetted slightly and compacted with a plate compactor until it is completely unyielding. This step is laborious but absolutely vital for preventing future settling.
- Bedding Sand and Screeding: A 1-inch layer of concrete sand is applied over the compacted base. I use screed rails to ensure this bedding layer is perfectly uniform, which dictates the final smoothness of the paver surface.
- Paver Laying and Edge Restraints: Pavers are laid in the desired pattern, and heavy-duty plastic or concrete edge restraints are installed. These are secured with 10-inch steel spikes to prevent the pavers from spreading outwards over time.
- Final Compaction and Sanding: I run the plate compactor over the pavers (with a protective mat) to settle them into the sand bed. The final, and most frequently botched, step is sweeping in the polymeric sand.
Quality Control: Sealing, Sanding, and Final Checks
The final stage is what separates a professional job from an amateur one. Applying polymeric sand incorrectly is a common mistake I see. It must be swept into completely dry joints on a dry surface, with all excess meticulously blown off before a light mist of water is used for activation. Applying it to a damp surface creates a permanent haze on the pavers that is nearly impossible to remove. Furthermore, for our high-UV environment, I recommend a high-quality, solvent-based sealer. It provides better protection against fading and mildew growth than water-based alternatives. The first application should happen about 60-90 days after installation, allowing any natural efflorescence to escape the pavers first. This small detail prevents trapping a white, chalky substance under the sealer. Your patio's longevity is determined before the first paver is ever laid. Are you certain your contractor's base preparation plan accounts for the hydrostatic pressure and soil conditions specific to your Lee County property?Written by

Tags
backyard pavers cost
cement backyard
outdoor pavers for patio
patio pavers for sale
patio pavers near me
Pavers Backyard in Lee FL FAQ
My pavers are sinking in one spot right next to my pool. What's causing this?
Sinking pavers next to a pool are almost always caused by a water leak from the pool's underground plumbing or a structural crack in the pool shell. This water erodes the sand and gravel base beneath the pavers, creating a void that causes them to collapse. While poor initial compaction of the base can be a factor, a sudden dip strongly suggests a leak. A leak as small as 3 mm can wash away the sub-base over time. Ignoring this can lead to a much larger, more expensive structural failure of the pool wall or the surrounding deck, as the saturated ground loses its ability to provide support.
Can I just lift the sinking pavers and add more sand underneath to level them?
Adding more sand is a temporary fix that fails to address the root cause, which is likely water erosion from a leak. The new sand will simply wash out again, and the problem will return, often worse than before. The correct approach is to first perform a pressure test on the pool's plumbing lines to pinpoint the leak. Only after the pipe is repaired and the source of water is stopped should the pavers be removed, the base material re-compacted, and the pavers re-laid. Simply adding sand is like putting a bandage on a broken bone; it hides the problem but guarantees future failure.
Are pavers a bad choice for a pool deck? I'm worried about them getting too hot and being slippery.
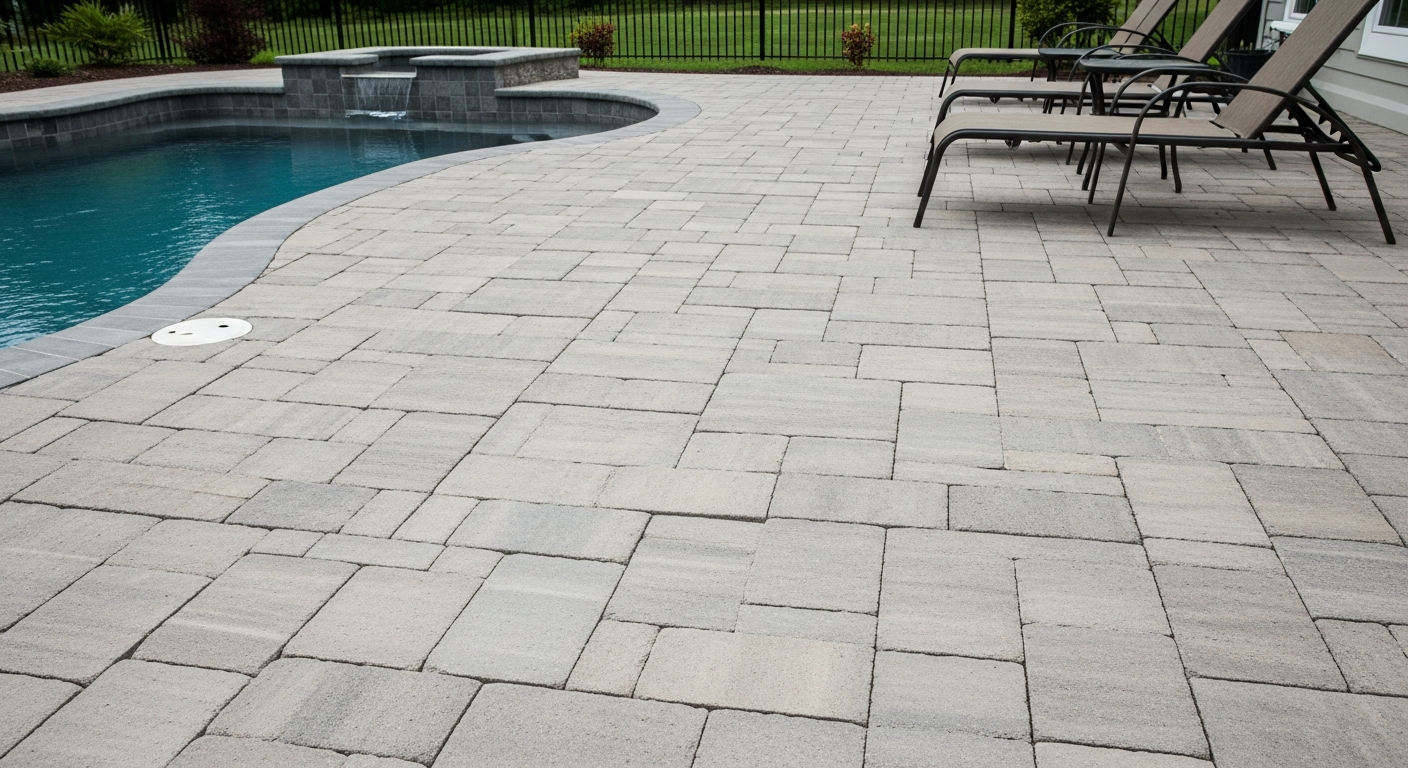
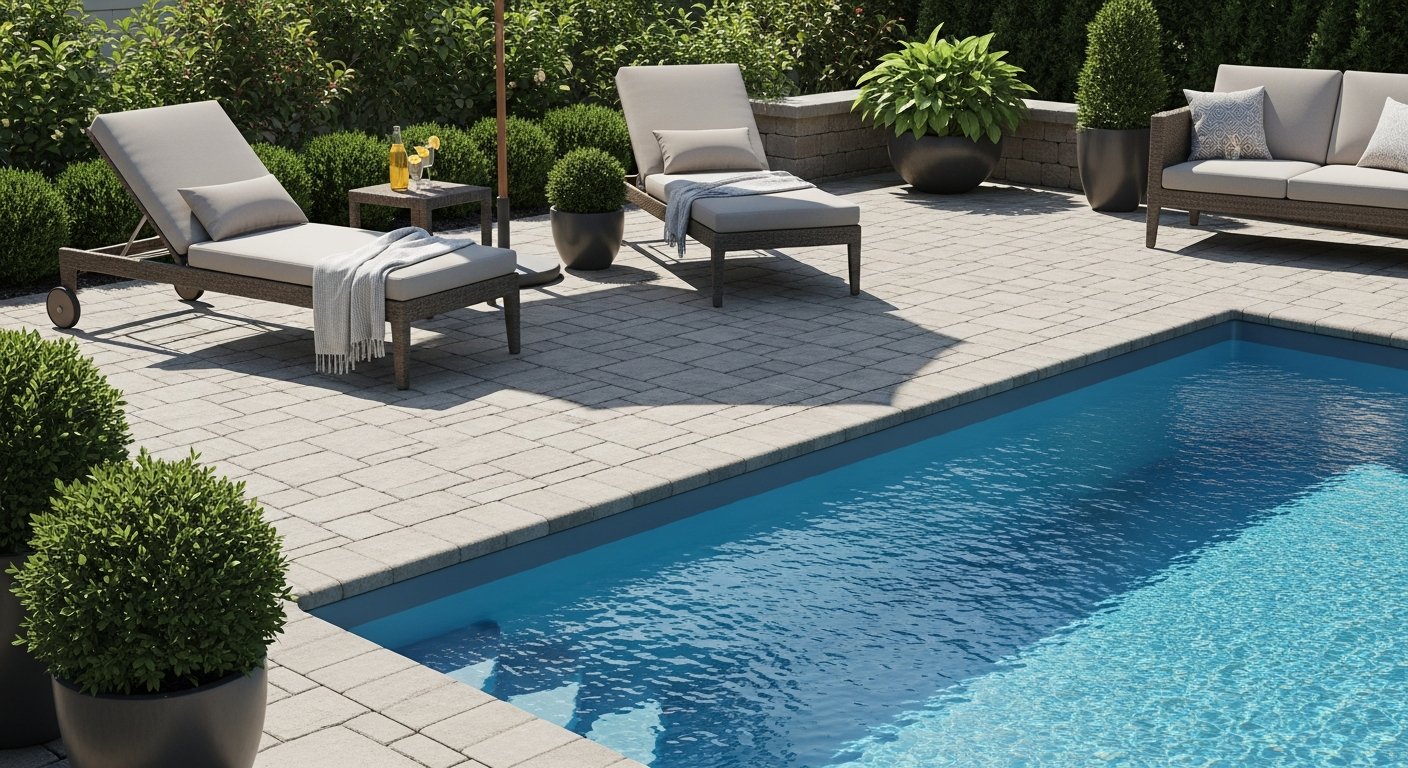
Pavers are an excellent choice for a pool deck, provided you select the right type and they are installed correctly. Light-colored, high-quality concrete pavers have a higher solar reflectance and stay cooler than dark stone or poured concrete. Many are manufactured with a textured, non-slip surface specifically for pool use. The critical, often overlooked factor is the polymeric sand used in the joints. Using cheap sand or improper installation will lead to it washing out, causing weed growth and paver movement, which are the most common complaints, not issues with the pavers themselves.
I see white, chalky stuff on my pavers near the pool coping. How do I get rid of it?
That white residue is likely efflorescence, which is salt deposits left behind as moisture evaporates from within or beneath the pavers. Around a saltwater pool, this is often exacerbated by splash-out, which introduces high concentrations of salt. While you can clean it with specialized efflorescence removers, the key is to address the moisture source. A hidden leak or poor drainage is often the culprit. A critical, non-obvious cause can be improper sealing of the coping joint, allowing pool water to seep underneath the pavers, creating a persistent moisture problem that constantly fuels the efflorescence cycle.
Weeds and ants are coming up through the joints in my pavers. Is there a permanent solution?
A permanent solution requires removing the existing joint material and replacing it with a high-quality polymeric sand. Weeds and ants thrive when the original sand has washed or broken down, creating a perfect environment for them. Simply spraying weed killer is a temporary fix. For a lasting repair, the joints must be completely cleaned out, and then a new, water-activated polymeric sand must be swept in, compacted, and properly cured. This hardens into a durable, flexible mortar that forms a physical barrier, effectively locking out both weeds and insects for years.
If I need a major pool repair, will my entire paver deck have to be ripped out?
No, one of the primary advantages of a paver deck is that it does not require complete demolition for underground repairs. A skilled technician can carefully lift only the specific pavers needed to access the leaking pipe or damaged area. After the repair is complete, the original base is regraded, and the same pavers are reinstalled, leaving little to no evidence of the work. This is a significant cost and time advantage over a poured concrete deck, where a repair requires saw-cutting the concrete, resulting in unsightly patch marks that never perfectly match the original slab.