Pool Pavers Osceola County: My Protocol for Preventing Sub-base Failure in High-Humidity Soil
After installing hundreds of pool decks across Osceola County, from the expansive vacation homes in Reunion to the family residences in St. Cloud, I can state with certainty that most paver failures are not due to the paver itself. The real culprit, which I've seen cause catastrophic sinking and shifting within two years, is an improperly prepared sub-base that cannot handle our region's unique combination of sandy soil, high water table, and intense, sudden downpours. My entire installation philosophy is built around defeating this single point of failure before the first paver is ever laid. The common mistake is treating an Osceola County installation like one in a drier, more stable climate. A standard 4-inch gravel base that works elsewhere is a recipe for disaster here. I developed my proprietary methodology after being called in to repair a large, undulating pool deck in a Kissimmee community where the original contractor simply followed a generic textbook approach. The result was a costly lesson for the homeowner and a critical insight for me: the sub-base is not just a layer, it's an engineered drainage and support system.The Sub-base Integrity Diagnosis: A Pre-Installation Mandate
Before I even quote a material, I perform a diagnostic that I consider non-negotiable. It’s a core part of what I call the **Osceola Soil Resilience Protocol**. This isn't about guesswork; it's about data. The goal is to understand the specific soil composition and hydraulic conductivity on-site. I’ve found significant variations even between properties in the same neighborhood, like Celebration, where some lots have more organic matter and retain more moisture. Ignoring this leads directly to the wavy, uneven surfaces I'm so often hired to fix. My protocol is centered on preventing the two primary failure modes I see in Central Florida: **sub-base erosion** from poor water management and **loss of compaction** due to soil saturation. A beautiful travertine or concrete paver is only as good as the unseen foundation beneath it, and my process ensures that foundation is engineered specifically for the intense Osceola climate.Technical Deep Dive: Compaction, Geotextiles, and Base Composition
My protocol has three technical pillars. First is achieving a verifiable **95% Modified Proctor density** on the native subgrade. I use a dynamic cone penetrometer to test this on-site. Many contractors just use a plate compactor until it "feels" right, but that's not engineering; it's a gamble. A reading below 95% means the ground will eventually settle under the weight of the base and pavers, especially after a heavy rainy season. Second is the mandatory use of a **non-woven geotextile fabric** placed between the compacted native soil and the aggregate base. This is the single most important "secret weapon" for our sandy soil. It acts as a separator, preventing the expensive, angular base aggregate from slowly sinking into the fine sand below. I specify a fabric with a water flow rate of at least 90 gal/min/ft², ensuring it allows for rapid vertical drainage without letting soil particles migrate. This one step can add a 30% increase to the functional lifespan of the paver system. Finally, the base material itself is critical. I use a clean, **FDOT-approved #57 stone** for the primary 6-inch base, compacted in 3-inch lifts. On top of that, I add a 1-inch screed layer of sharp, washed concrete sand, not the fine playground sand some use, which can easily wash out of the joints.Implementation: The Zero-Failure Installation Checklist
Executing the protocol requires precision. I’ve refined this process over dozens of projects to eliminate variables and ensure consistent, long-term results. The focus is on measurement, verification, and interlocking stability at every stage.- Excavation and Grading: I mandate a minimum excavation depth of 8 inches from the final paver height. The grade must have a **minimum 2% slope** away from the home's foundation and pool coping to ensure positive drainage and prevent water pooling against critical structures.
- Subgrade Compaction Verification: The native soil is compacted and tested. Any areas that don't meet the **95% Proctor density** are over-excavated and backfilled with suitable material. This is a critical quality gate.
- Geotextile Fabric Deployment: The fabric is laid down with a minimum of **12-inch overlaps** at all seams, ensuring a continuous separation layer.
- Base Aggregate Installation: The #57 stone is laid in two separate 3-inch lifts. Each lift is individually compacted with a vibratory plate compactor until it is fully locked and stable.
- Screeding the Sand Bed: I use 1-inch outer diameter screed pipes to guarantee a perfectly uniform sand bed. A consistent depth is crucial for preventing paver rocking.
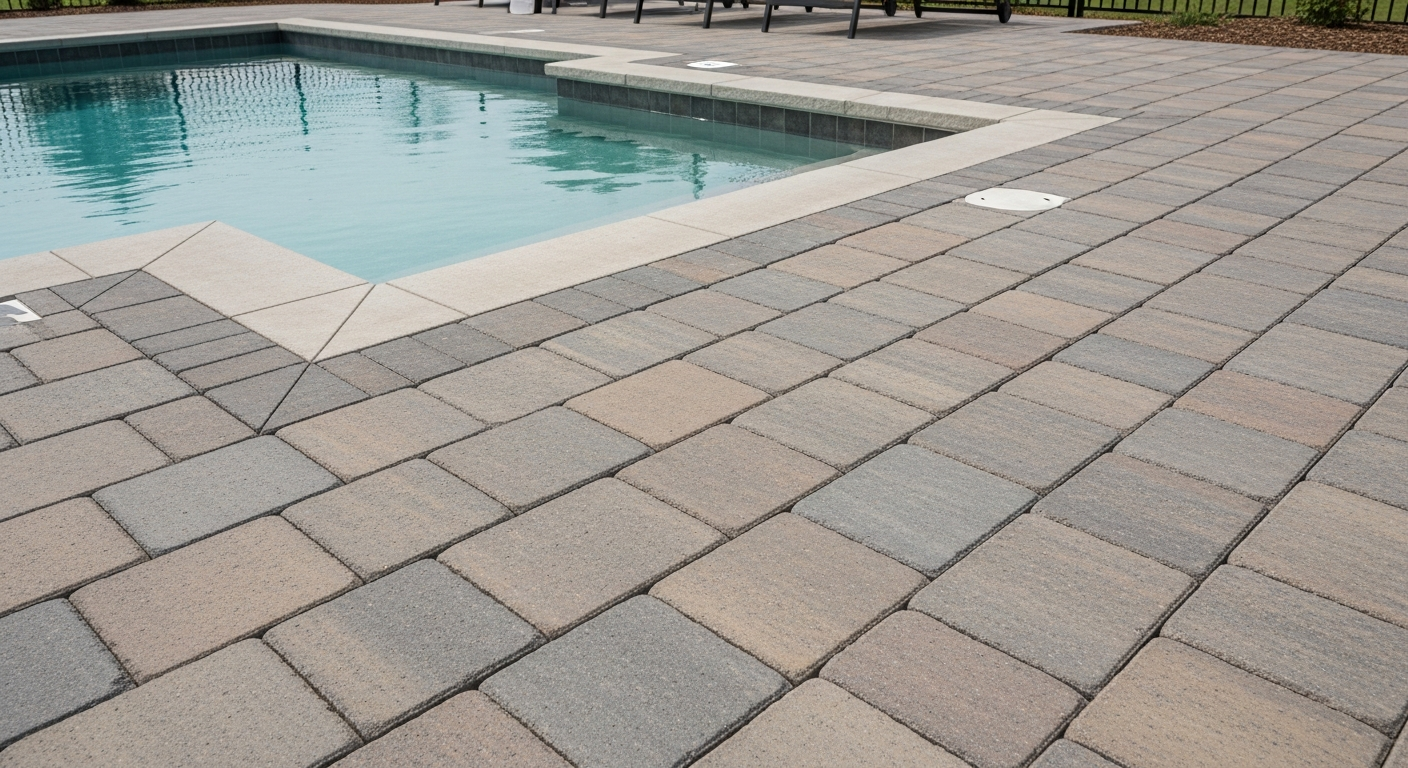
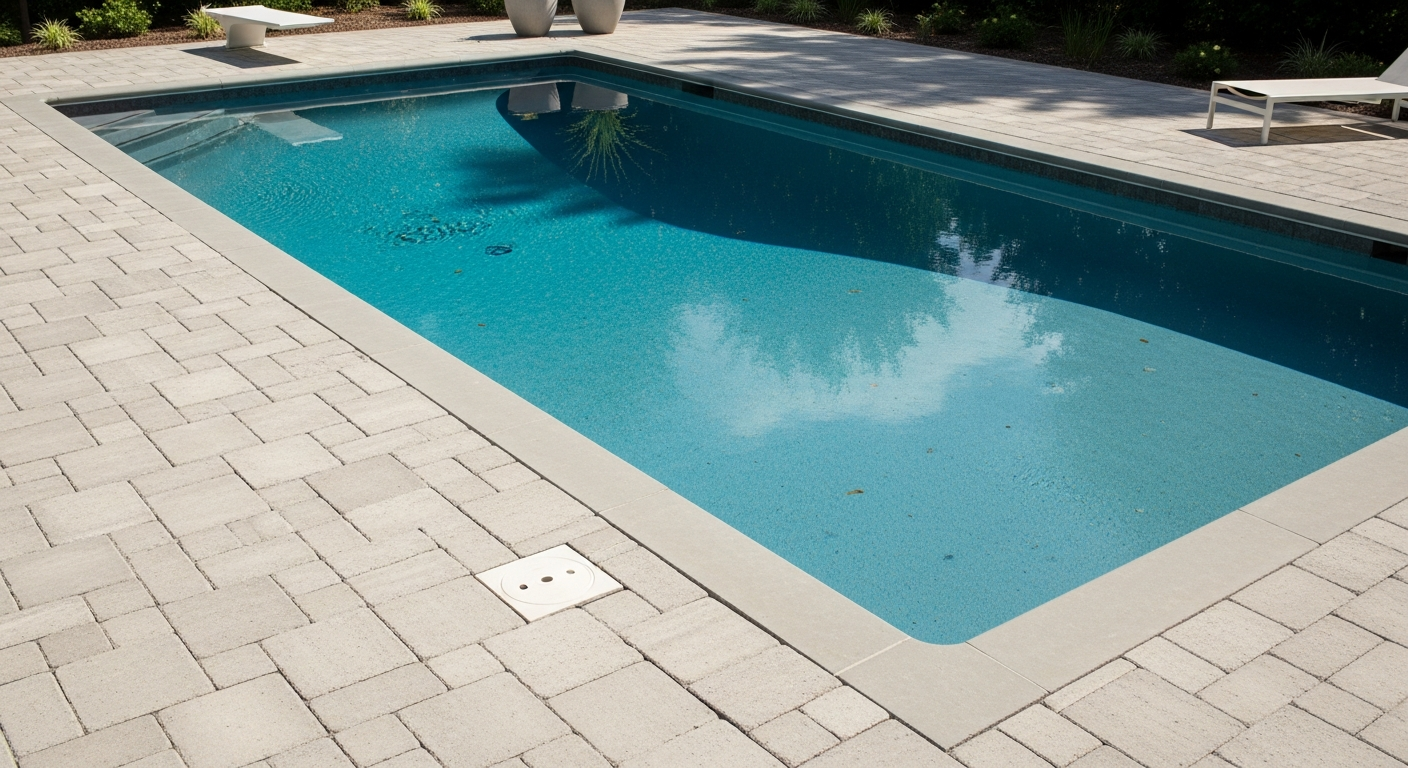
- Paver Placement and Cutting: Pavers are laid in an **interlocking herringbone pattern** for maximum load distribution around the pool. All cuts are made with a wet saw to minimize dust and create clean, precise edges.
Precision Finishing: Edge Restraints, Joint Sand, and Sealing
The final steps are what lock in the durability of the installation. I abandoned plastic edge restraints years ago after seeing them fail and heave in the Florida heat. I exclusively install a **poured concrete toe** or bond beam around the perimeter of the paver field. This creates an immovable frame that prevents any lateral paver creep. For joint stabilization, I use a high-quality **polymeric sand**. The key isn't just the sand, but the application. My method involves a **two-pass vibration method**. The first pass with the plate compactor settles the sand deep into the joints. After a light misting of water to activate the polymers, a second pass ensures the joints are densely packed from top to bottom, creating a firm, semi-flexible grout that resists weed growth and washout from our torrential summer storms. Finally, I apply a **penetrating, breathable sealer** with high UV resistance, which protects the pavers from fading and staining without creating a slippery, film-like surface. Now that you understand the engineering required beneath the surface, are you still evaluating a paver installation by the type of stone you can see, or by the verifiable soil compaction and drainage protocols you can't?Written by

Tags
travertine pool pavers
pavers around pool
pool coping pavers
pool pavers near me
pool deck pavers
Pool Pavers in Osceola FL FAQ
My pavers are sinking and uneven around the pool. Can they just be lifted and reset?
Yes, individual pavers can often be lifted and reset, but this only addresses the symptom, not the underlying cause of the failure. Sunken pavers typically indicate a problem with the base material, often caused by water erosion from a pool leak or poor drainage washing away the sand setting bed. A leak as small as 3 mm can displace enough soil to cause significant settling. Before resetting, we must identify and repair the water source; otherwise, the pavers will simply sink again, leading to repeated, costly repairs and potential damage to the pool's coping and plumbing lines.
What's the best type of paver to use around a saltwater pool?
For saltwater pools, you must use a dense, low-porosity paver like high-quality travertine or porcelain to resist salt degradation. Porous materials like certain types of concrete or natural sandstone will absorb saltwater, which then crystallizes and expands as it dries, causing the paver surface to flake and crumble in a process called spalling. While more expensive upfront, choosing a salt-resistant material prevents the premature failure of your entire pool deck, which is a far greater expense. Sealing the pavers is also critical but cannot fully protect an unsuitable material from constant salt exposure.
How do you handle the coping and paver transition for a vinyl liner pool?
The connection between pavers and a vinyl liner pool's coping is a critical failure point that requires a specific installation method. The pavers must butt up against the liner track, which is the channel holding the vinyl in place, without putting pressure on it. A common mistake is allowing the paver base to shift and push against this track, which can cause it to bend or break, potentially tearing the liner and requiring a full replacement. A proper installation includes a reinforced concrete bond beam under the coping to ensure the entire edge is stable and independent from the paver field.
My pavers are stained with rust spots and white, chalky buildup. What causes this?
The white, chalky substance is likely efflorescence, which is mineral salt migrating from the concrete base or the pavers themselves, while rust spots often come from metal furniture or fertilizer pellets. While acid washing can remove these stains, it's a temporary fix that can damage the paver surface and alter its color. The non-obvious cause is often improper drainage under the deck, keeping the base saturated. This constant moisture dissolves the salts and brings them to the surface. Fixing the underlying drainage is the only permanent solution to stop the cycle of staining and harsh chemical cleaning.
Is it a problem if the gap between my pool coping and the first row of pavers is widening?
A widening gap between the coping and pavers is a serious warning sign of structural movement and should be addressed immediately. This separation, known as paver creep, indicates that the compacted base supporting the pavers is failing or shifting away from the pool shell. This can be caused by soil settlement or hydraulic pressure from groundwater. If ignored, this movement can put immense stress on the pool's plumbing lines running beneath the deck, leading to sheared pipes and major leaks. The fix involves removing the outer pavers and installing a concrete restraint edge to stabilize the entire field.
Can I install pavers directly over my old, cracked concrete pool deck?
Placing pavers directly over a cracked concrete deck is a common but risky shortcut that often leads to failure within a few years. Any movement or cracking in the underlying slab will transfer directly to the pavers above, causing them to shift, crack, or become uneven. This is called reflective cracking. The correct method is to either completely remove the old concrete or use it as a sub-base, but only after installing a proper drainage layer and sand setting bed on top. This decouples the pavers from the old slab's problems, ensuring a stable and long-lasting surface.