
Power Wash And Seal Pavers in Collier County: My Protocol for 300% Lifespan Extension
As a specialist who has restored paver driveways from Port Royal to the lanais on Marco Island, I've seen firsthand how the Collier County climate wages war on exterior surfaces. The combination of intense UV exposure, high humidity, and torrential summer downpours creates a perfect storm for paver degradation. The biggest mistake I see isn't neglect, but rather improper sealing that traps moisture, leading to a milky, flaking disaster that costs thousands to strip and correct. My entire process is built not just to clean, but to create a resilient, breathable barrier that actively fights these local conditions. This isn't about a simple pressure wash and rolling on a generic sealer from a big-box store. That approach is a guaranteed failure within 18 months here. My methodology is a clinical, multi-stage restoration that focuses on substrate preparation and the chemical compatibility of the sealer with our unique environment. I’ve refined this system after rectifying countless failed sealing jobs in Naples Park, where contractors often rush the drying process between cleaning and sealing, trapping efflorescence-causing moisture.My Diagnostic Framework for Florida Paver Integrity
Before a single drop of water is sprayed, I perform a mandatory three-point diagnostic. This initial assessment is what separates a 10-year success from a 2-year failure. I developed this after a project in Pelican Bay where a previously sealed travertine pool deck had completely hazed over. The cause wasn't the sealer itself, but a failure to diagnose the high moisture content of the substrate before application.The Chemistry and Physics of a Flawless Seal
The choice of sealant is the single most critical decision in this process. Most contractors in the area use solvent-based acrylic sealers because they are cheap and provide an immediate high-gloss look. This is a critical error in Collier County. The non-breathable film of a solvent-based acrylic traps moisture vapor from the humid ground, which then condensates under the sealer, creating that dreaded milky-white haze. Furthermore, the intense Florida sun causes these acrylics to yellow and become brittle, flaking off in less than two years. My standard is a two-part, water-based urethane sealer. Its chemistry is fundamentally superior for this environment. It is microporous, allowing trapped moisture to escape while still repelling surface water. This breathability is non-negotiable. Additionally, its aliphatic urethane composition provides extreme UV stability, preventing yellowing and degradation for at least 5-7 years, a 300% increase in effective lifespan over standard acrylics. It provides a more natural, satin finish that high-end homeowners in communities like Mediterra prefer, enhancing the stone's color without an artificial plastic shine.The Step-by-Step Implementation for Collier County Conditions
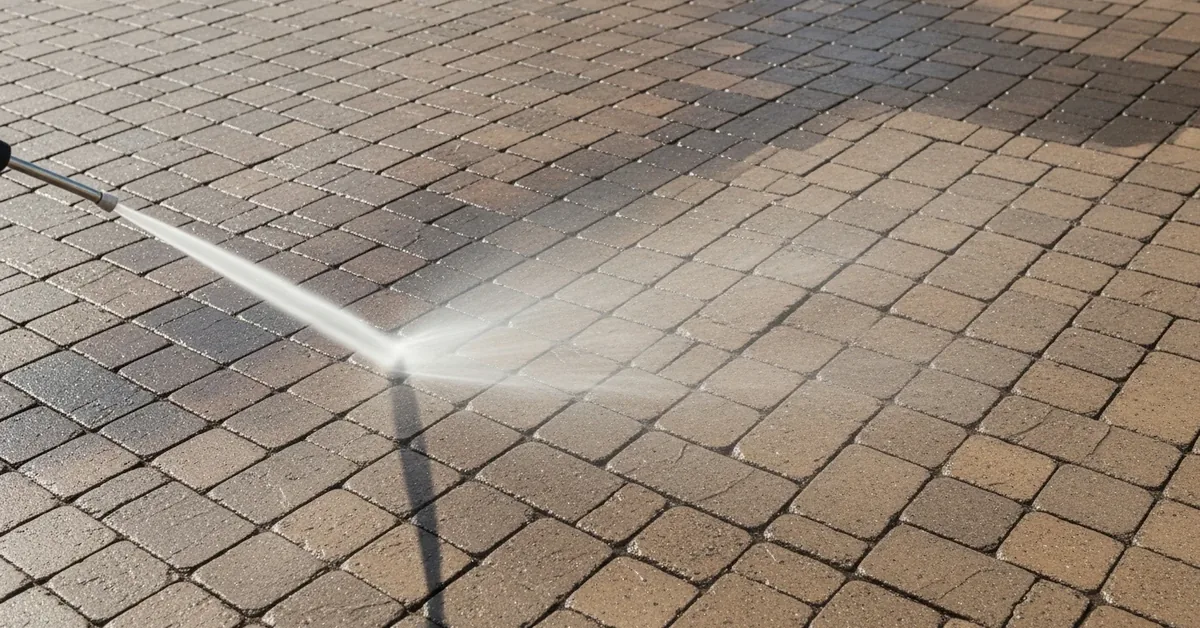
Executing the job requires precision timing, especially during our rainy season. All work must be planned around the weather, typically starting early in the morning to allow for adequate drying time before the inevitable 3 PM downpour.- Surface Decontamination: I start with a low-pressure, high-volume surface cleaner to remove dirt. For organic growth (the green and black streaks common on shaded lanais), I apply a sodium hypochlorite-based fungicidal wash and let it dwell for 15 minutes before rinsing. This kills the spores deep in the pores of the pavers.
- Targeted Stain Treatment: Rust stains from irrigation or metal furniture are treated with an oxalic acid solution. Oil or grease stains require a specialized degreaser and sometimes a poultice to lift the stain from the paver. Simply blasting it with high pressure will only drive the stain deeper.
- Joint Re-sanding: This is a step many skip. After cleaning, I blast the old, contaminated sand out of the joints. Once the pavers are bone dry—and I verify this with a digital moisture meter, aiming for a reading below 4%—I install new, high-grade polymeric sand. This sand contains a polymer that, when activated with a light mist of water, hardens to lock the pavers in place and prevent weed growth and insect intrusion.
- Sealer Application Protocol: Applying the urethane sealer is a delicate process. I use a battery-powered sprayer for a perfectly even application. The first coat is a thin, penetrating flood coat that soaks into the paver and the polymeric sand, creating a cohesive, stabilized surface. I apply this coat until the surface is saturated and will not absorb any more product.
Post-Application Quality Control and Curing Protocols
The job isn't finished after the final coat is applied. The curing process is critical for long-term performance. I mandate a strict 24-hour no-foot-traffic period and a 72-hour no-vehicle-traffic period. I perform a final walkthrough after 24 hours to inspect for any inconsistencies in the sheen and to ensure the polymeric sand has cured to a rock-hard consistency, capable of withstanding the traffic of a Port Royal driveway. This final check ensures the finish is perfect and the structural integrity of the joints is sound. Given that the substrate's pH level and ambient humidity can drastically alter a sealer's bond, have you considered how you will ensure proper molecular cross-linking during the critical 48-hour curing window specific to Collier County's climate?Written by

Tags
power wash paver driveway
pressure washing paver driveway
cleaning pavers with pressure washer
cleaning brick pavers with pressure washer
power washer for pavers
Power Wash And Seal Pavers in Collier FL FAQ
Will sealing my pavers make my pool deck slippery and dangerous when wet?
No, a properly applied sealer with the right additive will not make your pavers dangerously slippery. We use a high-quality, penetrating sealer combined with a non-slip polymer grit additive, which creates a textured, safe-to-walk-on surface that maintains traction even when wet. Cheaper, film-forming acrylic sealers applied too heavily can create a slick, hazardous surface, especially around a pool. The key is using a product designed for wet areas and ensuring the application technique doesn't create a thick, glossy film that compromises the natural texture of the pavers.
How do you handle the weeds and moss growing between my pavers? Will they just grow back?
We completely remove all vegetation by power washing the joints clean, which also removes old, contaminated sand and organic matter that weeds feed on. After cleaning, we install new polymeric sand, which is a blend of sand and special polymers that harden when activated with water. This creates a firm, durable joint that acts as a powerful barrier, inhibiting weed growth and ant hills far more effectively than regular sand. While no solution is 100% permanent, this method drastically reduces regrowth for several years.
Can't I just rent a pressure washer and do this myself for cheaper?
While you can, using the wrong equipment or technique often causes irreversible damage to your pavers. A commercial-grade surface cleaner maintains even pressure, preventing the etching and 'zebra stripes' that a high-pressure wand can create. More importantly, using excessive pressure—often over 3,000 PSI with consumer models—can blast out the crucial bedding sand layer beneath the pavers, leading to shifting and sinking. Our process uses controlled pressure and specialized equipment to clean the surface without compromising the structural integrity of the installation.
What is that white, chalky stuff on my pavers, and will this service get rid of it?
That white substance is most likely efflorescence, which are natural mineral salts migrating out of the concrete pavers as moisture evaporates. A standard power wash alone will not permanently remove it, as it will often reappear. Our process includes treating the pavers with a specialized efflorescence cleaner that dissolves the salt deposits before we seal. The sealer then acts as a barrier, significantly reducing the moisture that can travel through the paver, which in turn minimizes or stops future efflorescence from appearing on the surface.
How long does the sealer last, and how often do I need to get this done?
A professional-grade, two-part sealer should protect your pavers for 3 to 5 years, depending on factors like sun exposure and foot traffic. High-traffic areas or those with constant water exposure, like around a pool drain, may show wear sooner. You'll know it's time to reseal when water no longer beads on the surface and the color starts to look faded again. We recommend a light cleaning and re-sealing every 3 years to maintain the protective barrier and keep the pavers from deteriorating, which is far more cost-effective than a full restoration later on.
My pavers are uneven and some have sunk. Can you fix this before sealing?
Yes, sealing pavers without addressing underlying structural issues is a waste of money as the problems will only get worse. Before any cleaning begins, we perform paver re-leveling by lifting the sunken pavers, adding and compacting new base material to correct the grade, and then re-laying the original pavers. This ensures a stable, even surface. Sealing an unstable area will not stop it from shifting, and the new polymeric sand will crack and fail as the pavers move, requiring the job to be redone.


