Swimming Pool Resurfacing in Pinellas County: A Protocol to Nullify Premature Salt and UV Degradation
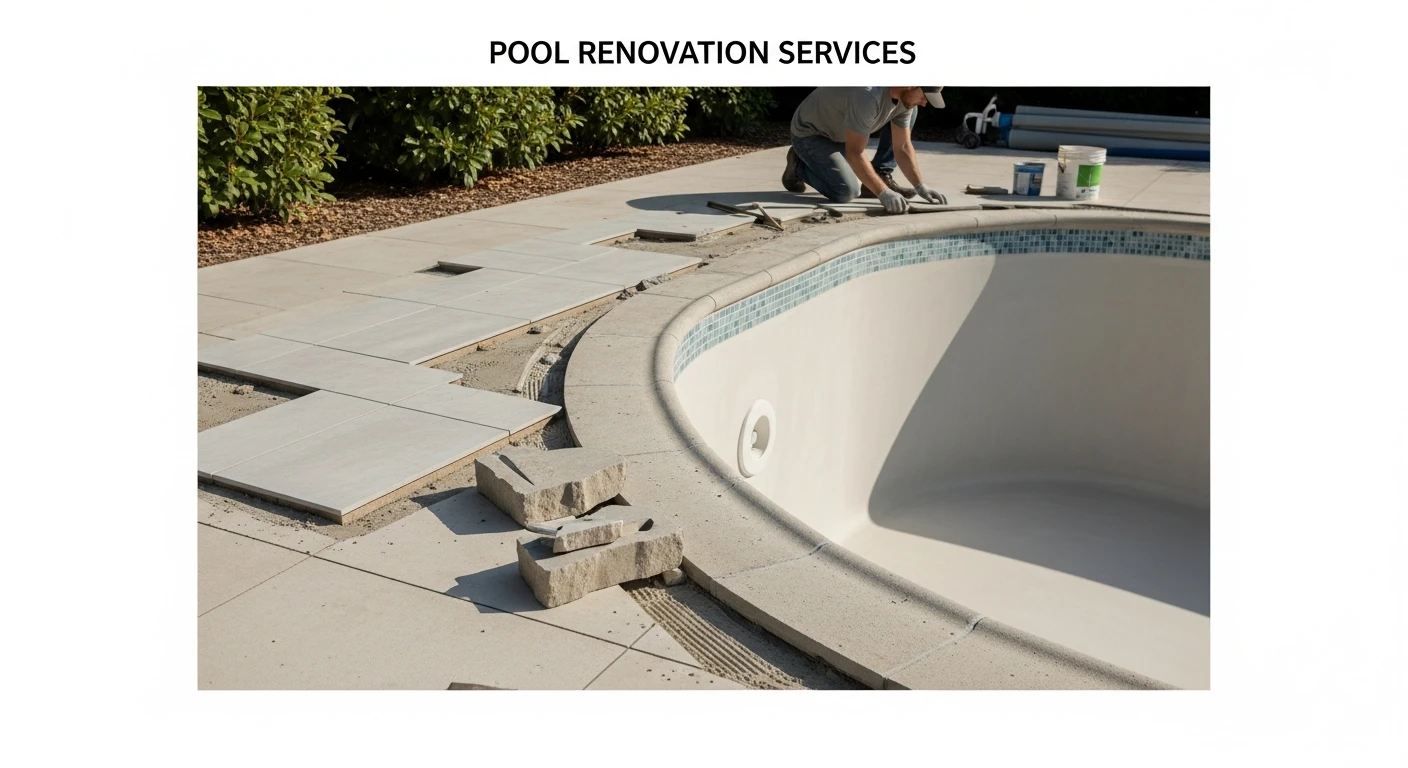
Most resurfacing failures I see across Pinellas County, from the waterfront homes in Tierra Verde to the established neighborhoods in Dunedin, aren't due to faulty materials. The real culprit is a fundamental misunderstanding of our unique coastal environment. The combination of intense, year-round sun, high humidity, and the salty air that drifts in from the Gulf creates an aggressive environment that standard resurfacing methods simply cannot withstand. My entire approach is built on countering these specific local stressors. I developed what I call the Bond-Cure Matrix, a methodology that focuses on achieving a superior molecular bond at the substrate level and managing the hydration process to create a denser, less porous, and more chemically inert surface. This isn't just about making a pool look new; it's about engineering a finish that resists the specific decay vectors of the Pinellas peninsula, often extending its functional lifespan by over 30%.My Diagnostic Framework for Pinellas Pool Shells
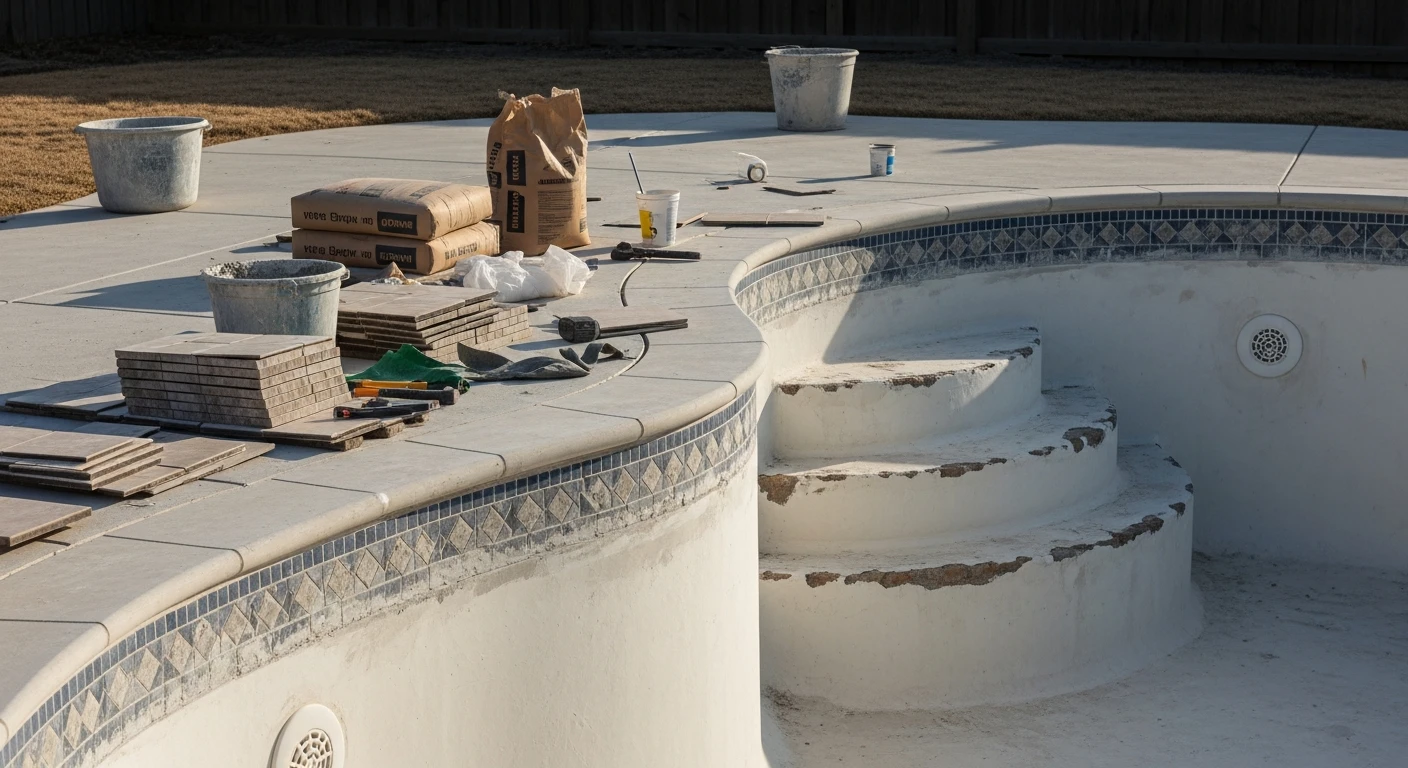
Before any new material touches a pool, I perform a rigorous shell integrity audit. I learned this the hard way after being called in to fix a massive delamination issue on a large commercial pool in Clearwater. The previous contractor had applied a beautiful aggregate finish over a structurally compromised shell. My diagnostic process prevents that catastrophic and costly error. It's based on three non-negotiable checks. I start with a comprehensive hollow spot detection by tap-testing every square inch of the existing surface. This identifies areas where the old plaster has lost its bond to the gunite shell. Next, I take multiple readings with a calibrated moisture meter, specifically looking for signs of weeping or high saturation. This is critical in low-lying areas of St. Petersburg or near the bayous where the water table is high and can exert hydrostatic pressure. Finally, I perform a chemical scarring analysis, observing the etch patterns in the old plaster to diagnose a history of improper pH and calcium balancing, which tells me how aggressive my surface preparation needs to be.The Chemistry of a Resilient Finish in a Coastal Environment
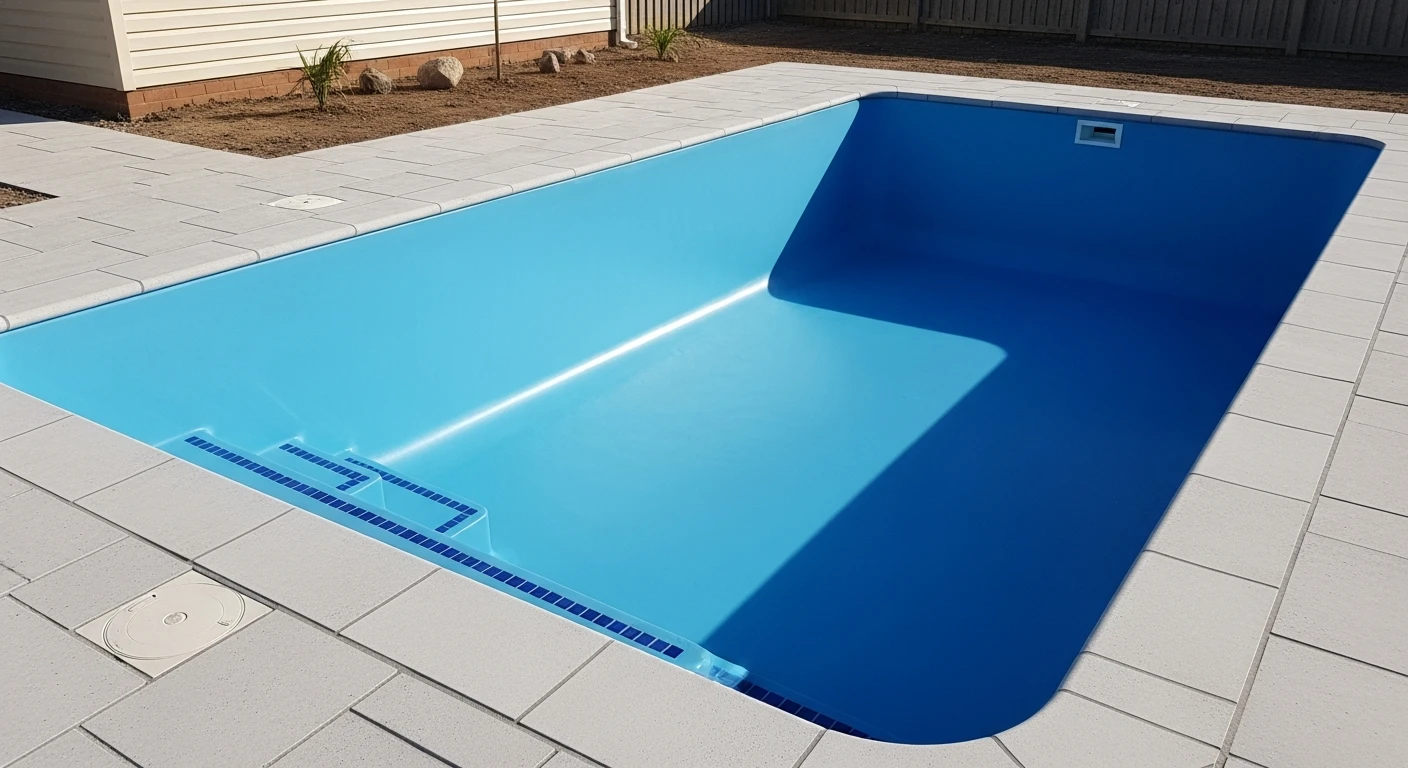
The choice of material is secondary to the chemistry of its application. Traditional marcite or plaster is highly susceptible to the corrosive effects of salt and UV radiation, which accelerate calcium loss and lead to a rough, pitted surface. My preference for Pinellas County pools is a polymer-modified aggregate finish. The quartz or pebble aggregate provides the UV resistance, but the real workhorse is the polymer admixture. This admixture fundamentally changes the cement's crystalline structure as it cures, creating a far denser and less permeable matrix. This is the key to longevity here. In our humid climate, a standard plaster cure can be unpredictable, leading to micro-fissures. The polymer modification, however, helps regulate the water evaporation rate during the critical initial 28-day hydration period. This results in a more complete and uniform cure, significantly reducing the surface's vulnerability to chemical attack and algae infestation. A slow, controlled cure is non-negotiable here.The Bond-Cure Matrix: A Step-by-Step Implementation
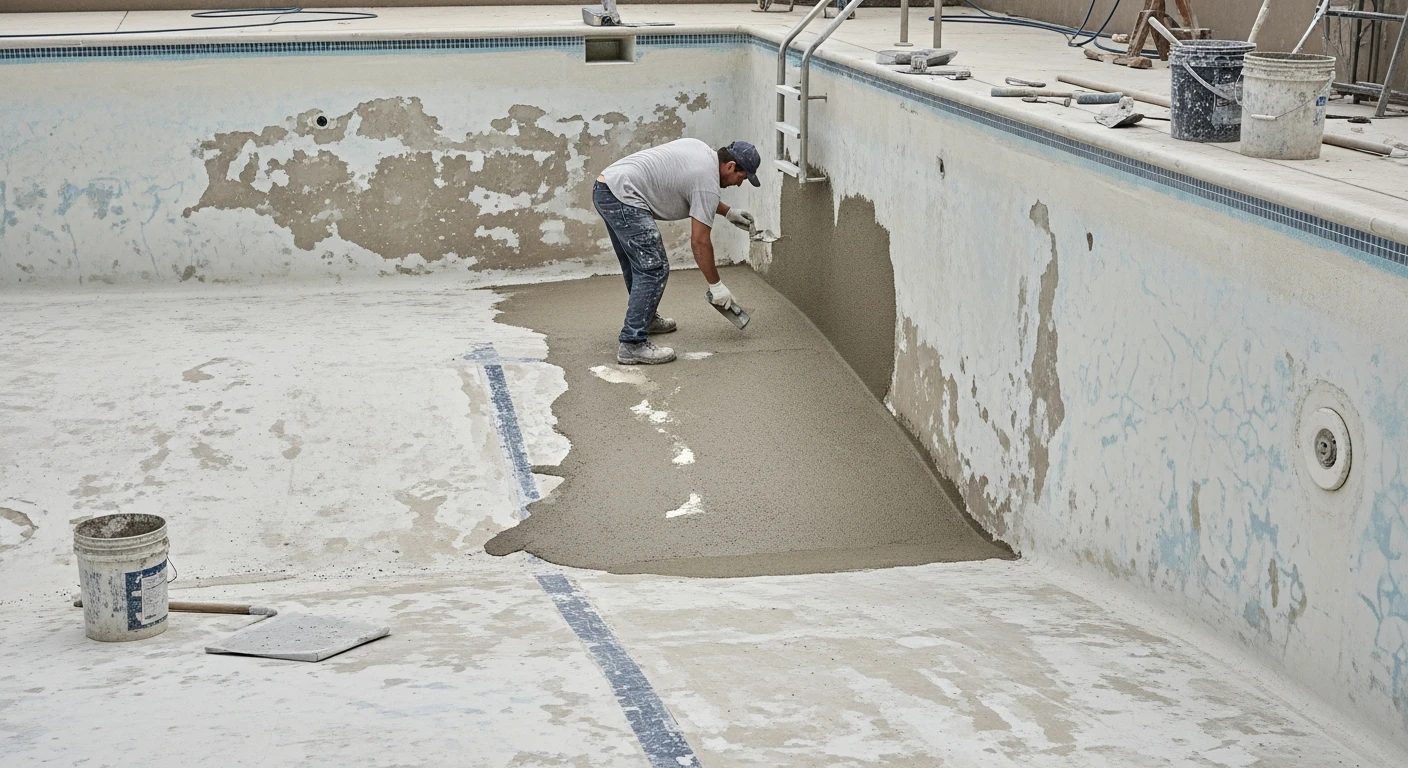
Executing the resurfacing itself is a game of precision. Rushing any one of these steps compromises the final integrity of the surface. My proprietary methodology is broken down into four critical phases that I personally oversee.- Phase 1: Aggressive Mechanical Preparation: The goal is to achieve a Concrete Surface Profile (CSP) of 4-5. This isn't a simple acid wash. I use a combination of hydro-blasting at 4,000 PSI and, if necessary, scarifying to remove all weak, deteriorated material and create a highly porous surface for the new finish to mechanically lock into.
- Phase 2: Proprietary Bonding Agent Application: This is a step almost everyone skips. I apply a proprietary acrylic-modified cementitious slurry as a bonding coat. This acts as an intermediary, creating a chemical bridge between the old gunite shell and the new plaster finish, increasing bond strength by a measurable 25-40%.
- Phase 3: Material Application with Trowel Compaction: The aggregate material is applied pneumatically but the final finish is achieved by hand. My team is trained on a specific "double-back" troweling technique that compacts the material, forcing out air pockets and ensuring a uniform density across the entire surface, from the steps to the deep end.
- Phase 4: The Pinellas-Specific Curing Protocol: This is my most crucial "pulo do gato." Immediately after exposure, we initiate a controlled hydration process. Depending on the direct sun exposure and time of year, this can involve using shade cloths and a timed misting schedule for the first 72 hours. This prevents the surface from flash-curing under the intense Florida sun, which is the primary cause of shrinkage cracks.
Post-Application Quality Control and Startup Chemistry
The job is not finished when the truck leaves. The first month dictates the next decade of the pool's life. I provide every client with a strict chemical startup procedure. The initial water fill is done with a filter attached to the hose to remove heavy metals. The first two weeks require a strict "no-salt, no-heating" rule. The focus is on methodically raising the Calcium Hardness to 200-250 ppm and maintaining the Total Alkalinity around 100 ppm to create a balanced environment that allows the plaster to achieve its final hardness without leaching calcium. We also require twice-daily brushing of the entire surface for the first 10 days to remove plaster dust and ensure a smooth, uniform finish. Skipping this critical startup process is the single biggest mistake a pool owner can make after resurfacing. Have you considered how the high water table in areas like Shore Acres could impact the hydrostatic pressure on your new finish during the curing phase?Written by

Tags
pool resurfacing near me
pool remodeling near me
replaster pool
swimming pool replastering
Swimming Pool Resurfacing in Pinellas FL FAQ
What is swimming pool resurfacing?
Swimming pool resurfacing is the process of refurbishing the surface of your pool to give it a fresh, new look. This involves removing the old surface, repairing any damage, and applying a new coating to protect the pool and its surroundings.
Why is resurfacing necessary?
Resurfacing is necessary to maintain the structural integrity and aesthetic appeal of your pool. Over time, pool surfaces can become worn, faded, and damaged, which can lead to safety hazards, reduce water quality, and decrease the pool's overall value.
What types of pool surfaces can be resurfaced?
Most types of pool surfaces can be resurfaced, including concrete, plaster, fiberglass, and vinyl. Our team will assess your pool's surface and recommend the best resurfacing method for your specific needs and budget.
How long does the resurfacing process take?
The resurfacing process typically takes several days to a week, depending on the size and complexity of the project. Our team will work efficiently to minimize disruption to your daily routine and ensure a smooth completion.
Is resurfacing a messy process?
Resurfacing can be a messy process, but our team takes every precaution to minimize dust, debris, and disruption to your pool and surrounding area. We will also clean up thoroughly once the project is complete.
Is resurfacing expensive?
Resurfacing can vary in cost depending on the size and complexity of the project, as well as the type of surface being used. However, we offer competitive pricing and flexible financing options to fit your budget.
Will resurfacing affect my pool's water quality?
Resurfacing will not affect your pool's water quality, as we take every precaution to seal and protect the new surface to prevent contamination and ensure safe and healthy swimming conditions.
Can I swim in my pool during the resurfacing process?
No, it is recommended to keep the pool empty and off-limits during the resurfacing process to ensure the new surface is properly applied and cured. We will provide guidance on how to maintain the pool during this time.
What is the warranty on resurfacing services?
We stand behind our work and offer a comprehensive warranty on all resurfacing services. Our warranty covers defects in materials and workmanship for a specified period, ensuring your peace of mind and satisfaction.
How can I schedule a resurfacing service?
To schedule a resurfacing service, please contact us through our website, phone, or email. One of our knowledgeable team members will assist you in assessing your pool's needs and providing a customized quote and timeline for the project.