Pasco County Lighting Systems: My Protocol for 50% Fixture Longevity in High-Humidity Environments
I see the same mistake made from New Port Richey to Wesley Chapel: homeowners and even some contractors install beautiful lighting systems that fail within two years. The culprit isn’t a faulty bulb; it's a fundamental misunderstanding of Pasco County's corrosive, high-humidity climate. My entire approach is built on preempting the environmental damage I’ve seen decimate countless installations, focusing on material science and sealed connections rather than just lumens and aesthetics. The typical "big box store" brass-plated aluminum fixture is a ticking time bomb here. The salty air and constant moisture will eat through the finish and corrode the internal wiring, leading to flickering, failure, and a sunk investment. The solution isn't just better fixtures, it's a holistic system designed for resilience, starting with a diagnostic that most electricians skip.The Coastal Corrosion Audit: My Diagnostic Framework for Pasco Homes
Before I even suggest a fixture, I perform what I call the Coastal Corrosion Audit. This isn't a simple walkthrough. It's a technical assessment of the environmental stressors on a property. For a waterfront home in Hudson, my primary concern is salt spray infiltration. For a newer build in a Trinity subdivision, it's poor drainage around garden beds creating a microclimate of constant dampness. I’ve seen pristine systems fail because a sprinkler head was consistently soaking a transformer. My methodology identifies these points of failure before they cost you money.Beyond Lumens: Mastering CRI and Kelvin for Florida Lifestyles
Once the environmental risks are mapped, I focus on the light itself. Many focus solely on brightness (lumens), but the real magic is in color. The Color Rendering Index (CRI) is critical. A low CRI (below 80) makes colors look washed out and unnatural. For interior spaces and especially lanais where families gather, I insist on a CRI of 90+ to ensure skin tones and food look vibrant and real. Then there's Kelvin temperature. A common error is using a sterile, blue-white light (5000K+) for landscape lighting, which makes a home feel like a commercial parking lot. I specify warmer tones, typically 2700K to 3000K, to create a welcoming, resort-like ambiance that complements Pasco's relaxed lifestyle. The final piece is beam spread; using a narrow 15-degree spot on a wide palm tree is a waste of light. I calculate the precise angle needed to properly graze the texture of the trunk without creating a distracting hot spot.Step-by-Step Implementation: From Voltage Drop Calculation to Fixture Sealing
A perfect design is useless without flawless execution. My installation process is rigorous and designed to prevent the most common points of failure I've had to fix over the years. This isn't just about connecting wires; it's about building a durable electrical system outdoors.- Transformer Load Calculation: I never load a transformer beyond 80% of its rated capacity. Pushing it to 95% or 100%, a common shortcut, drastically shortens its lifespan and creates a fire risk due to overheating.
- Voltage Drop Analysis: On longer runs, especially in larger yards in Land O' Lakes, I calculate the voltage drop to ensure the last fixture on the line receives adequate power. I often use a central hub wiring method instead of a single daisy chain to guarantee consistent brightness across the entire property.
- Connection Fortification: This is my "pulo do gato". I use only silicone-filled, direct-burial wire nuts. After the connection is made, I apply dielectric grease to the socket before inserting the bulb. This simple, often-skipped step creates a waterproof barrier that has saved dozens of my projects from premature failure.
- Fixture Selection and Sealing: I specify fixtures with a minimum IP65 rating, which certifies they are dust-tight and protected from water jets. For coastal areas, I use solid brass or marine-grade powder-coated aluminum, not plated imitations.
The Final 10%: Fine-Tuning for Glare Reduction and Scene Layering
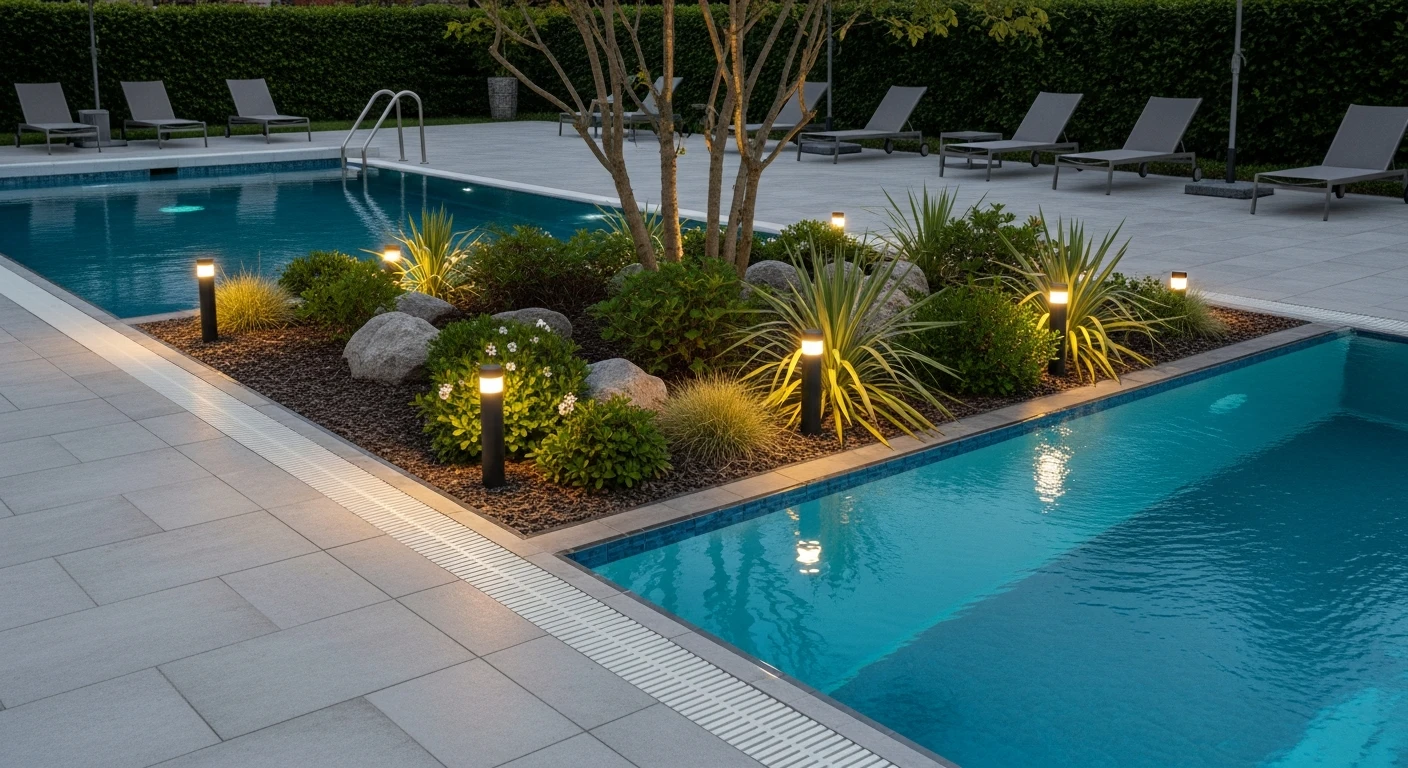
The system is installed, but the work isn't done. The last stage is what I call the "night-time composition." This involves adjusting fixture heads by mere inches and adding glare guards to ensure light is seen, but the source is not. In a project on a canal in Port Richey, the reflection off the water was a major issue. By adding linear spread lenses and honeycomb louvers, I was able to light the property beautifully without creating blinding glare for the homeowners or their neighbors. I layer the light—using soft washes for ambiance on the house facade, focused spots for accenting architectural features, and low-level path lights for safety—to create depth and visual interest. It's this final adjustment that transforms a collection of lights into a truly professional lighting system. Is your current transformer operating at over 80% capacity, and do you know the long-term fire risk that presents?Written by

Tags
pool lighting systems
led pool lights for inground pool
pool lights near me
solar pool lights for inground pools
Lighting Systems in Pasco FL FAQ
Why did my pool light suddenly stop working, and is it just a bulb change?
Your light failure is most likely due to a bad bulb, a tripped ground-fault circuit interrupter (GFCI), or a failed seal letting water in. While it could be a simple bulb replacement, it's often more complex; the most common failure point is a degraded or improperly seated lens gasket, which allows water to seep in and short out the bulb and socket. Ignoring this can corrode the entire light housing, turning a simple repair into a full fixture replacement. A professional will always bring the entire fixture onto the pool deck to replace the bulb and install a new gasket, ensuring a watertight seal to prevent future failures.
I see condensation inside my pool light lens. Is this dangerous?
Yes, water inside your pool light fixture is a serious electrical hazard that requires immediate attention. This indicates a seal failure, and the presence of water with electricity creates a significant risk of shock and can trip your main breaker. The fixture is no longer watertight, and continued operation will corrode the internal components and wiring. You must turn off the power to the light at the breaker panel immediately. The fixture needs to be removed and inspected; often, the internal corrosion is so advanced that a complete replacement of the niche and fixture is the only safe solution.
Is upgrading my old incandescent light to a new LED system worth the cost?
Upgrading to an LED system is a worthwhile investment due to dramatic energy savings and a much longer lifespan. A modern LED light uses up to 80% less energy than an old halogen bulb and can last over 20,000 hours, compared to just 1,000-2,000 for incandescent models. Beyond efficiency, LEDs offer vibrant color-changing shows controlled by a switch or an app. The critical, non-obvious benefit is safety: many new LED systems operate on low-voltage power, significantly reducing electrical risks compared to the old 120-volt systems found in many older pools.
My pool light is flickering. Should I be concerned?
A flickering pool light should be treated as a serious symptom, not a minor annoyance. This often points to an intermittent electrical connection caused by a failing bulb filament, a loose wire, or, more critically, water intrusion creating a partial short circuit. Letting it flicker can damage the light's transformer or the fixture itself. A less obvious cause can be an aging or overloaded GFCI outlet that is becoming overly sensitive and is on the verge of complete failure. Do not ignore this; have the light's wiring and seals inspected promptly to prevent a more expensive repair or a safety issue.
Can I just drain my pool water below the light to fix it myself?
No, you should never drain the pool water to service a light, as this can cause significant structural damage. For a vinyl liner pool, lowering the water level can cause the liner to shrink, pull away from the walls, and wrinkle, potentially requiring a full liner replacement. In a concrete or fiberglass pool, the hydrostatic pressure from groundwater can lift or crack the empty shell. Pool lights are designed with enough extra cord to be brought up onto the pool deck for service without lowering the water level at all. This is the standard, safe procedure for any bulb or fixture replacement.
The circuit breaker for my pool light keeps tripping. What does this mean?
A repeatedly tripping breaker is a clear sign of a ground fault, meaning electricity is escaping its intended path, likely due to water inside the light fixture or a damaged underground conduit. This is your ground-fault circuit interrupter (GFCI) doing its job to prevent a dangerous electrical shock. Simply resetting it is not a fix and is unsafe. The most common cause is a failed gasket or a crack in the lens, but a less-known culprit can be the underground electrical conduit itself filling with water from landscaping irrigation, which then travels into the light's junction box. This requires a professional diagnosis to pinpoint the source of the electrical leak.