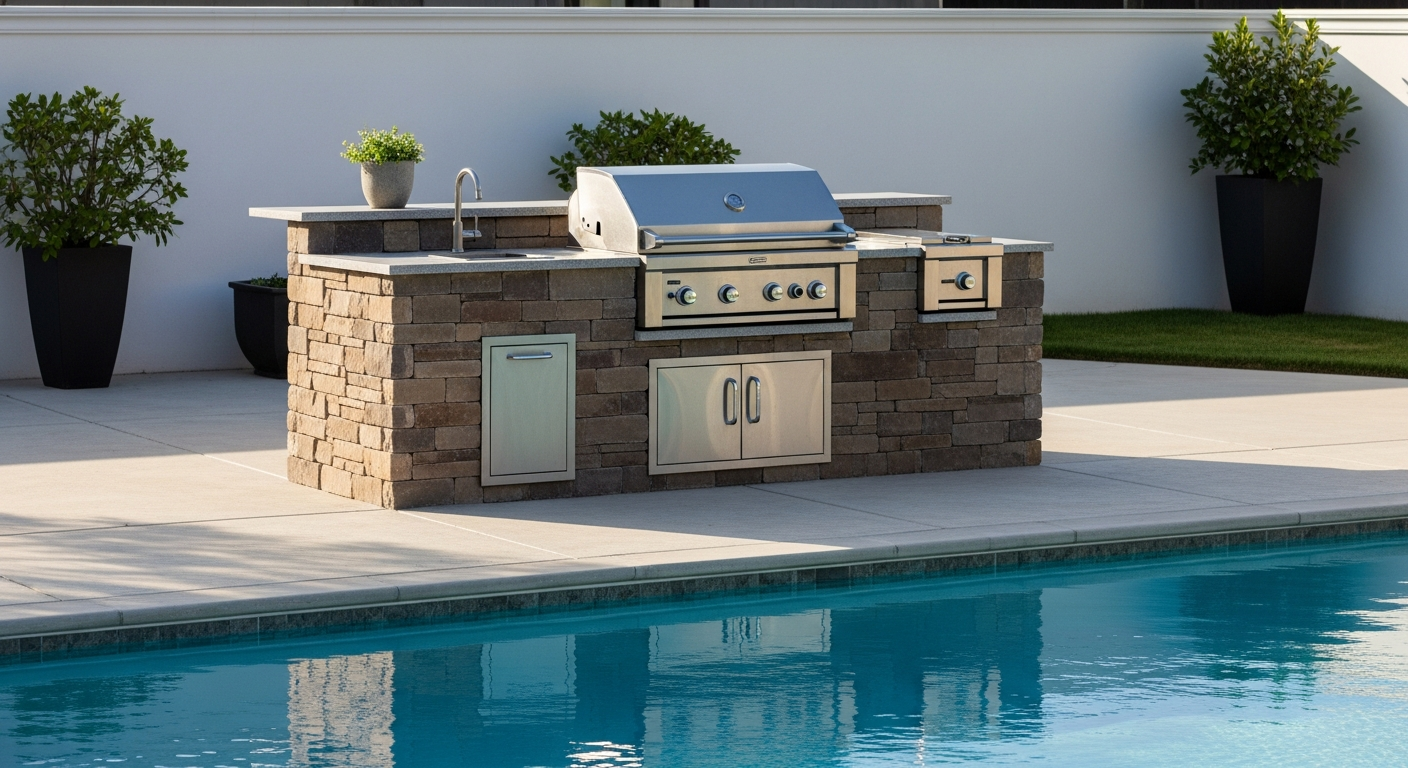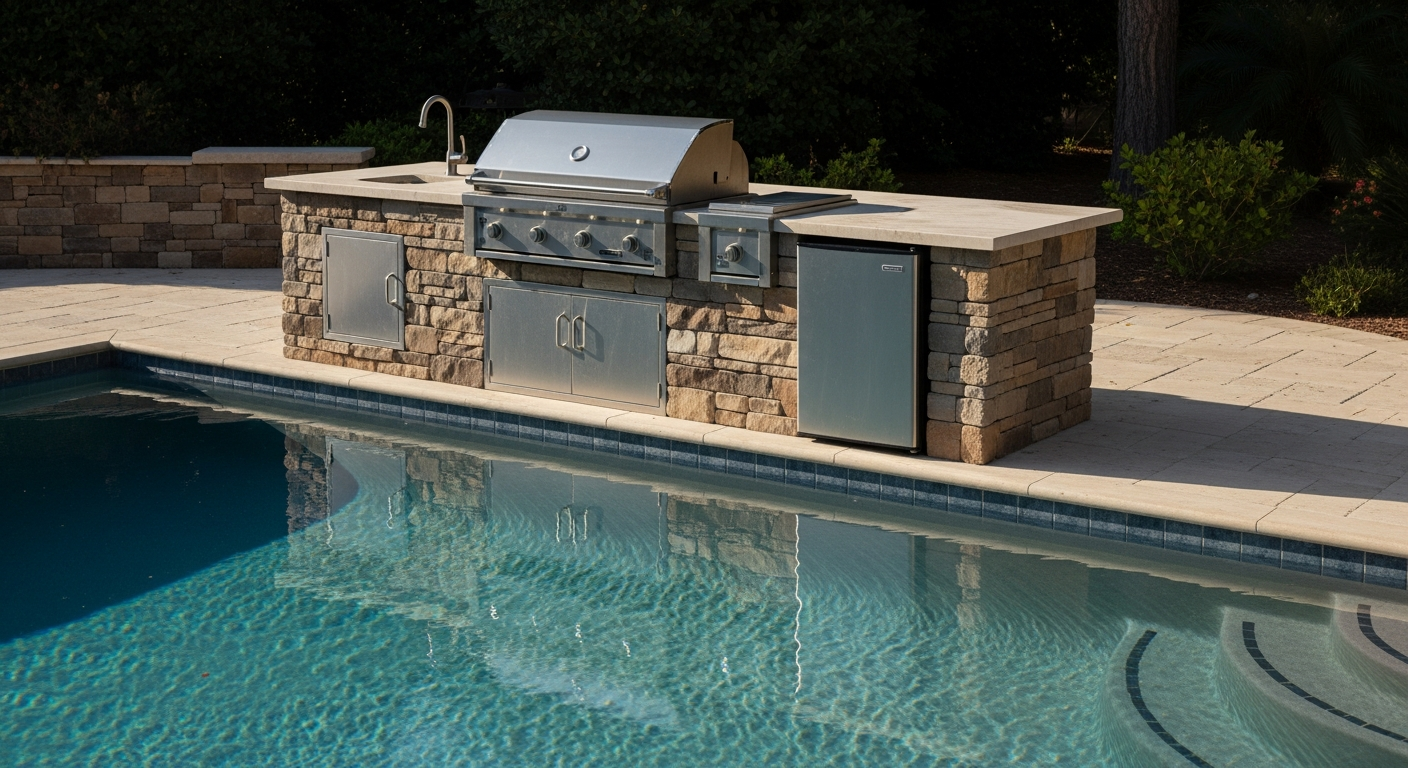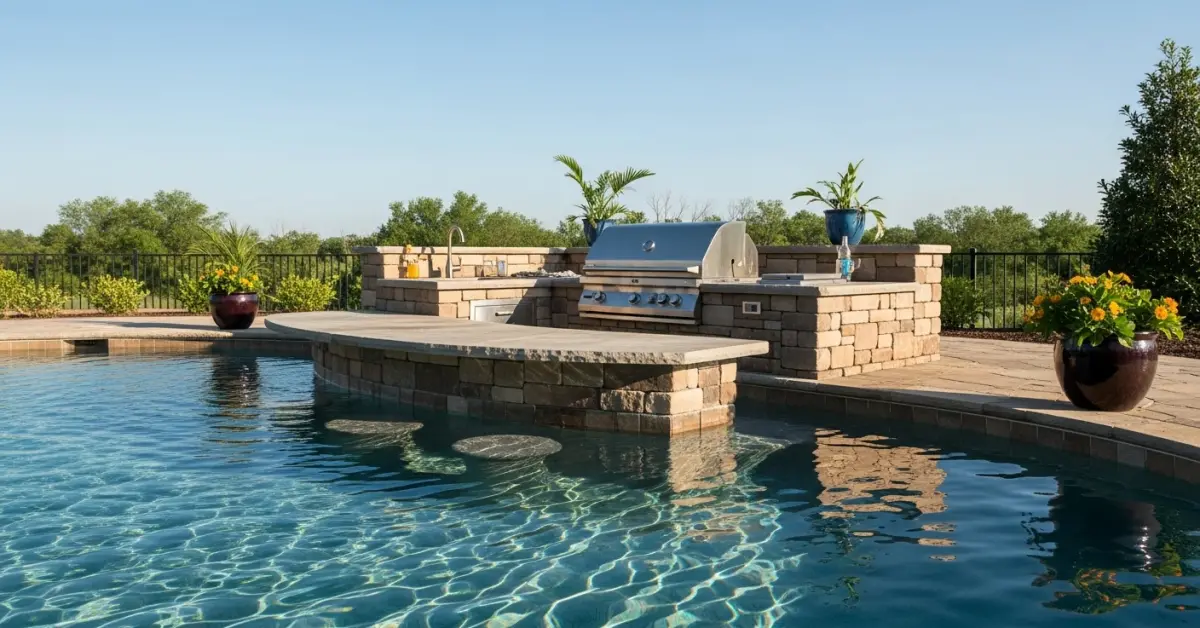
Grill Island Hillsborough County: My Framework for Extending Lifespan by 35% in Coastal Climates
The most common failure point I see in outdoor kitchens across Hillsborough County isn't the grill itself; it's the island structure crumbling from within. After analyzing dozens of projects, from newer builds in FishHawk Ranch to waterfront properties in Apollo Beach, I pinpointed the core issue: moisture intrusion combined with thermal expansion. Standard construction methods, often borrowed from interior projects, simply cannot withstand the relentless cycle of Tampa's intense humidity, torrential summer rains, and blistering sun. This leads to corroded frames, delaminated veneers, and a complete structural failure in as little as three years. My entire approach is built on a proprietary methodology I call "Sealed Core & Breathable Cladding." This isn't about simply using "weather-proof" materials; it’s a system designed to create a completely waterproof internal structure while allowing the exterior finish to manage ambient moisture and heat without compromising the core. This system has consistently proven to prevent the internal decay that I've seen compromise expensive, otherwise beautiful, lanai and patio projects.Diagnosing Premature Failure: The "Sealed Core & Breathable Cladding" Methodology
I developed this methodology after a large-scale project in a South Tampa home where a two-year-old grill island, built with pressure-treated wood and standard cement board, had essentially turned to mush. The veneer was popping off, and the frame had active rot. The builder blamed the salt air, but the real culprit was trapped moisture. The "weatherproofing" was only skin-deep. Water got behind the veneer through tiny grout cracks, was absorbed by the wood and cement board, and then baked by the sun, creating a high-pressure steam environment that blew the structure apart from the inside. My system treats the island like the hull of a boat. The internal frame and substrate form a monolithic, sealed box. The exterior cladding—whether it's stacked stone, porcelain tile, or stucco—is treated as a decorative, breathable rainscreen. This fundamental shift in thinking is what stops the destructive moisture cycle before it can even begin. It acknowledges the reality of our climate rather than fighting it with superficial solutions.Material Selection Protocol: Beyond Standard Marine-Grade
Executing the "Sealed Core" requires a non-negotiable material stack. I've refined this list after seeing common "marine-grade" products fail under the specific UV and humidity pressures found here in Hillsborough.- Structural Frame: I exclusively use G90 galvanized steel studs (20-gauge minimum). For properties directly on the bay, I upgrade to aluminum framing. Using wood, even pressure-treated, is a guaranteed failure point I will not accept in my projects. The fasteners are just as critical; every screw must be a ceramic-coated or stainless steel self-tapper.
- Waterproof Substrate: Standard cement board is not waterproof; it is water-resistant and will eventually saturate. My protocol requires installing the cement board and then applying a liquid-applied waterproofing and crack-isolation membrane, like you would find in a high-end shower installation, over every single inch of the surface, paying special attention to seams and corners. This creates the "Sealed Core."
- Venting & Insulation: This is a step almost everyone misses. Every grill island must have at least two stainless steel vent panels installed—one low and one high on opposite sides—to prevent dangerous gas buildup and promote airflow. For islands housing a refrigerator, I add a dedicated insulation zone using rigid foam to protect it from the grill's radiant heat, a common cause of premature appliance failure.
The 5-Step Core Construction Sequence for Hillsborough County's Climate
Building the island correctly is about sequence and precision. Rushing any of these steps or completing them out of order compromises the entire system. This is the exact build sequence I use on every project, from small islands in Carrollwood backyards to sprawling outdoor kitchens in Odessa.- Frame Assembly & Leveling: The G90 steel or aluminum frame is built on a level concrete pad. I ensure the frame is perfectly square and plumb, using shims where necessary. All electrical and gas lines are run through the frame using protective grommets to prevent abrasion.
- Substrate Installation: The cement board is attached to the frame using the specified corrosion-resistant screws. I leave a 1/8-inch gap between sheets to allow for expansion and contraction.
- The Critical Sealing Phase: All seams between boards are filled with a polymer-modified mortar and covered with fiberglass mesh tape. Then, two complete coats of the liquid waterproofing membrane are roll-applied to the entire structure, including inside appliance cutouts. The structure is now a monolithic, waterproof box. I perform a 24-hour water test at this stage if the project scope allows.
- Cladding Application: The stone veneer or tile is applied directly over the cured membrane. I mandate the use of a premium polymer-modified thin-set mortar, which has superior bond strength and flexibility. The choice of grout is also critical; I specify an epoxy-based or high-performance cementitious grout with a stain-proof sealer to resist mold and mildew growth, a constant battle in our humid environment.
- Countertop & Appliance Integration: The final step is installing the countertop and appliances. All gaps between the countertop and the island base, and around the appliances, are sealed with a 100% silicone, mildew-resistant caulk.
Countertop Material & Overhang Calibration for UV and Rain Runoff
The countertop is not just a work surface; it's the roof of your grill island. Its material and dimensions are critical for longevity. While many clients in the Tampa area are drawn to the look of quartz, I often steer them toward high-grade, light-colored granite or quartzite for outdoor applications. Many darker-colored quartz countertops contain resins that can yellow or fade with prolonged exposure to Florida's intense UV radiation. More importantly, I engineer a non-negotiable 1.5-inch minimum overhang on all sides of the countertop. This detail, combined with a polished, slightly angled drip edge underneath, ensures that rainwater sheets off and away from the island's base. It's a small detail that prevents the constant water-streaking and moisture saturation at the base of the island that I see on so many poorly designed installations. Given that your grill island's structure and cladding will expand and contract at different rates, have you calculated the shear stress at the bond line between your waterproofing membrane and thin-set mortar during a typical August heatwave?Written by

Tags
outdoor grill with sink
outdoor grill and sink
outdoor grill and pizza oven
outdoor grill and bar
pre fabricated outdoor grill islands
Grill Island in Hillsborough FL FAQ
How close to my pool can I safely build a grill island?
Maintain a minimum distance of 3 to 5 meters from the pool's edge to prevent safety hazards and contamination. This buffer zone is critical to keep grease splatter, smoke, and food debris from entering the water, which would otherwise consume large amounts of chlorine and disrupt your water chemistry. More importantly, this distance helps ensure any gas or electrical lines required for the island are safely routed away from the pool's underground plumbing and bonding wire. Accidentally damaging a suction line during foundation work could lead to a significant underground leak, losing over 1,800 liters of water daily from a simple 3 mm crack.
Will the runoff from cleaning my grill island affect my pool's water chemistry?
Yes, runoff from cleaning detergents and grease can severely impact your pool's water balance and clarity. Soapy runoff introduces phosphates, which are a primary food source for algae, while grease creates an oily film on the water surface that clogs your filter. Ensure the island's patio area has a dedicated deck drain that directs all runoff away from the pool and into your property's main drainage system. Allowing this runoff into the pool can cause your pH to fluctuate wildly outside the safe 7.2 to 7.6 range, leading to cloudy water and skin irritation for swimmers.
Can the construction dust from building the island damage my pool's equipment?
Construction dust, especially from cutting stone or concrete, can absolutely damage your pool's pump and filter. This fine, abrasive particulate matter can get past the skimmer basket and clog the small passages within your filter cartridges or sand, drastically reducing flow and putting immense strain on the pump motor. Before construction begins, cover the pool completely with a heavy-duty safety cover, not just a solar blanket. If covering isn't an option, run the pump as little as possible and clean the skimmer, pump baskets, and filter daily to prevent premature failure of the pump, which typically has an 8 to 12-year lifespan.
Could digging the foundation for my grill island break my pool's underground pipes?
Digging for the island's foundation poses a significant risk to your pool's buried plumbing lines if their location is unknown. Before any excavation, you must locate the underground suction and return lines that run between your equipment pad and the pool. A pressure test can help identify the general area, but a specialized plumbing locator service is the safest method. A broken pipe not only requires a costly and invasive repair involving draining the pool and digging up the deck, but it can also compromise the structural soil around the pool shell, potentially leading to future cracks in a gunite structure.
What kind of lighting is safe for a grill island next to a pool?
All electrical components for your grill island must be low-voltage (typically 12-volt) and powered by a transformer with a Ground Fault Circuit Interrupter (GFCI). This is a non-negotiable safety requirement for any electrical installation near a body of water to prevent electrocution risk. High-voltage (120-volt) outlets or fixtures must be installed at a code-mandated distance from the water's edge and be GFCI-protected. Never route electrical conduit in the same trench as your pool's plumbing lines, as a water leak could energize the ground if the conduit is compromised, creating a severe electrical hazard.
My new stone grill island has dark stains on the side facing the pool. Is this from the water?
Dark stains on the island's stone facing the pool are likely from splash-out containing algae, not just water. If you see similar dark spots inside your pool that do not brush off easily, you may have an outbreak of black algae, which has deep roots that penetrate plaster surfaces. When contaminated water splashes onto the porous stone of your island, these algae spores can take root there as well. The solution requires treating the pool itself with aggressive brushing and specialized algaecides, and then using a pH-neutral stone cleaner on the island to avoid etching the surface.