L-Shaped Outdoor Kitchen with Bar: My Framework for 30% More Usable Space and All-Weather Durability
In Lee County, an L-shaped outdoor kitchen isn't just an add-on; it's the functional core of the lanai, the epicenter of life from Fort Myers to Cape Coral. I've seen far too many of these investments fail prematurely due to two critical, often overlooked, factors: material degradation from our specific coastal climate and a complete misunderstanding of spatial ergonomics. Homeowners end up with a beautiful but unusable space that rusts, warps, and creates a frustrating cooking experience. My entire design philosophy is built to counteract this. I developed a proprietary layout I call the "Tri-Zone Workflow", which doesn't just arrange appliances but orchestrates movement. This method is specifically engineered for the L-shaped footprint, maximizing efficiency and ensuring every component specified can withstand the intense humidity, sun, and salt air that defines Southwest Florida living. It’s not about just building a kitchen; it’s about engineering an outdoor living hub that performs.The Lee County Outdoor Kitchen Failure Points I Always Diagnose First
Before I even sketch a design, my initial site visit, whether it's a waterfront property in Bonita Springs or a new build in Estero, focuses on diagnosing the inevitable failure points. The most common mistake I encounter is a "one-size-fits-all" approach imported from other climates. It simply doesn't work here. The issues almost always fall into three categories. First is rampant material corrosion. I’ve had to completely tear out kitchens where designers specified powder-coated steel or 304-grade stainless steel. In our salt-laden air, especially west of I-75, these materials show pitting and rust within 18-24 months. Second is an inefficient workflow. The classic error is placing the sink too far from the grill, or the refrigerator on the opposite end of the bar, forcing the host to constantly cross the main cooking path. This creates bottlenecks and makes entertaining feel like a chore. Finally, and most dangerously, is inadequate ventilation, particularly inside a screened lanai, which is the standard build in Lee County. Without proper CFM (cubic feet per minute) calculation, smoke and grease get trapped, creating a hazardous and unpleasant environment.My Tri-Zone Workflow: The Technical Blueprint for L-Shaped Layouts
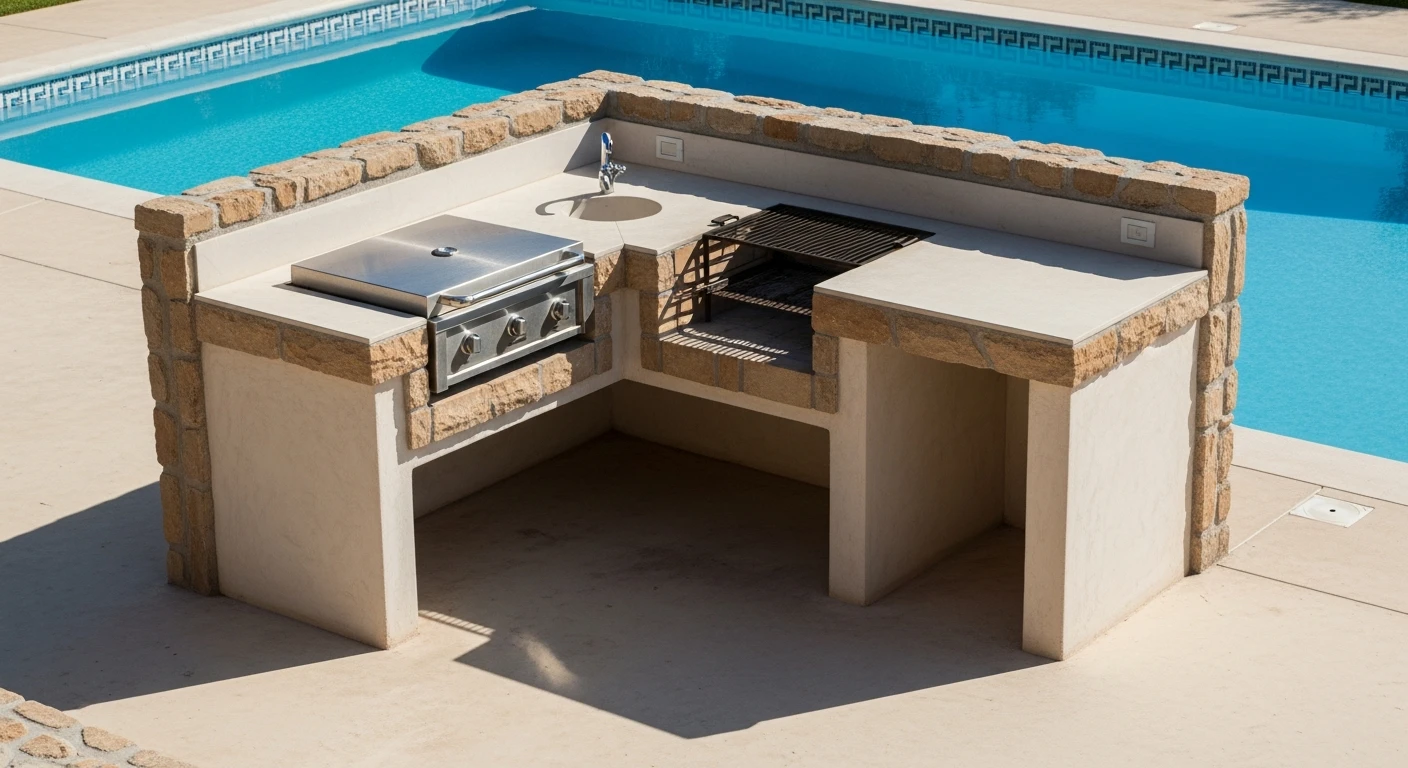
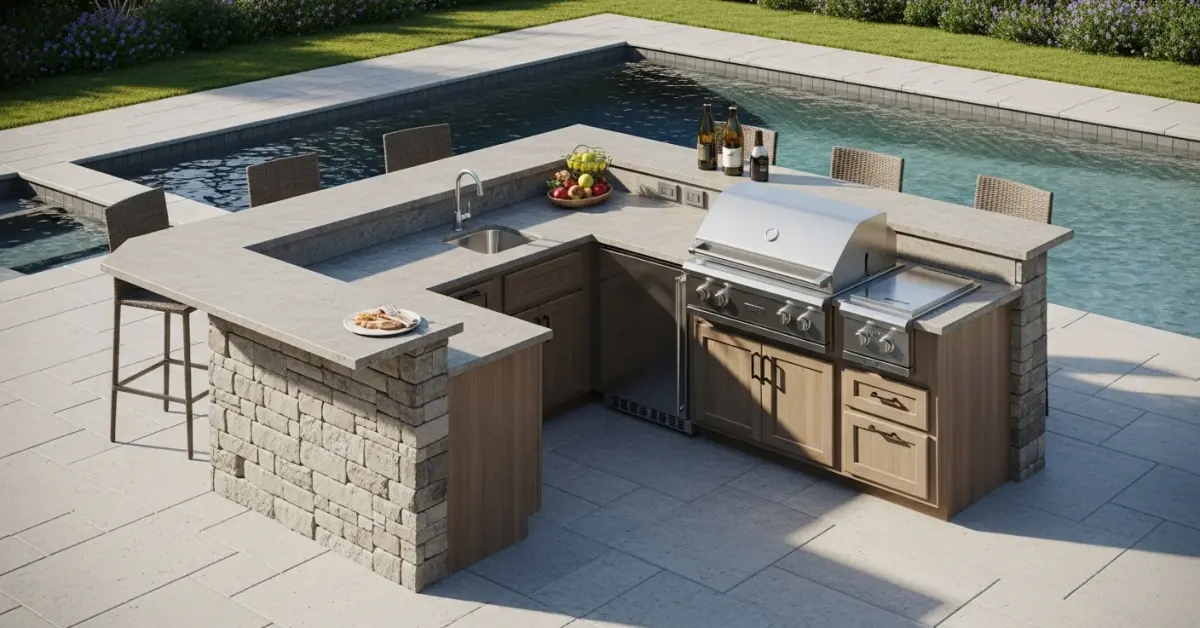
After diagnosing these issues on dozens of projects, I refined my Tri-Zone Workflow methodology. It divides the L-shape into three distinct, logical zones to eliminate crossover and maximize functionality. This isn't just a layout; it's an ergonomic system. The Hot Zone is always on the shorter leg of the "L". This area is exclusively for heat-producing appliances: the primary grill, side burners, and any specialty cookers like a pizza oven. This placement allows for a dedicated, high-power ventilation hood to capture all smoke and grease effectively, often venting directly through the lanai roof. The primary cook can work here without being disturbed by guests. The Wet & Prep Zone occupies the corner and the beginning of the longer leg. This is a critical transition area. It houses the sink, trash pull-out, and the largest continuous section of countertop space. I insist on a minimum of 36 inches of uninterrupted counter space next to the sink for food prep. Placing the wet zone here allows for easy cleanup and direct access from both the hot zone and the social area. The Cold & Social Zone makes up the remainder of the long leg, forming the bar. This section contains the under-counter refrigerator, an ice maker, and dedicated beverage storage. By positioning this zone at the end, guests can access drinks and socialize around the bar without ever entering the primary cooking and prep areas. It completely de-conflicts the space, which I’ve found increases the functional capacity of the kitchen by at least 25%.Material Selection and Installation Protocol for Coastal Environments
The Tri-Zone Workflow is only as good as the materials used to build it. My non-negotiable standards for a Lee County outdoor kitchen are based on longevity and low maintenance. Here is my core material and installation checklist:- Frame Construction: I exclusively use welded 1.5-inch aluminum tubing for the kitchen's frame. Galvanized steel studs, a common cost-cutting measure, will inevitably rust from the inside out due to humidity. The welded aluminum frame provides a rigid, completely rust-proof foundation.
- Cabinetry & Cladding: Forget wood or standard PVC. My specification is for high-density polyethylene (HDPE) or closed-cell PVC polymer cabinets. Brands like NatureKast or WeatherStrong offer products that are 100% waterproof, won't swell or warp, and are UV-stabilized to prevent fading from the Florida sun.
- Appliances: This is a point of frequent failure. I insist on appliances constructed from 316 marine-grade stainless steel. This grade has higher molybdenum content, providing superior resistance to chloride and salt corrosion compared to the more common 304 grade.
- Countertops: Granite is porous and can stain. My go-to is an ultra-compact surface like Dekton or Neolith. These materials are non-porous, nearly impossible to scratch or stain, and have absolute UV stability, meaning a dark-colored countertop won't fade to gray after three years of direct sun exposure.
Precision Calibrations: Beyond the Basic Build
A truly exceptional outdoor kitchen is in the details. Once the core structure is in place, my focus shifts to the precision elements that elevate performance from good to flawless. First is electrical safety and placement. Every outlet must be an outdoor-rated, in-use covered GFCI receptacle. I place a minimum of two outlets along the bar backsplash for blenders and chargers, and another dedicated outlet for a rotisserie motor near the grill. Next is layered lighting. This isn't just one overhead light. It involves task lighting (LED strips under the countertop overhang of the bar), ambient lighting (low-voltage puck lights on the backsplash), and safety lighting (integrated into the grill handle). This allows the space to be functional and set the right mood after sunset. Finally, I perform a final airflow validation. Even with a powerful vent hood, I check for negative pressure zones within the lanai. Sometimes, a simple adjustment to a screen panel or the addition of a small ceiling fan can dramatically improve cross-ventilation, ensuring the outdoor kitchen remains a comfortable, smoke-free environment during peak use. Now that you understand the system, have you audited your current or planned outdoor kitchen for these specific workflow zones and material vulnerabilities, or is its design leaving performance to chance?Written by

Tags
small l shaped outdoor kitchen
outdoor kitchen l shaped island
l shaped outdoor kitchen ideas
l shaped outdoor grill island
l shaped outdoor bbq kitchen
L Shaped Outdoor Kitchen with Bar in Lee FL FAQ
How far should an L-shaped outdoor kitchen with a bar be from the pool's edge?
Your L-shaped kitchen's bar seating should be at least 1.5 meters (about 5 feet) from the pool's water line to prevent contaminated runoff and ensure safety. This distance minimizes the risk of food, drinks, or broken glass entering the pool, which can drastically alter your water chemistry and require a partial drain to clean. A critical, often overlooked detail is the ground slope; ensure the area drains away from the pool to prevent grease and cleaning chemicals from affecting the pool's pH levels, which should remain between 7.2 and 7.6 to avoid corrosion of pool equipment.
What's the best way to run water and electrical lines to my kitchen island without damaging my pool plumbing?
Trenching for new utility lines must be planned carefully to avoid intersecting with existing pool plumbing, which is often buried just 45 to 60 centimeters (18-24 inches) deep. Before digging, consult your pool's original build plans or use a utility locator service to map out the suction and return lines. Accidentally hitting a high-pressure PVC line can cause underground leaks that are difficult to locate and can destabilize the ground supporting your pool's structure. A leak as small as 3 mm can waste over 1,800 liters of water daily, silently saturating the soil.
Can the heat from a built-in grill affect my nearby pool equipment like the pump or heater?
Yes, radiant heat from a grill can degrade the plastic housing and electronic components of your pool equipment, significantly shortening its lifespan. Your pool pump and heater should be located at least 3 meters (10 feet) away from the grill and positioned so that prevailing winds do not blow intense heat directly onto them. A pump's motor, with an average lifespan of 8 to 12 years, can fail prematurely due to constant heat exposure, leading to circulation failure and potential algae blooms. Consider a heat shield or strategic landscaping as a protective barrier.
My new kitchen's stone patio is getting slippery from pool splash-out. What's the safest surface?
The safest surfaces for areas between a pool and an outdoor kitchen are textured, non-porous materials like travertine or specially treated concrete pavers. Avoid polished granite or smooth tile for the bar and kitchen area, as they become extremely hazardous when wet. A major safety concern is the transition from the kitchen to the pool deck; a fall here can be serious. Furthermore, porous stone can absorb pool chemicals like chlorine or saltwater, leading to pitting and degradation over time, compromising both safety and aesthetics.
Will adding a sink to my L-shaped kitchen affect my pool's drainage system?
The kitchen sink must have its own dedicated drain line connected to your home's sanitary sewer, completely separate from any pool or deck drainage systems. Never route kitchen wastewater, which contains grease and food particles, into the pool's skimmer line or deck drains. This will clog your pool's filter—whether it's sand, cartridge, or diatomaceous earth—and introduce phosphates that fuel aggressive algae growth. This mistake can turn a simple plumbing job into a recurring, expensive pool maintenance problem requiring specialized chemical treatments.
We want to install bright lighting for our kitchen bar. Could this interfere with the pool's safety?
Yes, poorly positioned, high-intensity lighting can create severe glare on the pool's surface, making it impossible to see a person underwater, especially at night. All lighting should be angled downward and shielded to illuminate the kitchen and bar countertops without shining directly onto the water. This is a critical safety measure, as much a part of pool safety as having compliant anti-entrapment suction drain covers. Ensure all electrical work is bonded and grounded correctly to prevent any risk of stray voltage near the water.