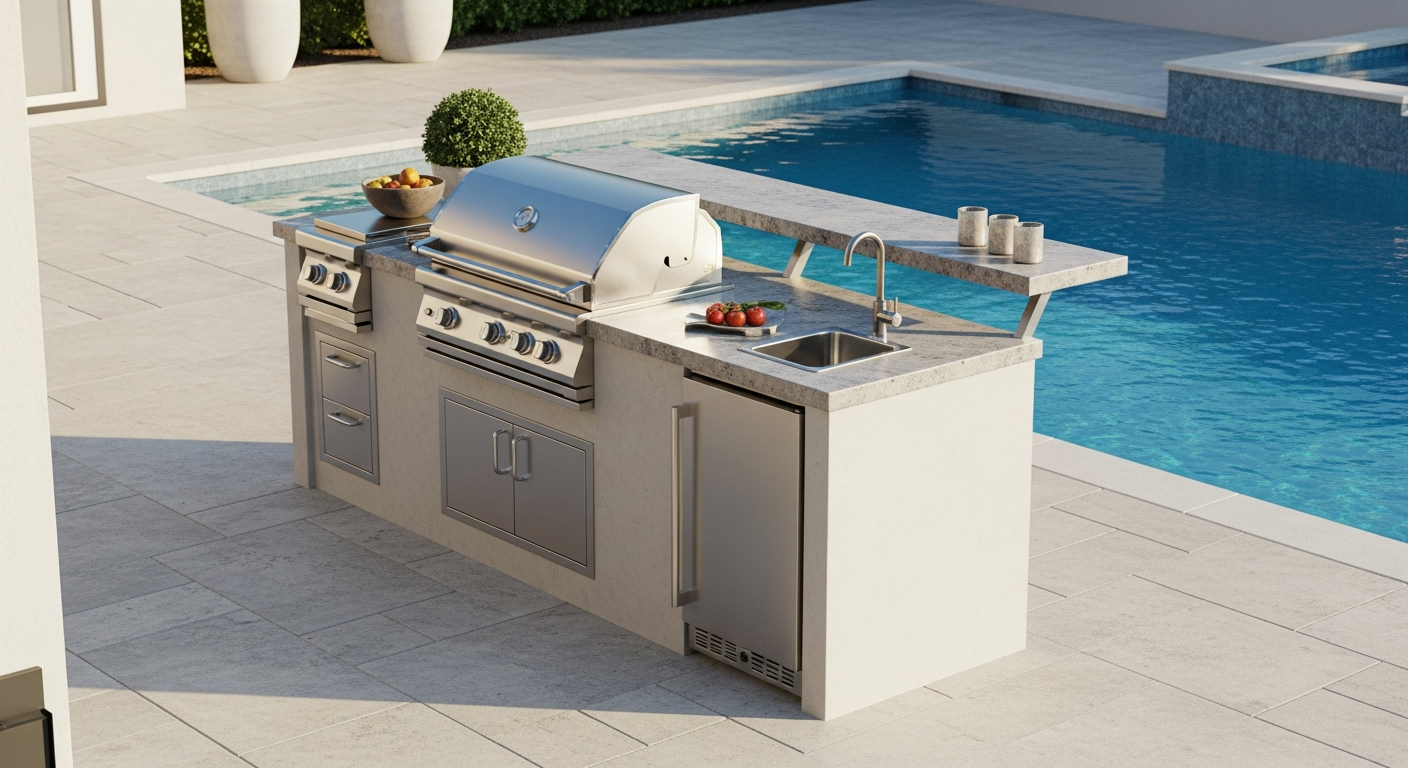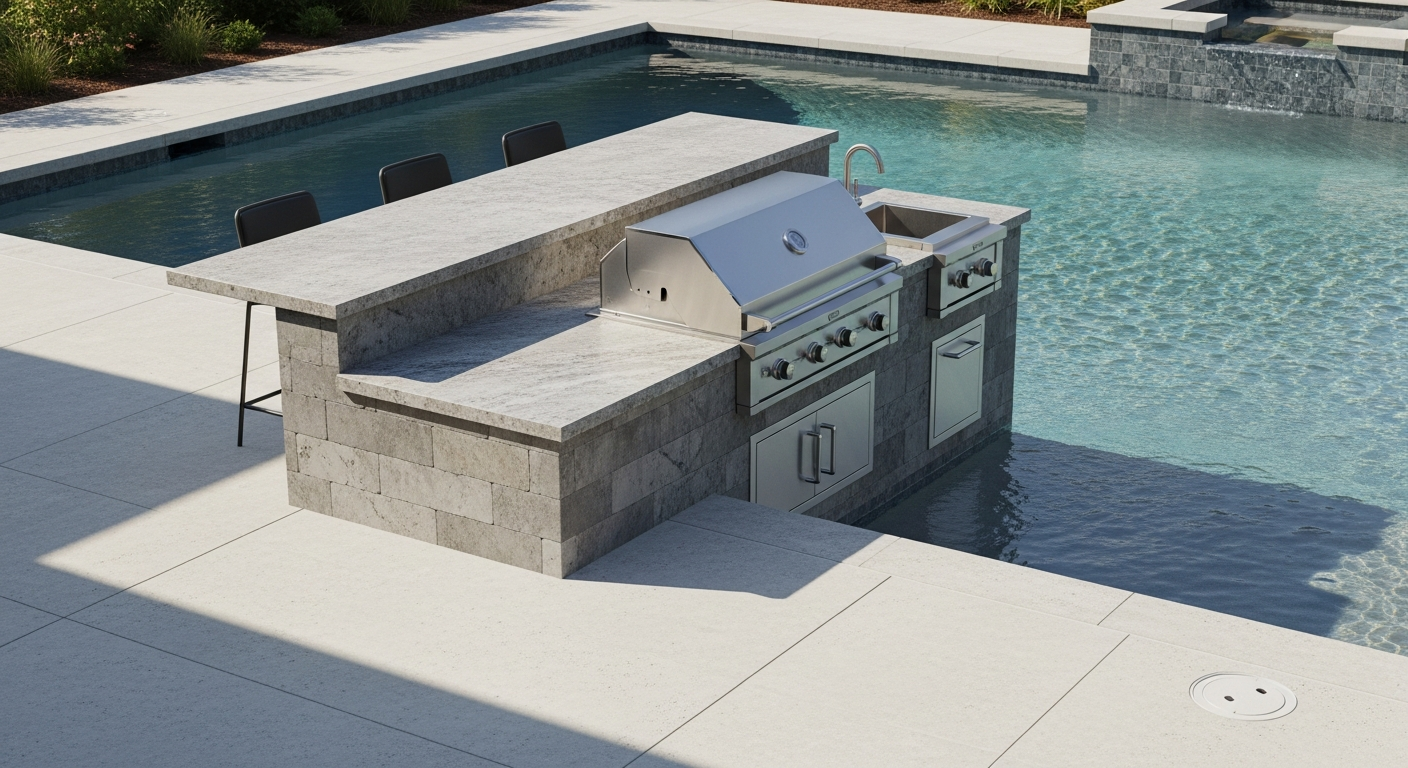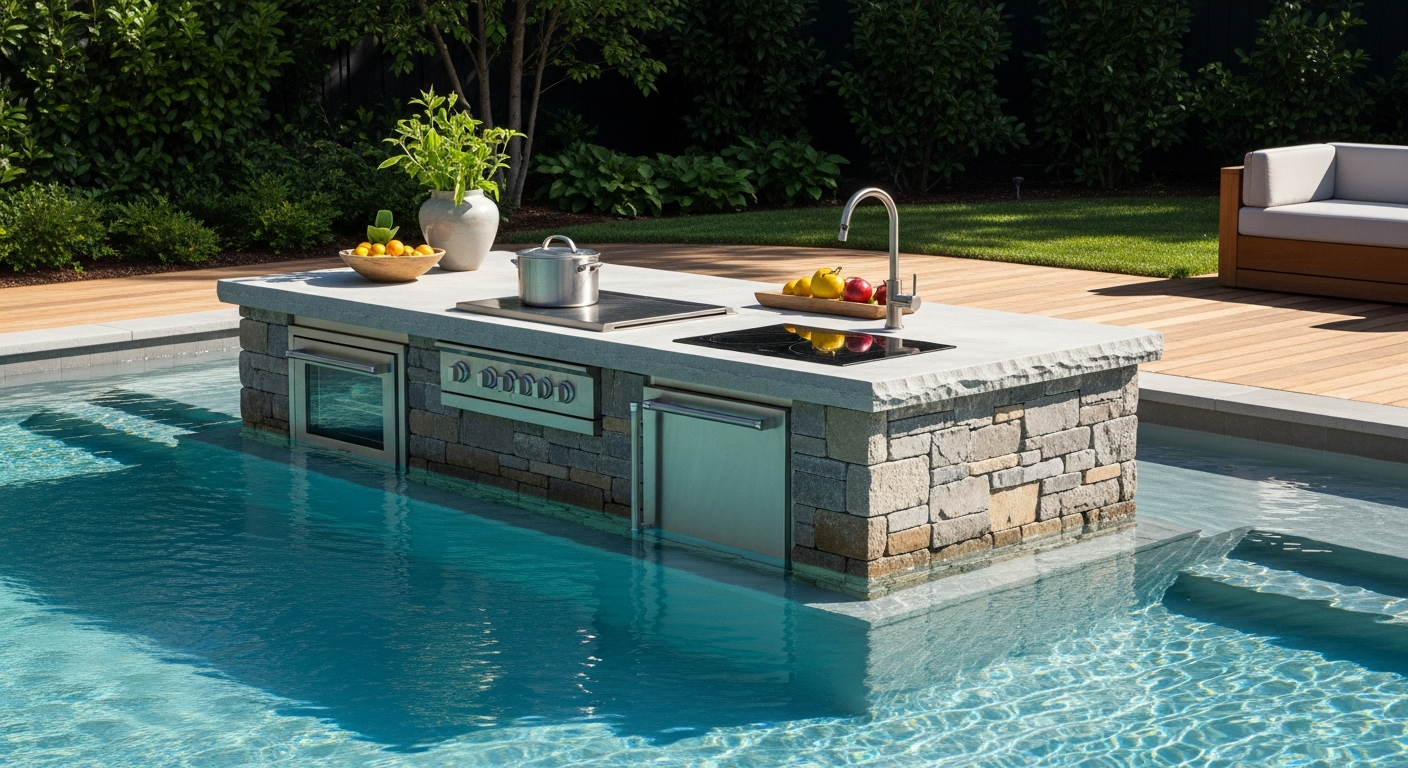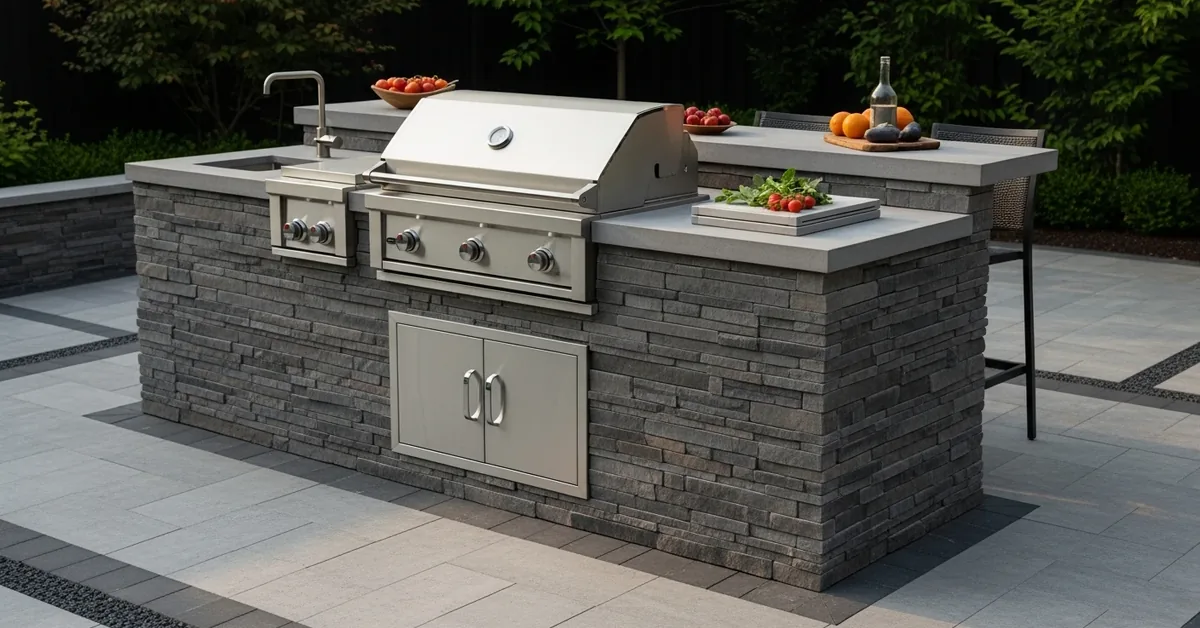
Outdoor Kitchen Grill Island Seminole County: My Framework for a 30-Year, Humidity-Proof Build
My core finding after a decade designing and building outdoor kitchens in Seminole County is that 90% of premature failures—cracking, rust, and rot—are not due to the grill or the countertop material. They are a direct result of a fundamental error in a component most people overlook: the structural frame. I’ve seen beautiful granite countertops in Heathrow homes crack within three years simply because the underlying structure couldn't handle the thermal expansion and constant humidity. This led me to develop a material-first methodology that prioritizes the island's skeleton, specifically for the relentless Central Florida climate. My approach focuses on creating a non-porous, non-corrosive internal structure that ensures the aesthetic finishes—the stone, stucco, or tile—are merely a skin on a virtually indestructible core. This reverses the common process of choosing looks first, which is the primary cause of costly repairs down the line.Diagnosing Structural Failure: The Seminole County Climate Stress Test
The biggest mistake I see in projects from Lake Mary to Sanford is the use of wood or steel stud framing intended for interior applications. These materials are simply not specified for the daily cycle of intense sun, high humidity, and torrential downpours we experience. I once audited a project where a contractor used standard galvanized steel studs, which rusted from the inside out in less than five years due to moisture wicking up from the concrete patio slab. My proprietary methodology begins with a Humidity & Substrate Assessment, analyzing the specific micro-environment of your lanai or backyard before a single material is chosen.The Technical Deep-Dive into Material Science
My framework is built on three non-negotiable material principles. First, for framing, I exclusively use welded 1-inch aluminum tubing. Unlike steel, it is impervious to rust, and the welded joints provide a monolithic rigidity that screw-together kits cannot match, preventing the micro-flexing that cracks grout and stone veneers. Second, the substrate must be a 1/2-inch cement board (like PermaBase) attached with corrosion-resistant fasteners. This creates a waterproof barrier that isolates the frame from the finish materials. Third, all electrical components must be housed in marine-grade, sealed junction boxes to prevent the inevitable moisture intrusion that trips GFCI outlets—a common and frustrating issue for homeowners in our area.Implementation Protocol: From Foundation to Finish
Building a grill island that will outlast your appliance requires a precise sequence of operations. Deviating from this order is where I see most DIY or less-experienced contractor builds go wrong, especially when it comes to integrating utilities.- Site & Foundation Mapping: I first assess the patio slab for hairline cracks and pitch. In Seminole County, many slabs have insufficient pitch for drainage. We must confirm a minimum 1/4-inch per foot slope away from any structures before framing begins.
- Frame Fabrication & Anchoring: The aluminum frame is constructed off-site. On-site, I use stainless steel wedge anchors to secure the frame, ensuring it is perfectly level. This is a critical zero-tolerance step; an unlevel frame guarantees countertop stress fractures.
- Utility Rough-In: All gas and electrical lines are run through the frame *before* any cladding is attached. I create a detailed utility map because drilling into the island later to add an outlet can compromise its waterproof integrity.
- Cement Board Cladding: Each piece of cement board is cut and fitted, and all seams are sealed with a polyurethane-based sealant, not silicone. This creates the essential waterproof "box."
- Appliance & Venting Cutouts: I precisely cut openings for the grill, side burners, and mandatory ventilation panels. Forgetting ventilation is a dangerous fire hazard I've seen in multiple inspections. We install at least two vents for cross-flow, regardless of the fuel type.
- Finish Material Application: Whether it's stacked stone or stucco, the material is applied to the cement board substrate, not the frame. This decoupling prevents material failure from thermal expansion.
Precision Tuning for Peak Performance and Longevity
The final stage is about fine-tuning for safety and usability. I mandate that any gas grill over 60,000 BTUs must have an insulated jacket if the island structure is combustible in any way—even with the proper framing, it’s a non-negotiable safety standard. Another key detail is appliance gapping. I specify a minimum 1/4-inch air gap around all drop-in appliances. This small gap is essential for heat dissipation and is the single biggest factor in extending the life of your grill’s electronic ignition system, which often fails due to excessive radiant heat from the island structure itself. Given the intense UV exposure in Seminole County, have you specified a countertop sealant with a UV-blocking rating of 90% or higher to prevent color fading and polymer degradation within the first 24 months?Written by

Tags
outdoor grill with fridge
modern outdoor grill
bbq grill kitchen
outdoor kitchen grill
outdoor kitchen bbq grill
Outdoor Kitchen Grill Island in Seminole FL FAQ
What's the best material for my grill island countertop to withstand weather and cooking stains?
Granite or quartzite are the top choices for outdoor countertops due to their high resistance to heat, stains, and ultraviolet light degradation. While popular indoors, materials like quartz are a poor choice for outdoor use because the resins that bind the stone will yellow and break down under direct sun exposure. For a truly durable surface, a 3-centimeter thick slab of a dense natural stone like granite is ideal, as it will not crack during freeze-thaw cycles. Always ask for a sealant designed for outdoor applications to be applied, which helps prevent oil from a stray burger from becoming a permanent mark.
Does my grill island need to be vented, even if it's outside?
Yes, any grill installed in a combustible structure like a typical island must have proper ventilation to prevent heat and gas buildup. Your grill's manual will specify the minimum ventilation required, often calling for at least two vents, each with a minimum of 20 square inches of free area, placed on opposite sides for cross-flow. The critical, non-obvious risk is not just fire but a gas explosion; a small propane leak can fill the unvented cabinet, creating a bomb that can be ignited by the grill's own starter. This is a non-negotiable safety feature, not an aesthetic option.
Can I place my grill island directly on my wooden deck or patio pavers?
Placing the island on pavers is standard, but a wooden deck requires careful consideration of the structure's weight and fire safety. A typical grill island can weigh over 1,000 pounds, potentially exceeding the deck's load capacity without additional support blocking beneath. More importantly, you must use a non-combustible base like concrete backer board directly under the island frame to create a thermal break. Simply setting a metal frame on wood is a fire hazard, as radiant heat can slowly char and eventually ignite the decking over time, even without direct flame contact.
Do I need to run dedicated electrical and gas lines to my grill island?
Yes, for any built-in grill and accessories like refrigerators or lighting, you will need dedicated utility lines installed by licensed professionals. A natural gas line must be properly sized for the grill's BTU rating and buried at the code-required depth, typically 18 inches, to prevent accidental rupture. For electrical, a ground-fault circuit interrupter (GFCI) protected circuit is mandatory for all outdoor outlets to prevent shock hazards in wet conditions. Using a simple extension cord or a portable propane tank inside the cabinet are dangerous, temporary solutions that create fire and tripping risks.
What's the real difference between a drop-in grill and a freestanding one for an island?
A drop-in grill is specifically designed to be supported by the countertop, requiring a precise cutout and an insulating jacket for installation in combustible structures. A freestanding grill cannot simply have its cart removed and be placed into an island; it lacks the proper support flanges and, crucially, the required ventilation and heat shielding for a built-in application. Attempting to use a freestanding unit this way voids its warranty and creates a serious fire hazard, as the control panel and gas lines are not designed to be enclosed within a hot, unvented cabinet.
How do I prevent my stainless steel grill and doors from rusting outside?
True rust prevention depends on the grade of the stainless steel and regular cleaning, as not all stainless is created equal. Insist on components made from 304-grade stainless steel, which has a higher nickel and chromium content for superior corrosion resistance compared to the cheaper 430-grade. The non-obvious problem is that surface contaminants, like iron particles from nearby construction or steel wool, can cause even high-grade stainless to show rust spots. Clean your stainless components regularly with a dedicated stainless steel cleaner and a soft cloth, always wiping with the grain, to remove these deposits before they cause pitting.