Outdoor Kitchen Island with Sink in Charlotte County: My Weatherproofing Protocol for 30-Year+ Durability
The biggest mistake I see in Charlotte County outdoor kitchens isn't the design; it's the material science. Homeowners in Punta Gorda Isles and Rotonda West invest in beautiful islands, only to watch them degrade from the trifecta of Florida's high humidity, intense UV radiation, and corrosive salt air from the Gulf. My entire approach is built around defeating this environmental assault from day one, ensuring the sink and island structure don't just look good, but perform flawlessly for decades. I developed this protocol after a major project in Port Charlotte where a client's two-year-old island, built with standard "outdoor-rated" materials, was already showing significant rust bleed from the sink flange and hairline cracks in the countertop grout. That failure was my turning point. I realized that generic building advice doesn't work here. The constant moisture and salt spray demand a different level of specification. My methodology focuses on creating a completely sealed, non-reactive core structure and selecting components, especially the sink and faucet, based on their **molybdenum content** and **non-porous surfaces**. This isn't just about building an island; it's about engineering a marine-grade outdoor appliance that withstands our specific coastal climate.The Tri-Factor Failure Analysis: Why Most Outdoor Sinks Fail in Coastal Florida
Before I build anything, I perform what I call a "Failure Analysis" based on the property's specific location within Charlotte County. An island in a sheltered lanai in Deep Creek has different stress points than one fully exposed to the salt spray near Englewood Beach. I've found that nearly all premature failures trace back to three critical oversights. First is **material reactivity**. The most common error is installing a 304-grade stainless steel sink. While it's fine for an indoor kitchen, the chloride in our salt-laden air attacks it, causing pitting and rust stains within 18-24 months. Second is **substrate water intrusion**. Many contractors still use "pressure-treated" wood or even green board for the island's interior frame. I've personally torn out dozens of these, finding them swollen, moldy, and structurally compromised from our relentless humidity. The substrate is the skeleton; if it fails, the entire island is compromised. The third is **plumbing and sealant degradation**. Using standard PVC cement and all-purpose silicone sealant is a recipe for disaster. UV rays break them down, creating leaks that saturate the island's core from the inside out.Dissecting My Coastal Resilience Framework for Sinks
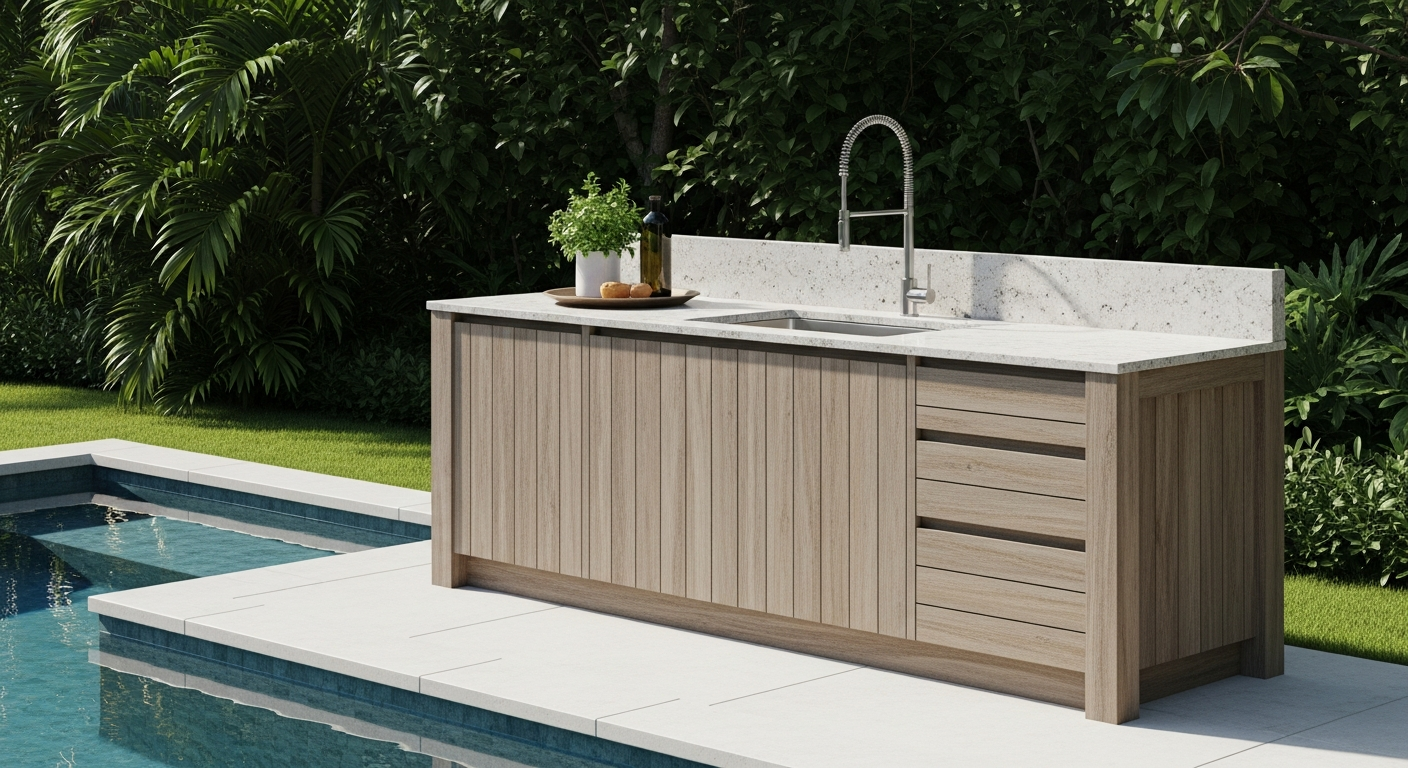
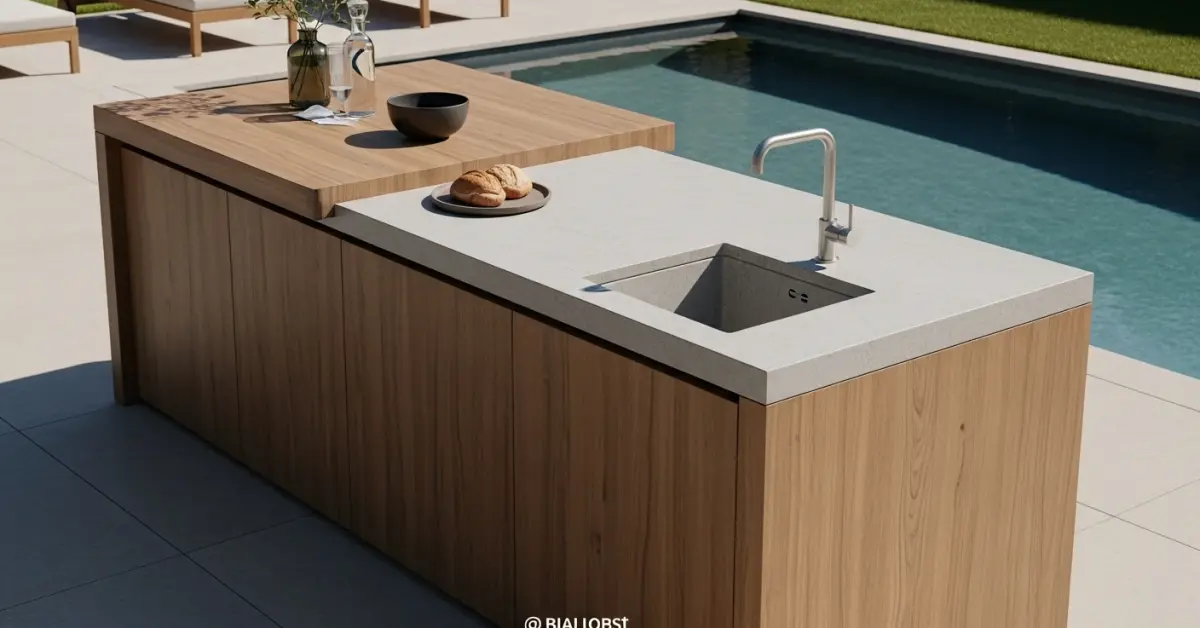
My framework is a direct countermeasure to these three failure points. It's a system of material selection and assembly techniques I've refined over years of working exclusively in this region. The heart of the system is material specification, and it is non-negotiable. For the sink and all plumbing fixtures, I mandate 316L marine-grade stainless steel. The "L" signifies low carbon content, which improves weldability, but the key is the added molybdenum. This element is what provides superior resistance to chloride corrosion. For countertops, I steer clients away from porous materials like travertine unless they are willing to commit to a rigorous annual sealing schedule. My primary recommendations are Dekton or other ultra-compact surfaces, which have near-zero porosity. For the island's base structure, I use either CMU (Concrete Masonry Unit) block or a welded aluminum frame built with 6061-T6 alloy, which is then powder-coated. No wood framing, ever. This combination creates an inert, waterproof core that will not rot, warp, or rust.Step-by-Step Island & Sink Installation Protocol
Executing the build requires precision. A flawless design on paper can be ruined by poor on-site execution. I follow an inflexible, step-by-step process to guarantee the longevity I promise.- Foundation and Footing: The process begins with a 4-inch reinforced concrete slab that is properly isolated from the main patio slab to prevent cracking due to differential settling.
- Core Framing Assembly: Whether using CMU or an aluminum frame, we ensure it's perfectly level and square. All plumbing and electrical rough-ins are completed at this stage, using UV-resistant PEX-A piping for water lines and conduit for electrical.
- Cladding and Countertop Template: We install the cement board and selected cladding (like stacked stone or stucco). A precise template for the countertop is then created and sent for fabrication. This prevents costly on-site cutting errors.
- Waterproofing the Deck: Before the countertop is installed, I apply a liquid-applied waterproofing membrane over the top of the entire island structure. This is a critical redundancy step.
- Countertop and Sink Installation: The countertop is set in a bed of high-strength, exterior-grade adhesive. I mount the sink using an undermount method with stainless steel clips and a 100% marine-grade silicone sealant. This specific sealant has superior adhesion and UV stability compared to standard silicones.
- Final Plumbing Connections: The final connections are made to the 316L faucet and the drain line, which includes a properly vented P-trap to prevent sewer gases from escaping, a detail often overlooked in outdoor setups.
Final Commissioning: Sealing, Drainage, and Performance Checks
Once the island is built, my job isn't done. The final commissioning phase is what ensures a 30-year+ lifespan. This is where I go beyond what most builders consider "finished." Every project undergoes a series of quality control checks. I perform a 24-hour static pressure test on all water supply lines to ensure there are no slow leaks within the island's sealed core. For the countertop, especially if a natural stone was chosen, I apply the initial sealant coat and perform a water-beading test. The most important check is the **drainage gradient test**. I use a level to confirm the sink has a subtle, imperceptible slope towards the drain and then pour a gallon of water to ensure it evacuates completely, leaving no standing water in the basin. This prevents grime buildup and reduces moisture stress on the drain assembly. This meticulous final check is what catches the minor issues that become major problems five years down the road. Now that the island is structurally sound and the sink is fully integrated, have you accounted for the galvanic corrosion potential between your stainless steel fasteners and the aluminum framing often used in lanais?Written by

Tags
outdoor island with sink
outdoor kitchen with fridge and sink
bbq island with sink
outdoor grill and sink combo
custom outdoor kitchens near me
Outdoor Kitchen Island with Sink in Charlotte FL FAQ
What kind of plumbing do I need for an outdoor kitchen sink, and can I just use a garden hose?
You need dedicated hot and cold water supply lines and a proper drainage system connected to your home's sanitary sewer, not just a garden hose. While a hose provides water, it lacks pressure for proper cleaning, offers no hot water, and provides no way to manage wastewater, which can create unsanitary, odorous puddles and attract pests. A licensed plumber must install frost-proof lines, typically buried below the frost line, and a P-trap drain to prevent sewer gases from escaping. This ensures your outdoor sink functions like an indoor one and avoids freeze-burst damage to the pipes during winter.
Do I need a separate water heater for my outdoor sink, or can I connect it to my home's main unit?
Connecting to your home's main water heater is possible but often results in a long wait for hot water and significant water waste. The best solution is a small, point-of-use electric water heater installed directly within the island's cabinet. These compact units, typically 2.5 to 4 gallons, provide instant hot water, are more energy-efficient for intermittent use, and simplify the plumbing runs. This avoids the frustration of waiting 60 seconds or more for hot water to travel from your indoor unit, which is a common oversight in outdoor kitchen planning.
What materials for the island and countertop can withstand constant exposure to water and grease around the sink area?
For countertops, non-porous materials like granite, quartzite, or concrete are superior choices for the sink area as they resist staining, water damage, and heat. Avoid porous stones like marble or travertine, which will stain easily from grease and require constant sealing. The island structure itself should be built from a galvanized steel frame or concrete block, not wood, which will inevitably rot from moisture trapped inside the cabinet. Using marine-grade polymer or stainless steel for cabinetry ensures it will not warp, rust, or delaminate from the constant humidity.
Is a garbage disposal a good idea for an outdoor kitchen sink?
A garbage disposal is generally not recommended for an outdoor kitchen sink due to increased risks of clogs and freezing. Outdoor plumbing lines often have longer, shallower runs than indoor plumbing, making them more susceptible to blockages from food waste. More critically, any water trapped in the disposal unit's housing is extremely vulnerable to freezing and cracking in cold climates, leading to a costly replacement. It is far more practical and reliable to scrape food waste into a dedicated, pest-proof compost or trash bin designed for outdoor use.
How do I properly winterize an outdoor sink to prevent pipes from bursting?
You must completely drain all water from the supply lines, faucet, and drain trap before the first freeze. First, shut off the water supply to the sink at its dedicated valve. Then, open the faucet to let all water run out. Use an air compressor with a blowout adapter to force all remaining water from both the hot and cold lines until only air comes out. Finally, pour a small amount of non-toxic RV antifreeze into the P-trap under the sink to displace any water and prevent it from freezing and cracking the pipe.
What is the most common point of failure for an outdoor kitchen sink installation?
The most common failure point is an improper seal between the sink and the countertop, leading to water intrusion and damage. Many installers use standard indoor silicone caulk, which breaks down quickly under UV exposure and extreme temperature swings. This allows water to seep into the island's interior, causing mold, rusting the frame, and damaging electrical components. The correct method is to use a high-grade, UV-stable polyurethane sealant specifically designed for outdoor and marine applications, ensuring a flexible, waterproof bond that lasts for years against the elements.