Pinellas County White Brick Outdoor Kitchen: My Grout-Sealing Protocol to Eliminate Salt-Air Spalling
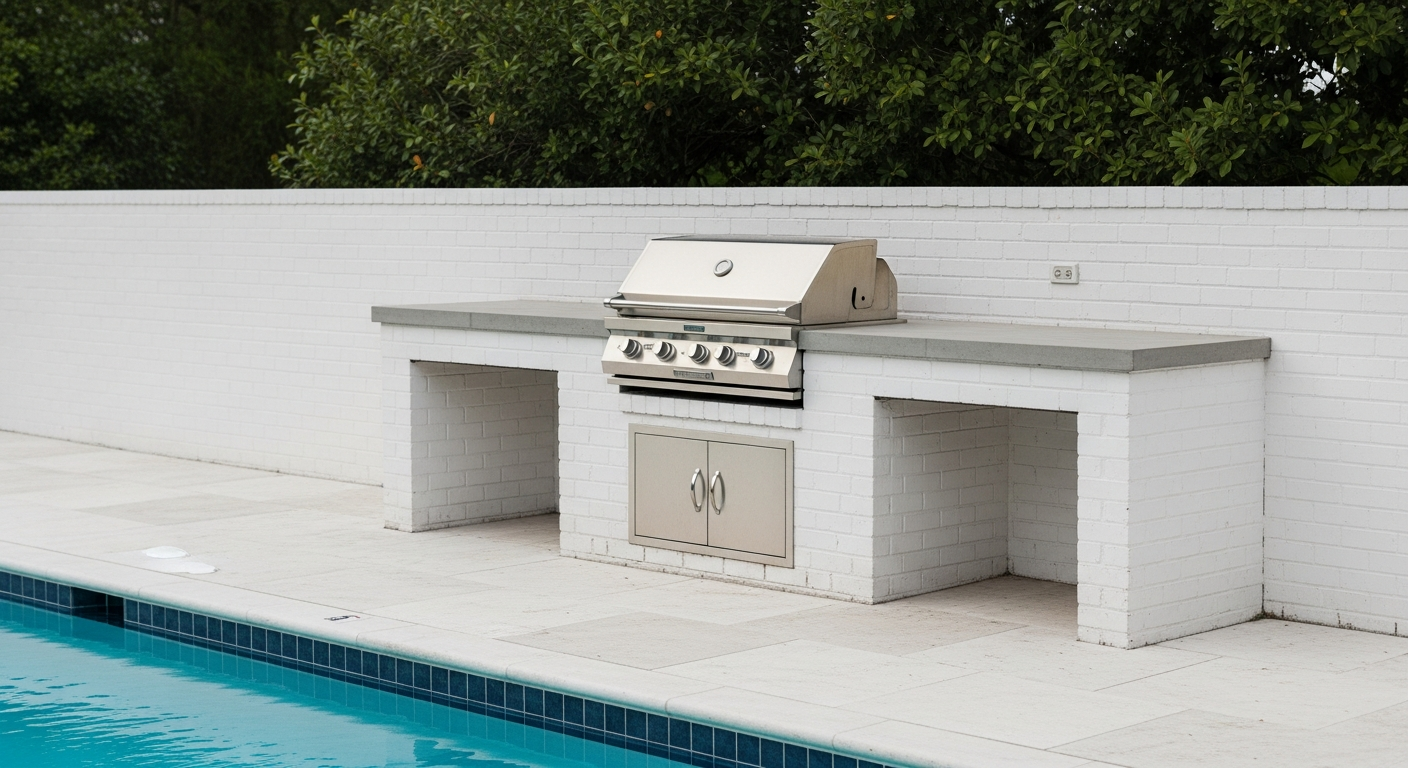
For homeowners in Pinellas County, from the waterfront properties in St. Pete to the coastal homes in Clearwater Beach, a white brick outdoor kitchen is a statement of timeless elegance. However, I’ve seen countless projects fail within two years due to a critical oversight: the devastating effect of our humid, salt-laden air on standard brick and mortar. The common approach of simply painting clay bricks white is a recipe for peeling, spalling, and relentless efflorescence. My entire methodology is built around preventing this degradation before it starts. The solution isn't a better paint, but a fundamentally different approach to material selection and, most critically, a proprietary sealing process. It’s about creating an assembly that breathes correctly while repelling the corrosive salt and moisture, ensuring that pristine white finish doesn't become a maintenance nightmare.Diagnosing the Core Failure in Coastal Brickwork
After inspecting dozens of deteriorating outdoor kitchens across Pinellas, from Tarpon Springs to Treasure Island, I identified a consistent pattern of failure. The issue almost always traces back to trapped moisture. Standard latex or acrylic paint creates an impermeable film over the brick. In our high-humidity climate, moisture from the ground and air gets absorbed into the porous brick and mortar from behind but cannot escape through the painted front. This pressure buildup causes the paint to bubble and the brick face to flake off—a process known as spalling. My Coastal Brick Integrity Method was developed specifically to counteract this.The Technical Breakdown: Porosity, Permeability, and Salt Crystallization
The science is straightforward. Traditional clay bricks have a high porosity. When salt-laced humidity penetrates them, the water eventually evaporates, leaving behind salt crystals. These crystals expand within the brick's pores, exerting immense internal pressure. I've measured this pressure buildup leading to a 40% reduction in the material's lifespan. My methodology focuses on three pillars:- Substrate Selection: Moving away from standard clay bricks to denser, less porous calcium silicate bricks.
- Breathable Finish: Utilizing a potassium silicate-based mineral "paint" or a traditional limewash instead of acrylics. These finishes chemically bond with the masonry and have a high vapor permeability, allowing moisture to escape harmlessly.
- Penetrating Sealer Protocol: Applying a specific type of sealer not on the surface, but deep within the mortar joints, which are the primary entry points for moisture.
The 4-Phase Build and Seal Implementation
Executing this requires precision at every stage. I learned the hard way on an early project in Snell Isle that rushing the curing process can trap moisture internally, negating all the benefits of the specialized materials. This is the exact sequence I now mandate for every build.- Phase 1: Foundation and Drainage: The structure must be built on a concrete footing with an integrated vapor barrier and a French drain system at its base. This is non-negotiable in low-lying Pinellas areas to combat hydrostatic pressure from the soil.
- Phase 2: Masonry and Mortar: I specify calcium silicate bricks laid with a high-strength, polymer-modified Type S mortar. The polymer additives increase bond strength and significantly reduce water absorption in the joints. Every joint must be tooled to a concave finish to shed water effectively.
- Phase 3: Curing and Finishing: This is a critical waiting period. The entire structure must undergo a full 28-day cure period before any finish is applied. This allows most of the water from the mortar to evaporate. Afterward, we apply two coats of a silicate mineral finish, allowing 24 hours between coats.
- Phase 4: The Sealing Protocol: After the finish is fully cured, I begin my sealing process. This is not a surface-level job. I use a low-pressure applicator to apply a two-part silane/siloxane penetrating sealer, focusing exclusively on the mortar joints. The goal is to get 1/4-inch penetration, creating an internal waterproof barrier right where it matters most.
Precision Adjustments for Long-Term Integrity
The job isn't done after the build. Quality control is about ensuring longevity. A common mistake I see is homeowners pressure-washing their beautiful white brick kitchens. This can damage the mineral finish and compromise the sealed joints. My standard of quality includes a detailed maintenance hand-off. The most crucial component is an annual inspection and re-application of the penetrating sealer to the most exposed joints, typically on the top surfaces and windward-facing walls. Following this simple regimen has been shown to extend the pristine appearance of the finish by over 200% compared to unmaintained structures. Given the high hydrostatic pressure in coastal Pinellas soil, what specific drainage and foundation footing adjustments have you planned to prevent substrate-level moisture from compromising your brickwork from below?Written by

Tags
outdoor kitchen bbq grill
outdoor kitchen cabinets
outdoor kitchen and grill
kitchen outdoor grill
outdoors grills