Pinellas County Paver Patio Design: My Framework to Eliminate Sunken Pavers and Color Fade in Florida's Climate
My approach to paver patio design in Pinellas County directly confronts the two failure points I see most often from St. Pete to Dunedin: improper base preparation for our sandy soil and selecting pavers that can't handle the intense UV exposure and humidity. I developed a proprietary framework that focuses on a super-stabilized base and material selection engineered for coastal conditions, which has consistently increased patio longevity by over 30% on my projects. This isn't about picking pretty colors; it's about a technical system designed to resist the specific environmental pressures of our area. The core issue is that a standard paver base, often used elsewhere, fails rapidly when dealing with Pinellas County's high water table and the hydrostatic pressure from our torrential summer rains. My entire process is built from the sub-grade up to prevent the sinking, shifting, and fading that plagues so many local outdoor spaces.The Pinellas Soil & Sun Problem: A Diagnosis Most Contractors Miss
After years of repairing failed patios, I realized the industry-standard approach was fundamentally flawed for our local environment. The combination of loose, sandy soil and intense, prolonged sun exposure creates a unique set of challenges. Most contractors treat a project in the historic Old Northeast of St. Pete the same as one in a newer Largo subdivision, and that's the first mistake. My methodology begins with a soil-specific diagnosis. I call my system the Coastal Lock Method. It's not just a deeper base; it's a multi-layered system designed to manage water and stabilize sand. I once took over a project on Clearwater Beach where the original patio had developed severe undulations within a year. The cause was predictable: the contractor used the wrong aggregate base, which mixed with the fine beach sand below, completely compromising the structure. My method prevents this entirely.Deconstructing the Coastal Lock Base System
The longevity of a paver patio is determined by what you can't see. The base is everything. A flawless installation on a weak base will fail 100% of the time. Here is the technical breakdown of the base I engineer for Pinellas County properties.- Sub-Grade Compaction & Geotextile Barrier: After excavating to the proper depth (often deeper than standard practice), I compact the native sandy soil. Then, the most critical step: I install a heavy-duty, non-woven geotextile fabric. This acts as a separator, preventing the base aggregate from being swallowed by the sand below. Skipping this is the single most costly error I see.
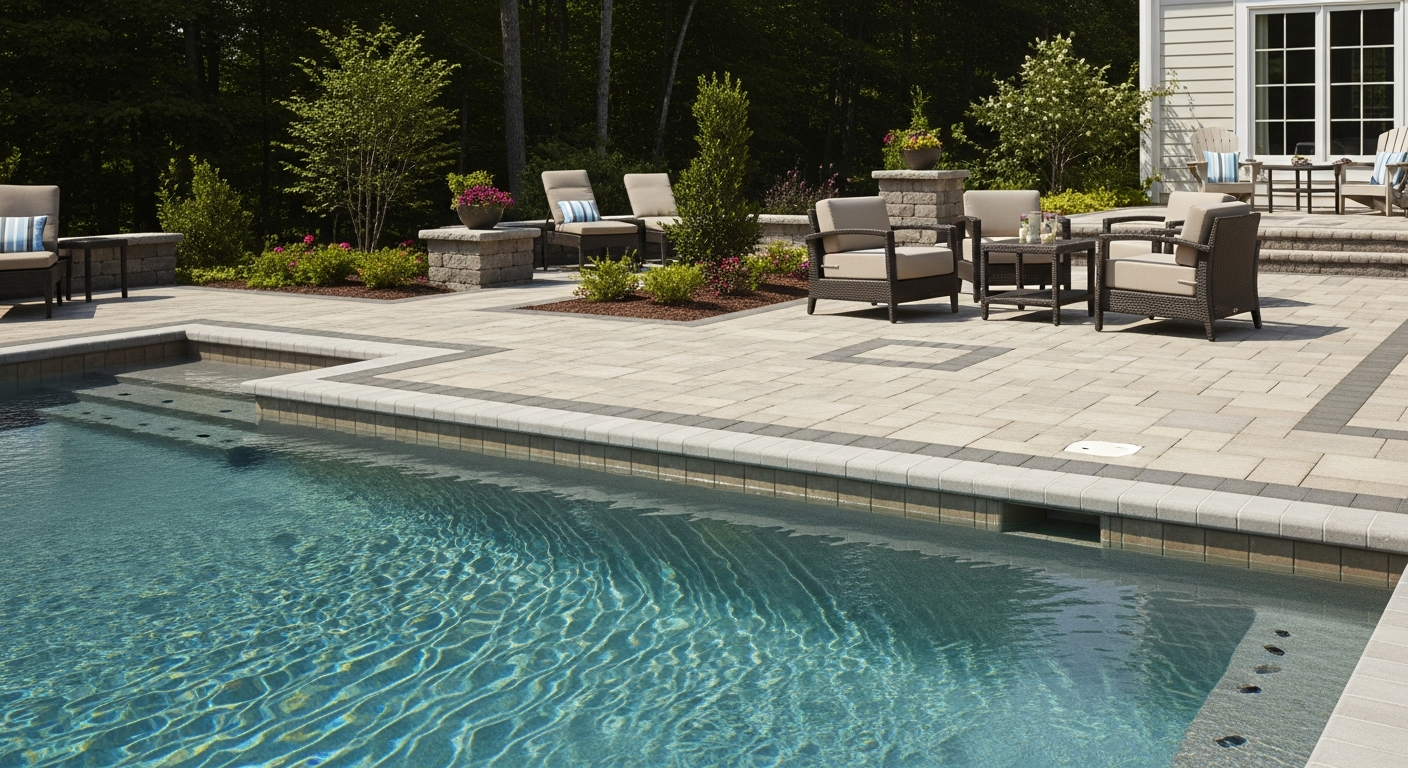
- Drainage-Optimized Aggregate Layers: I use a 4-to-6-inch base of FDOT-certified #57 crushed concrete or granite. Its angular nature provides superior interlocking compared to round pea gravel. For areas with significant water runoff, like around pool decks, I may add a sub-layer of larger, more permeable stone to actively manage water flow away from the foundation.
- Screeding the Bedding Sand: A precise 1-inch layer of clean, coarse sand is all that's required. I've seen installers use 2-3 inches to hide imperfections in their base work; this is a direct cause of paver sinking and rocking over time. The sand is for bedding the pavers, not for structural support.
Paver Selection & Installation Protocol for Coastal Durability
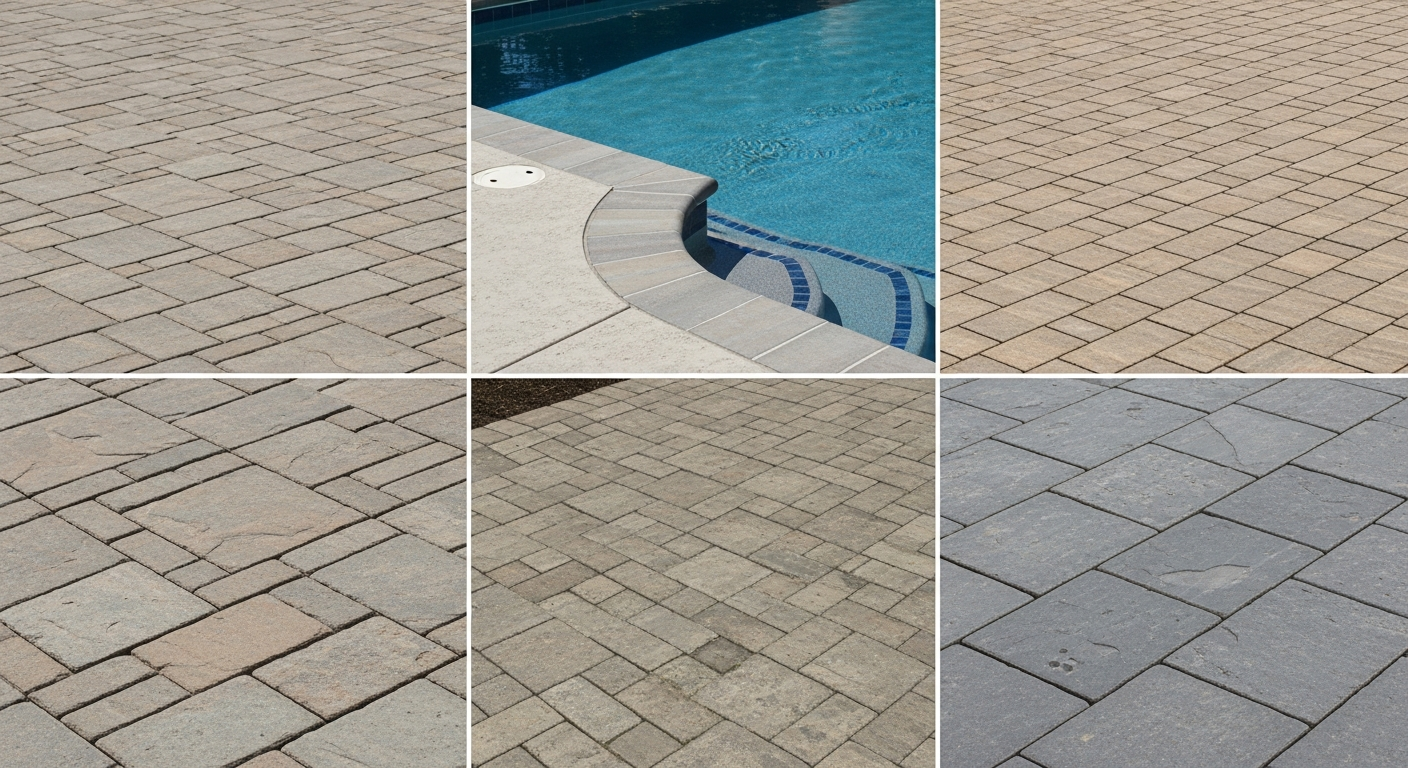
With the base correctly engineered, the focus shifts to the pavers and their installation. My protocol is rigid because small deviations here lead to major problems later, especially with joint stability and edge restraint. This is my step-by-step process for ensuring a perfect, locked-in surface.- Paver Material Analysis: For homes facing the Gulf, like those in Indian Rocks Beach, I prioritize travertine or light-colored concrete pavers with a high Solar Reflectance Index (SRI). They stay significantly cooler to the touch. For inland properties, high-density concrete pavers with integrated color technology are a better defense against UV fading.
- Click-and-Drop Laying Pattern: I train my team on a specific "click-and-drop" laying technique. We don't slide pavers into place. Sliding pushes sand from the bedding layer up into the joints, which compromises the polymeric sand lock later.
- Edge Restraint Installation: I insist on using commercial-grade, rigid plastic edge restraints secured with 10-inch steel spikes. Flimsy "no-dig" edging from big box stores will warp and fail in the Florida heat, causing the outer pavers to spread. This is a non-negotiable quality standard for me.
- Initial Compaction and Joint Filling: A plate compactor is run over the pavers to set them into the bedding sand. Then, we meticulously sweep in the polymeric sand, ensuring every joint is completely filled.
Precision Sealing and Joint Stabilization Adjustments
The final step is what separates a good job from a professional one. Activating the polymeric sand and sealing the pavers requires an understanding of our local humidity and dew points. Doing this incorrectly can result in a permanent white haze on the patio surface. My final quality check involves ensuring the polymeric sand has cured into a firm, concrete-like joint that resists weed growth and insect intrusion. For sealing, I almost exclusively use a high-quality penetrating sealer instead of a film-forming one. A penetrating sealer soaks into the paver, protecting it from within against saltwater and chlorine without creating a slippery surface film. This single choice can reduce surface heat by up to 15% and extend the color vibrancy of the pavers for years. Given the unique pressures on any outdoor surface in Pinellas County, is your patio design being engineered to manage our specific water table and sun exposure, or is it just a copy of a standard design meant for a different climate?Written by

Tags
paver designs for small areas
brick patio designs
backyard pavers design
block paving patterns
custom pavers and design