
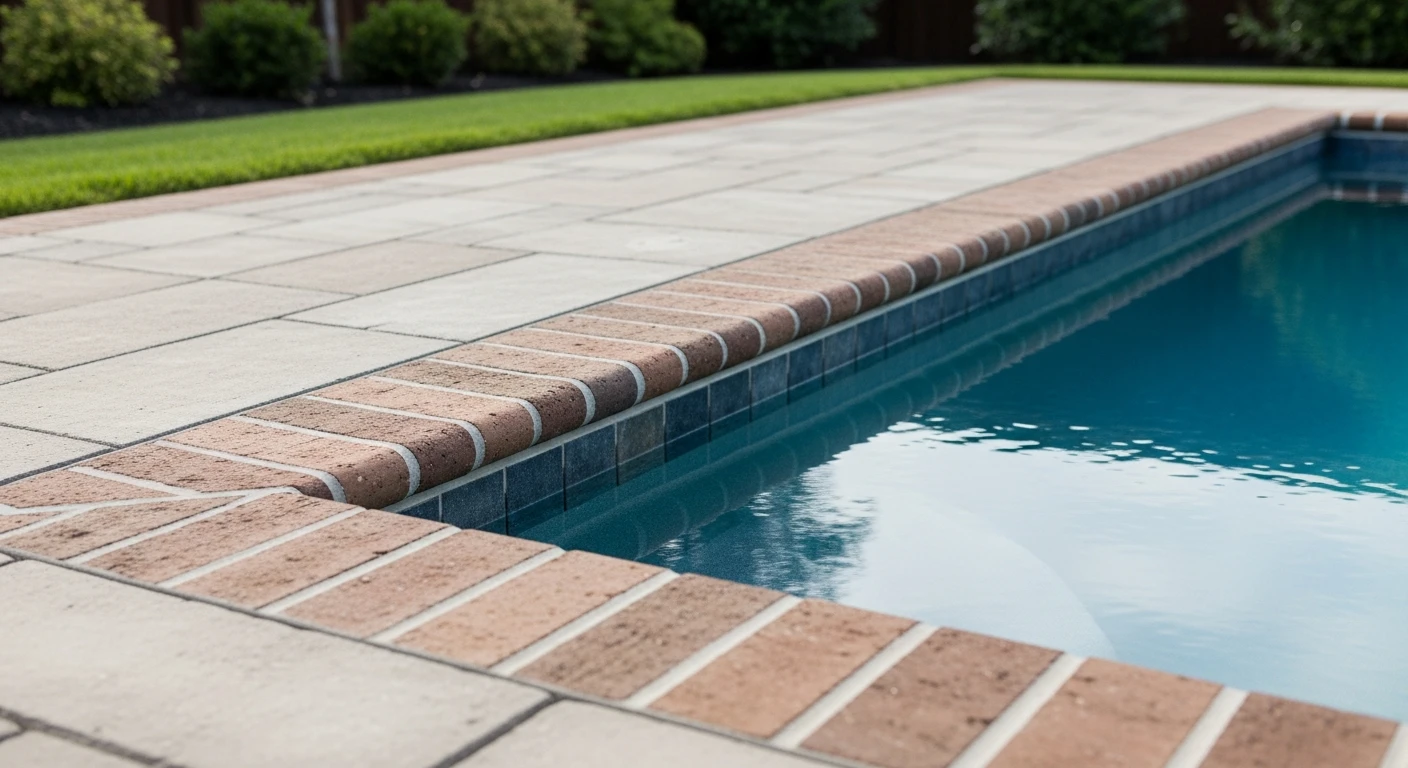
Brick Paver Edging in Pasco County: My Framework for Zero Paver Shift in Sandy Soils
The single most common failure I see in brick paver installations across Pasco County, from the planned communities in Wesley Chapel to the coastal homes in New Port Richey, isn't the pavers themselves—it’s the edging. Standard plastic edging, often sold as a DIY solution, simply cannot withstand the unique combination of our sandy loam soil and intense summer downpours. This results in what I call **lateral paver creep**, a slow, almost imperceptible outward movement of the pavers that eventually leads to joint widening, weed growth, and a completely compromised surface. My entire approach is built on preventing this specific failure. After repairing dozens of driveways and patios that failed within 5 years, I realized the problem wasn't workmanship but a fundamental mismatch of material to environment. The solution isn't a better plastic spike; it's a completely different methodology that anchors the entire paver field directly into the subgrade, creating a monolithic structure that resists the hydrostatic pressure our climate generates. This isn't just about aesthetics; it's about quadrupling the functional lifespan of your investment.The Critical Failure Point: Why Most Edging Fails in Land O' Lakes and Trinity
I was once called to a large patio project in a Trinity subdivision where the homeowner was frustrated. The pavers, installed just two years prior, were already separating. The culprit was immediately obvious: the black plastic edging had warped and lifted, its spikes having lost all grip in the loose, sandy soil after a few wet seasons. The intense Florida sun had made the plastic brittle, and the pressure from water saturating the sub-base simply pushed it outward. This is a textbook case of **edging system failure**. My diagnostic process bypasses the surface symptoms and focuses on the subgrade mechanics. The fundamental error is treating the edging as a simple border. I treat it as a structural retaining wall. My proprietary methodology, the **Concrete Bond Beam System**, doesn't just sit next to the pavers; it forms a hidden, reinforced concrete curb that is physically and chemically bonded to the paver base. This creates a rigid frame that distributes lateral loads across the entire perimeter, rather than relying on the pull-out strength of a few metal spikes.Dissecting the Concrete Bond Beam: Material Ratios and Curing
The secret to the Bond Beam’s effectiveness isn't just pouring concrete; it’s in the specific mix and application. I’ve refined this over years of work specifically in Pasco County's soil conditions. A standard, wet concrete mix will fail, as it will simply flow under the pavers and create a weak, inconsistent edge. I use a **low-slump concrete mix**, with a precise ratio of 3 parts washed sand to 1 part Portland cement. This creates a stiff, workable consistency that can be troweled into a specific profile. A crucial detail often overlooked is creating **control joints** every 8-10 feet within the hidden concrete beam. I cut these shallow grooves while the concrete is still green. This prevents the uncontrolled cracking that can occur from thermal expansion and contraction during our hot summers and cooler winter nights. It directs the natural movement of the concrete, preserving the structural integrity of the beam. Without this, a long, straight driveway edge could develop a significant stress fracture within three years.Step-by-Step Execution of My Subgrade Anchoring Method
Executing this method requires precision. There are no shortcuts, and each step directly impacts the final system integrity. A 5% deviation in one step can lead to a 50% reduction in long-term stability.- Trench Excavation: I excavate a trench around the perimeter of the compacted paver base. This trench must be at least 6 inches wide and 8 inches deep, extending below the paver base layer itself. This provides the necessary mass and depth for the concrete anchor.
- Subgrade Compaction: The bottom of this perimeter trench is then compacted using a gas-powered plate compactor. A hand tamper is insufficient for achieving the required soil density to support the concrete beam.
- Concrete Mixing: The low-slump mix is prepared. The consistency should be stiff enough to hold its shape when formed by hand, similar to thick mortar. This is a critical quality control checkpoint.
- Beam Application: The concrete is shoveled into the trench and troweled firmly against the outer edge of the last course of pavers. I shape it to create a 45-degree angle from the base of the paver up and away. The top of the concrete beam must remain at least 1.5 inches below the final grass or mulch line to be completely invisible.
- Curing Protocol: The concrete beam is left to cure for a minimum of 72 hours before any backfilling with soil or sod. Rushing this step, especially in our humid climate, is the primary cause of premature bond beam failure.
Quality Control: Mitigating Humidity and Hydrostatic Pressure
The job isn't finished after the pour. My quality control process focuses on the environmental factors unique to Pasco County. During the 72-hour cure, if there's a forecast for heavy rain—a common occurrence in our summer afternoons—I cover the entire perimeter with plastic sheeting. Allowing a sudden deluge to hit the curing concrete can alter the water-to-cement ratio on the surface, weakening the beam. Furthermore, I inspect the **paver-to-beam contact line** for any voids or gaps. A seamless, tight bond is non-negotiable. My standard for a high-quality installation is less than a 1/16-inch variance in the paver line over a 20-foot span after the system has fully cured. This is the level of precision that ensures a paver installation will survive decades, not just seasons. This system turns a simple edge restraint into an active defense against the forces trying to tear your hardscape apart. Before your next paver project, ask yourself this: is your edging strategy designed to simply hold pavers in place, or is it engineered to actively counteract the specific soil mechanics and water table fluctuations of your Pasco County property?Written by

Tags
driveway edging blocks
concrete paver edging
patio paver edging
pool edge pavers
patio edge restraint


