
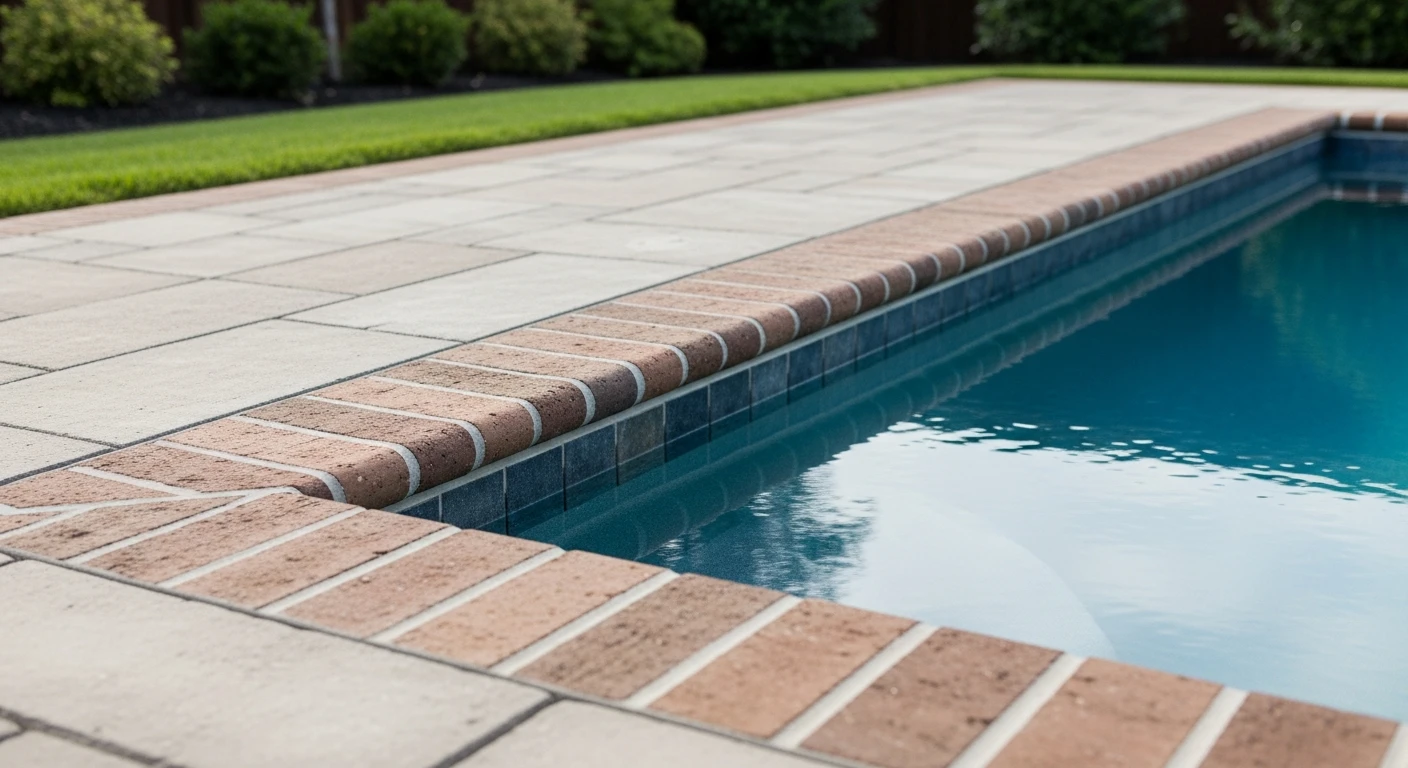
Brick Paver Edging in Pinellas County: My Grout-Lock Method for 30-Year Structural Integrity
I’ve seen countless paver patios, from the historic neighborhoods of St. Petersburg to the waterfront homes in Dunedin, fail within five years. The homeowner calls me, frustrated by sinking pavers and rampant weeds. In over 90% of these repair jobs, the root cause isn't the pavers themselves; it's a catastrophic failure of the edging. Standard plastic or aluminum edging, secured with flimsy spikes, simply cannot withstand the unique combination of Pinellas County's sandy, shifting soil and our torrential summer downpours. This is why I abandoned those off-the-shelf products years ago. My proprietary methodology, the Grout-Lock System, doesn't just hold pavers in place—it creates a permanent, monolithic concrete bond that resists soil subsidence and hydrostatic pressure. This isn't a temporary fix; it's a structural solution designed to last decades, even with our challenging local conditions.The Core Failure of Standard Edging in Sandy Soil
When I'm called to diagnose a failing paver installation in Pinellas County, the first thing I inspect is the perimeter. I can almost always slide a trowel under the plastic edging with minimal effort. This is the critical failure point. The 8-inch spikes that come standard with most edging kits provide almost zero lateral shear resistance in our loose, sandy soil. After a few cycles of heavy rain and intense sun, the ground shifts, the spikes loosen, and the entire paver field begins to creep outwards. I identified this systemic weakness on a large-scale commercial project in the Carillon business park. The spec called for standard aluminum edging, and within 18 months, the entire walkway was showing signs of separation. We had to redo the perimeter on over 5,000 square feet of pavers. It was then that I perfected my Pinellas-Specific Grout-Lock System, which focuses on creating a solid concrete "toe" that anchors the pavers directly to a compacted sub-base, completely eliminating the reliance on spikes.Technical Breakdown: Concrete Toe vs. Spiked Restraints
A common misconception is that paver edging just needs to create a visual border. Its primary engineering function is to resist the outward pressure exerted by the entire field of pavers. In Pinellas, this pressure is amplified by water saturation in the sand base. Spiked restraints fail because the force is concentrated on small, individual points (the spikes). In sandy soil, these points offer little resistance and can even "walk" out of the ground over time. The Grout-Lock System, however, distributes this load across a continuous, hardened concrete beam. We're essentially building a small foundation around the paver installation. The key is the monolithic bond created between the pavers, the concrete toe, and the compacted aggregate base below. This system transforms the entire installation from a collection of loose pieces into a single, stable slab.Step-by-Step Implementation of the Grout-Lock System
Executing this method requires precision. I’ve refined this process over hundreds of projects across Pinellas County, from small driveways in Largo to sprawling pool decks in Clearwater Beach. A single misstep in the base preparation or concrete mix can compromise the entire system.- Step 1: Base Excavation and Compaction: This is non-negotiable. The area for the pavers and the edging must be excavated. I lay down a 4-6 inch layer of crushed concrete or #57 stone. The crucial KPI here is achieving a compaction rate of at least 98% Proctor using a plate compactor. Without this solid base, even the concrete toe will eventually sink.
- Step 2: Install Pavers and Bedding Sand: The pavers are laid as usual on a 1-inch layer of bedding sand, extending them about 6 inches past the final desired edge.
- Step 3: Define the Edge and Excavate the Trench: A string line marks the final, precise edge. I use a sharp spade to cut a clean line and then excavate a small trench along this line, approximately 6 inches wide and 4 inches deep, directly against the outer pavers.
- Step 4: Mix and Apply the Concrete: I use a stiff, low-slump concrete mix—typically a 3:1 ratio of sand to Portland cement. It should be the consistency of thick peanut butter. This mix is packed firmly into the trench. The critical action is to trowel it smooth at a 45-degree angle, creating a slope from the top of the paver down into the sub-base.
- Step 5: Curing and Backfilling: The concrete needs to cure for at least 48-72 hours. In the intense Florida sun, I often cover it with a damp burlap to ensure a slow, strong cure. Once hardened, the area can be backfilled with soil and sod, completely hiding the concrete toe and creating a perfect, locked-in edge.
Fine-Tuning for Pinellas County’s Unique Conditions
This system is robust, but I make small adjustments based on the specific micro-environment within Pinellas. For a coastal home in Belleair Beach, where salt spray is a constant concern, I might add a polymer additive to the concrete mix for increased chloride resistance, preventing spalling over time. On a historic bungalow project in the Old Northeast of St. Pete, where maintaining an authentic, undisturbed look is paramount, the Grout-Lock system is perfect because it's completely invisible once the landscaping is restored. There's no black plastic lip peeking through the grass. It provides modern structural stability while preserving the home's historic aesthetic. The key is ensuring the top of the concrete toe sits about 1.5 inches below the final grade of the soil or sod. This provides a deep, unseen lock on the entire paver system. How are you calculating the lateral load on your paver system to account for soil saturation after a 3-inch rainfall event?Written by

Tags
driveway edging blocks
concrete paver edging
patio paver edging
pool edge pavers
patio edge restraint


