Paver Edging in Pinellas County: My Protocol for Preventing Lateral Shift by Over 90%
After repairing dozens of failed paver driveways from St. Pete to Dunedin, I can tell you the single point of failure isn't the pavers themselves; it’s the inadequate edging system that surrenders to our sandy soil and intense rainy seasons. Standard plastic edging installed with minimal base prep is a guaranteed recipe for lateral shift and paver separation within 24 months. My entire approach is built on creating a subterranean frame that locks the paver field in place, essentially making the edging an integrated part of a monolithic slab. This isn't about choosing a prettier brand of edging. It's about engineering a foundation that addresses the specific geological and climatic challenges of Pinellas County. The constant moisture, shifting sand, and thermal expansion/contraction cycles demand a system far more robust than what you'll find in a big-box store installation guide. My methodology focuses on soil stabilization and load distribution *before* a single piece of edging is even laid.Diagnosing Edging Failure: My CoastalLock™ Base Methodology
I developed what I call the CoastalLock™ Base System after I was called to fix a high-end paver pool deck in a Clearwater Beach property. The original installers used standard flexible plastic edging, and after just one hurricane season, the edges were bowing out, creating dangerous gaps. The core issue was simple: the base material beneath the edging was identical to the base under the pavers. This is a critical error. The edge is where all the lateral forces concentrate; it needs a disproportionately stronger foundation. My system treats the perimeter trench as a separate, more critical engineering zone.The Technical Mechanics of the CoastalLock™ System
The fatal flaw in most paver installations here is the failure to account for hydrostatic pressure and poor soil cohesion. Our sandy soil just doesn't provide enough passive resistance. The CoastalLock™ system addresses this with three core principles. First is soil-base separation. I always lay a non-woven geotextile fabric in the perimeter trench. This prevents the aggregate base from sinking into the sand over time, which is the primary cause of gradual sagging and edge failure. Second is aggregate density. I use a crushed recycled concrete (#57 stone equivalent) for its superior angular lock-up and compact it in the trench to a minimum of 98% Proctor density. This creates an unyielding beam of support. Finally, I select the edging material based on the application—typically a heavy-duty aluminum for straight runs and a concrete curbstone for high-traffic driveways, as they are impervious to the salt air and UV degradation that weakens plastic.Implementation Protocol: A Step-by-Step Breakdown
Executing this requires precision. I’ve seen projects fail because a single step was rushed. My process is rigid and non-negotiable, especially for the sprawling driveways common in the larger properties around Tarpon Springs.- Perimeter Trench Excavation: I excavate a trench 12 inches wide and 8 inches deep around the entire paver field perimeter. This is double the width of most standard recommendations.
- Sub-Soil Compaction: The native sandy soil at the bottom of the trench is compacted first to create a stable sub-grade.
- Geotextile Fabric Installation: The fabric is laid, extending up the sides of the trench. This is a non-skippable step.
- Aggregate Base Installation: I install 6 inches of the crushed aggregate in two separate 3-inch "lifts." Each lift is individually compacted with a vibratory plate compactor. This layered compaction is crucial for achieving maximum density.
- Edging Securement: The edging is placed on top of this hyper-compacted base. I use 10-inch galvanized spikes, driving them every 12 inches, not the 24-36 inches often suggested.
Precision Adjustments and Quality Standards
The difference between a good job and a great one is in the final 5%. I have a few proprietary checks I run. For spike installation, I mandate that each spike be driven at a 15-degree angle away from the paver field. This significantly increases its pull-out resistance against lateral forces. After the edging is secured, I backfill the exterior of the trench with the excavated soil and compact it to create external pressure, further locking the system in place. The final, critical link is the polymeric sand. Once swept into the joints and activated with water, it hardens and structurally bonds the last row of pavers directly to the edging restraint, creating a truly unified, locked-in surface. This is what withstands Pinellas County's summer downpours without washing out. After seeing countless paver installations fail, do you still believe the edging itself is the weak point, or have you realized the failure begins with an improperly engineered base?Written by

Tags
paver edge restraint
block paving edging
driveway edging stones
edging blocks
brick paver edging
Paver Edging in Pinellas FL FAQ
My pavers are sinking right at the pool's edge. Is this a paver problem or a pool leak?
Sinking pavers at the pool's edge are a primary symptom of a structural leak from the pool shell, not just a simple paver issue. Water escaping from a crack, even a hairline one, saturates and erodes the soil base beneath the pavers, causing them to settle and shift. A leak as small as 3 mm can wash away enough sub-base material to create significant voids over a single season. Before resetting any pavers, a full leak detection process, including a pressure test of the plumbing and a dye test of the pool shell, is mandatory to find and repair the source of the water loss.
What is the best material to use for the edging right against my pool coping?
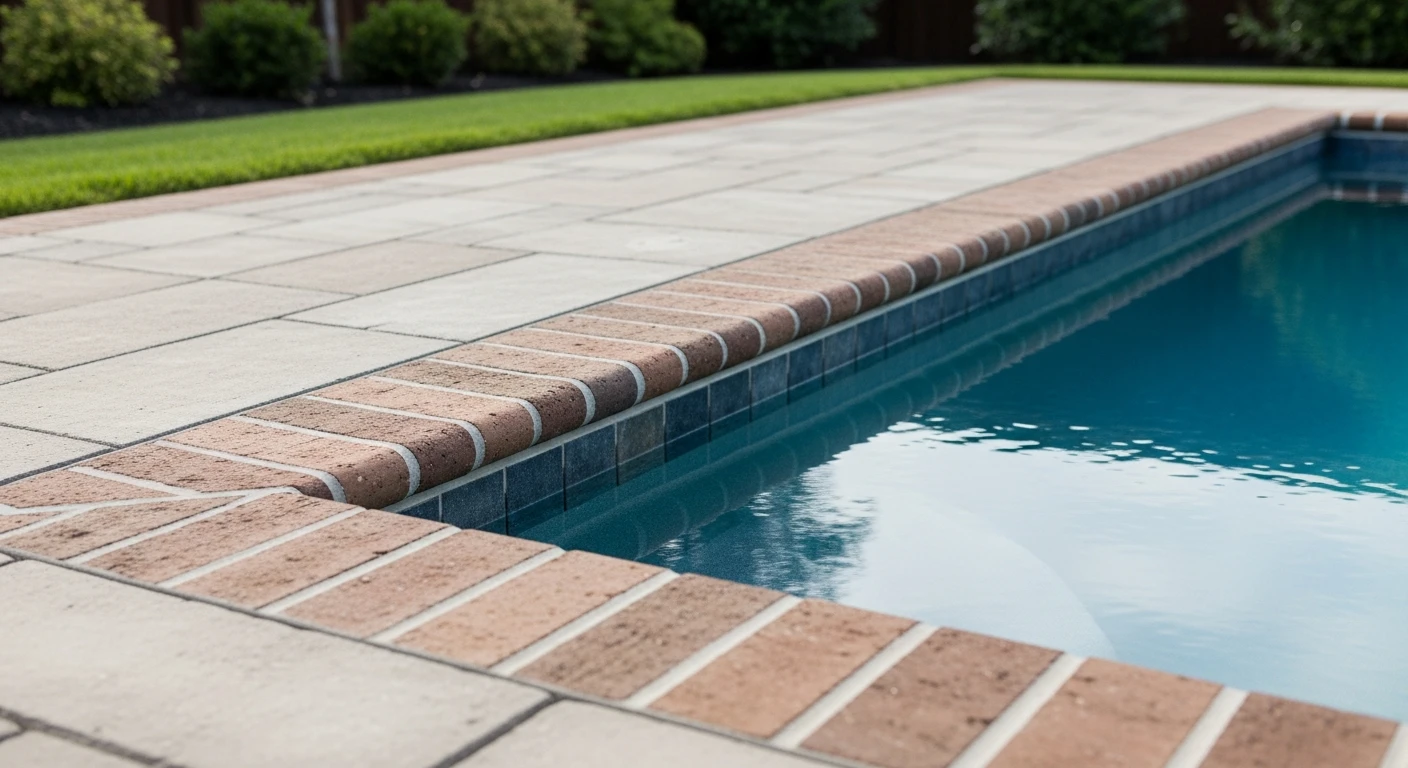
The most durable and stable solution is a poured-in-place concrete bond beam that sits behind the coping and beneath the first course of pavers. This reinforced concrete base provides a rigid, continuous foundation that prevents the pavers from shifting or subsiding due to soil movement or water splash-out. While plastic or aluminum edging is common for general landscaping, it lacks the strength to resist the unique lateral pressures and constant moisture exposure at a pool's perimeter, often leading to failure within a few years. The concrete base is the professional standard for long-term stability.
Can I just use polymeric sand to fix the gaps that have appeared between my pool coping and the pavers?
Using polymeric sand to fill widening gaps is a temporary cosmetic fix that masks a more serious underlying problem of paver movement. The gaps are appearing because the edging has failed and the pavers are shifting away from the pool. Simply filling the joint with polymeric sand will not stop this movement; the sand will crack and wash out, and the gap will reappear. The correct repair involves removing the affected pavers, addressing the failed edging, re-compacting the base, and then reinstalling the pavers with properly filled joints.
Why are my pavers lifting or heaving up during the winter?
Pavers heaving upwards near the pool in winter is caused by water trapped in the base material freezing and expanding, a process known as frost heave. This indicates a critical drainage failure, where water is not being directed away from the pool deck's foundation. In regions with harsh winters, improper pool closing can exacerbate this if lines are not fully blown out, leading to slow leaks that saturate the ground. Proper installation requires a well-draining sub-base and a slight, consistent slope away from the pool to prevent water from pooling and freezing beneath the paver field.
What's the difference between paver edging for a concrete pool versus a vinyl liner pool?
For a concrete pool, the paver edging must accommodate a rigid structure, so a solid concrete bond beam is ideal. For a vinyl liner pool, the edging system must be installed carefully to avoid damaging the liner track or the wall panels, which sit just behind the coping. Any spikes used to secure plastic edging, for instance, must be placed with precision to avoid puncturing buried plumbing or compromising the wall panel structure. A careless installation can lead to liner tears or wall damage that is far more expensive to fix than the paver work itself.
Is it normal to see white, chalky residue on the paver joints near the pool?
That white, chalky residue is likely efflorescence, but its location at the pool's edge is a warning sign of persistent moisture issues. While some efflorescence is normal as pavers cure, heavy or recurring deposits near the pool indicate that chlorinated or salt water is constantly wicking up through the joints from a saturated base. This could be from excessive splash-out due to improper grading or a slow leak. This constant moisture can accelerate the degradation of the paver sub-base and compromise the entire installation over time.