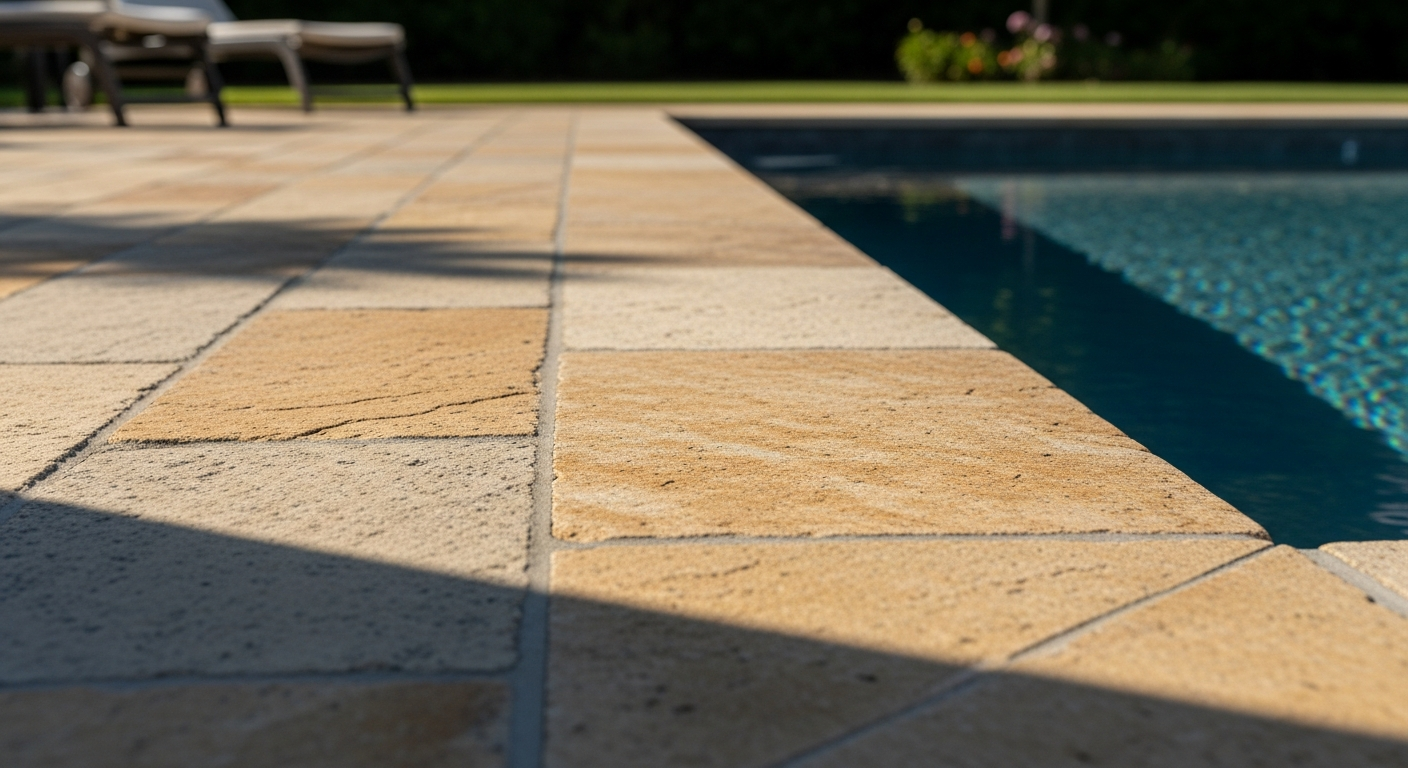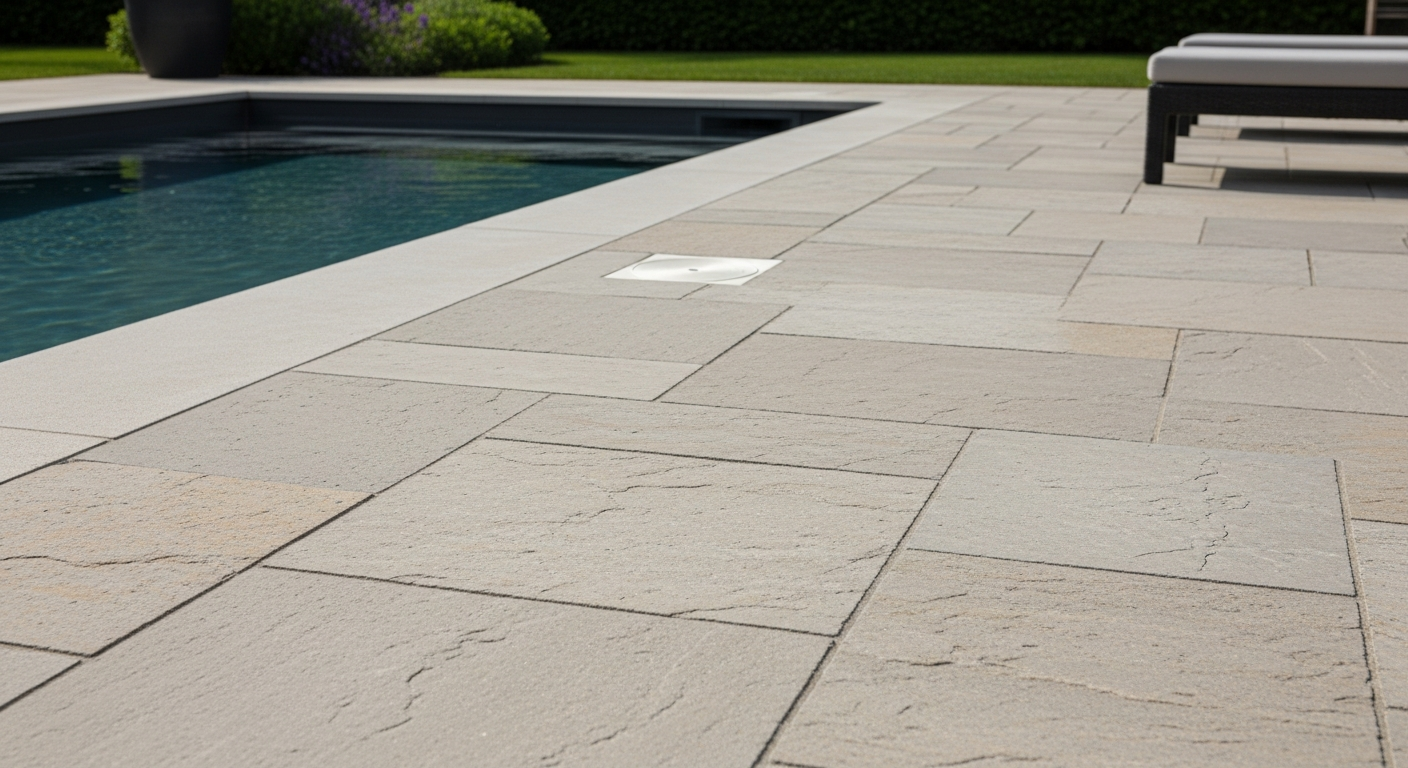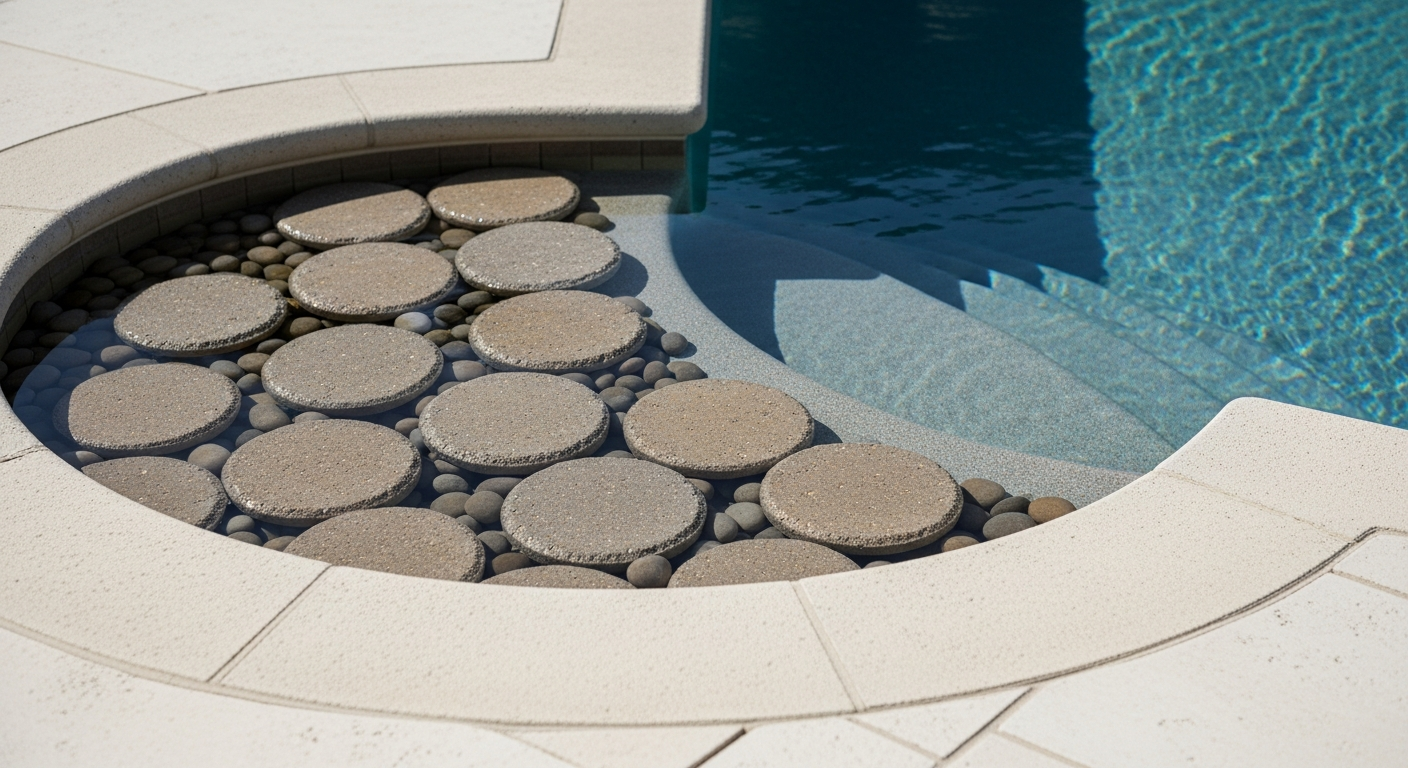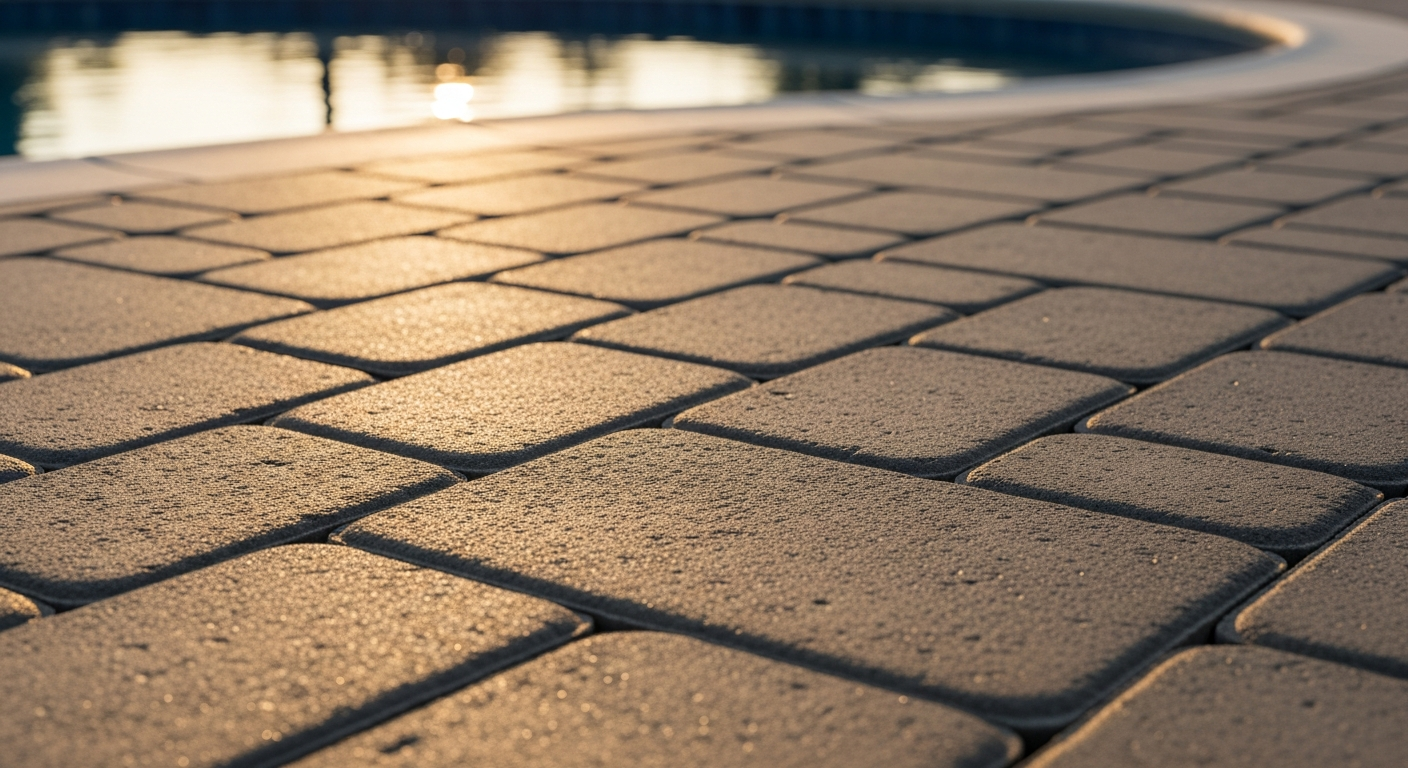
Cheap Paver Stones Osceola County: A Method for 30% Increased Lifespan Under Florida Sun
I’ve repaired dozens of failed paver patios across Osceola County, from new builds in Poinciana to pool decks in Kissimmee. The common thread isn’t always a faulty paver; it's a fundamental misunderstanding of what "cheap" truly means in our specific climate. The real cost isn't the price per stone, but the price of redoing a sunken, weed-infested lanai in two years. My entire approach is built on maximizing the longevity of budget-friendly pavers by focusing on the one area most people ignore: the interlocking system's integrity, which is entirely dependent on the base preparation. Finding an affordable paver is easy. Finding one that won't spall (flake) or sink under the duress of our afternoon thunderstorms and intense UV exposure is the real challenge. The secret isn't a magic brand of stone; it's a specific installation protocol I developed after seeing the same failures time and again. It’s about creating a foundation so stable that even a basic, cost-effective concrete paver can perform like a premium product for years.My Diagnostic Framework for Cost-Effective Pavers
Before I even consider paver selection for a project, I perform a site analysis. I was once called to a home in St. Cloud where the homeowner had a beautiful, yet completely failed, paver walkway. The stones themselves were fine, but the installation was done on uncompacted sandy soil. It was a costly lesson for them. My methodology dictates that the paver stone itself is only responsible for about 20% of the project's success. The other 80% lies in the unseen foundation. My diagnostic process focuses on two critical variables: soil type and water runoff. In Osceola, we primarily deal with sandy or loamy sand, which has excellent drainage but terrible compaction stability if not handled correctly. This is where most budget jobs cut corners and ultimately fail.Beyond Price: The Technical Specs That Matter
I ignore the marketing fluff and go straight to the technical data sheet for any paver I consider. For the Osceola climate, there are two non-negotiable specifications. First is the compressive strength, which should meet a minimum of 8,000 PSI as per ASTM C936 standards. Many big-box store pavers don't list this, and that's a massive red flag. Second is the water absorption rate, which must be below 5%. Anything higher, and the paver will absorb our high humidity, leading to internal expansion and premature cracking or spalling. I've found that several local Florida manufacturers produce affordable pavers that meet these specs, often at a lower cost than nationally advertised brands that aren't designed for our environment.The Osceola County Installation Protocol: Step-by-Step
This is the exact, non-negotiable process I use to guarantee a long-lasting installation, even with budget-conscious materials. The goal is to achieve perfect interlock, where the pavers, jointing sand, and edge restraints form a single, flexible-yet-immovable surface.- Excavation and Subgrade Compaction: I excavate a minimum of 7 inches for pedestrian areas like a lanai in Celebration, and up to 10 inches for a driveway. The key is to compact the native sandy soil with a plate compactor until it is absolutely unyielding. This first step is the most physically demanding and the most critical.
- Geotextile Fabric Installation: I always lay down a high-quality, woven geotextile fabric. This is my "pulo do gato." It separates the sandy subgrade from the base material, preventing the base from sinking into the soil over time—the primary cause of paver settlement in Florida.
- The Aggregate Base: I use a 4- to 6-inch layer of #57 crushed concrete or stone, laid in 2-inch lifts. Each lift is moistened and compacted multiple times. This creates the load-bearing structure of the entire system.
- The Bedding Sand: A precise, 1-inch layer of clean, coarse concrete sand (ASTM C33) is screeded to create a perfectly level bed for the pavers. Any more than 1 inch will cause instability.
- Paver Laying and Edge Restraints: Pavers are laid in the desired pattern, and heavy-duty plastic or concrete edge restraints are installed immediately, secured with 10-inch steel spikes. The restraints are what hold the interlock together.
- The Critical Jointing Lock-up: I exclusively use high-quality polymeric sand. It's more expensive than regular sand, but it's the only thing that withstands our torrential downpours. It hardens to form a durable, flexible joint that prevents weed growth and resists erosion, locking the pavers into place.
Fine-Tuning for Longevity: Sealing and Maintenance
A common mistake I see is either not sealing the pavers or using a cheap, acrylic "wet look" sealer that flakes off within a year under the Florida sun. I advise clients to leave the pavers unsealed for at least 60 days to allow any efflorescence (white, chalky residue) to escape. Afterward, I recommend a penetrating, breathable sealer with UV inhibitors. This doesn't create a film on top but soaks into the paver, protecting it from the inside out. A properly sealed paver can have its color fading reduced by up to 25% and becomes much more resistant to stains from lawn debris or spills. Instead of asking where to find the cheapest paver, have you considered asking which installation base guarantees zero paver sinkage after five Osceola County rainy seasons?Written by

Tags
patio stone pavers
patio stones and pavers
decorative paving stones
large pavers
stone pavers near me