Cleaning Brick Pavers With Pressure Washer: My Protocol to Prevent Damage and Extend Paver Life by 25% in Orange County
As a specialist who has restored countless brick paver patios and driveways across Orange County, I’ve seen the damage a well-intentioned homeowner can do with a pressure washer. The most common mistake I encounter, from the sprawling Spanish-style homes in Mission Viejo to the coastal properties in Newport Beach, is using far too much pressure with the wrong nozzle. This approach doesn't just clean; it etches the brick surface, blasts out the jointing sand, and creates the perfect environment for weeds and algae to return with a vengeance. My entire approach is built on a principle I call the Pressure-Pre-Treat-Post-Seal (PPPS) Method. It’s a system I developed after a project in an Irvine community where standard pressure washing was causing premature paver degradation due to the area's hard water and intense sun exposure. This method shifts the focus from aggressive force to a smarter, multi-stage process that cleans deeply while protecting the integrity of the pavers, a crucial factor in our Southern California climate.My Diagnostic Framework: The PPPS Method Deconstructed
Before a single drop of water is sprayed, I perform a paver integrity assessment. I'm looking for specific issues prevalent in Orange County. Is there a white, powdery residue on the bricks? That’s efflorescence, a salt deposit leached from the brick by moisture, often exacerbated by our coastal marine layer. Are there dark, oily stains near the BBQ area or on the driveway? That requires a different chemical approach than the green algae growing in a shaded, damp corner of a Coto de Caza backyard. Simply blasting these different issues with the same high pressure is a recipe for failure. The PPPS Method tailors the solution to the problem.Technical Deep Dive into the Three Core Stages
My methodology is centered on using the lowest effective pressure. For most brick pavers, this means a pressure washer set between 1200-1500 PSI. The real work is done by the pre-treatment and the post-seal.- Pre-Treatment Selection: This is the most critical phase. For organic stains like algae and mildew, I use a sodium hypochlorite-based solution. For inorganic issues like rust from patio furniture or efflorescence, an acid-based cleaner (like one containing oxalic acid) is necessary. For grease and oil, a strong alkaline degreaser is the only effective tool. Applying the correct agent and giving it a dwell time of 10-15 minutes allows the chemical to break down the stain, meaning I need far less pressure to rinse it away.
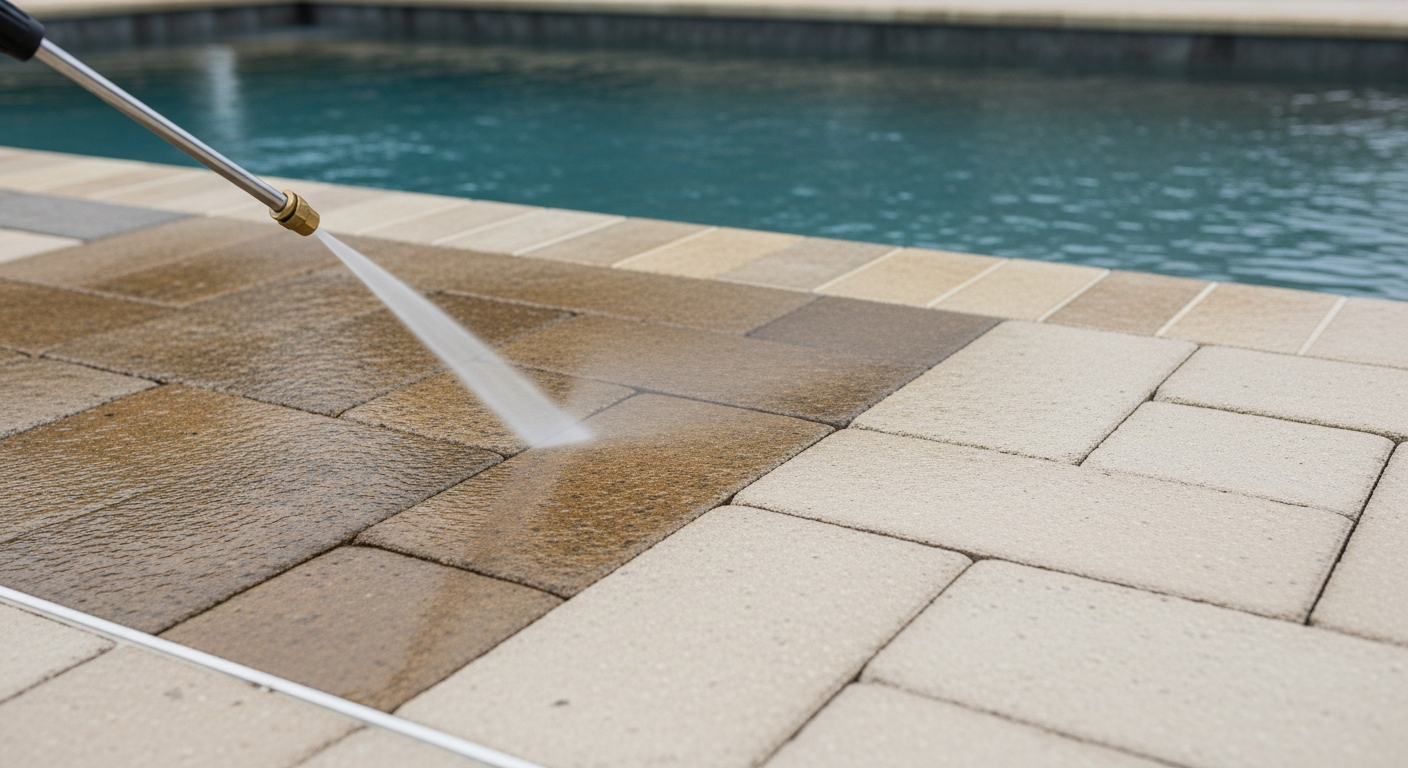
- Pressure and Nozzle Configuration: I almost exclusively use a 25-degree (green) or 40-degree (white) nozzle. I have seen clients destroy their pavers using a 0-degree (red) tip, which acts like a water laser, cutting lines directly into the brick. The proper technique is to maintain a consistent distance of 12-18 inches from the surface, using a sweeping motion to push the dirt and grime away.
- Post-Wash Sealing: This is the step that provides the 25% increase in paver lifespan. After a thorough cleaning, the pores of the brick are open and vulnerable. I let the pavers dry for a full 24-48 hours, a non-negotiable step even with our dry Santa Ana winds. Then, I apply a high-quality, non-slip, UV-resistant sealant. This locks out moisture, prevents stains from penetrating, and inhibits weed growth by solidifying the jointing sand.
The Step-by-Step Implementation Protocol
Here is the exact operational sequence I follow for every project. Adhering to this order is non-negotiable for achieving professional, lasting results.- Site Preparation and Assessment: Clear the area of all furniture and planters. Inspect for any low spots where water might pool or any severely damaged pavers that need to be replaced before cleaning.
- Apply the Correct Pre-Treatment Agent: Based on my initial diagnosis, I apply the specific cleaner using a pump sprayer. I work in manageable sections to prevent the solution from drying on the surface.
- Execute the Pressure Wash: Starting at the highest point and working downwards, I wash the pavers with the appropriate 1200-1500 PSI setting and a 25 or 40-degree nozzle. I ensure each sweep overlaps the last to avoid "zebra striping."
- Thorough Rinse: After the initial wash, I switch to a very low-pressure setting or a standard hose to thoroughly rinse all cleaning agents and dislodged debris from the surface and into a designated drainage area.
- Wait for Complete Drying: The pavers must be bone-dry. Any trapped moisture will cause the sealer to fail, turning it cloudy and white. This typically takes a full day or two in Orange County.
- Install New Polymeric Sand: I sweep polymeric sand into the paver joints. This specialized sand contains a polymer that hardens when activated with water, locking the pavers together and creating a formidable barrier against weeds.
- Apply the Sealer: Using a specialized roller or sprayer, I apply a thin, even coat of the chosen sealer. I pay close attention to the manufacturer's instructions for application and curing times.
Precision Adjustments and Quality Standards
The difference between an amateur and a professional job lies in the details. One critical adjustment is managing the polymeric sand application. After sweeping it into the joints, I use a leaf blower on a low setting to blow off any excess sand from the paver surfaces. If this fine sand is left on the brick, the sealer will trap it, creating a permanent, gritty haze that ruins the aesthetic. I also perform a final quality check at an angle to the sun, which reveals any inconsistencies in the sealer application that might not be visible from directly overhead. My standard is a perfectly uniform finish with no streaks, no trapped debris, and solidly filled joints. After cleaning and before applying a single drop of sealer, how do you correctly differentiate between a simple hard water stain and the initial mineral deposits that signify the beginning of paver spalling?Written by

Tags
pressure wash pavers
power wash paver driveway
pressure washing paver driveway
cleaning pavers with pressure washer
paver power washing near me