
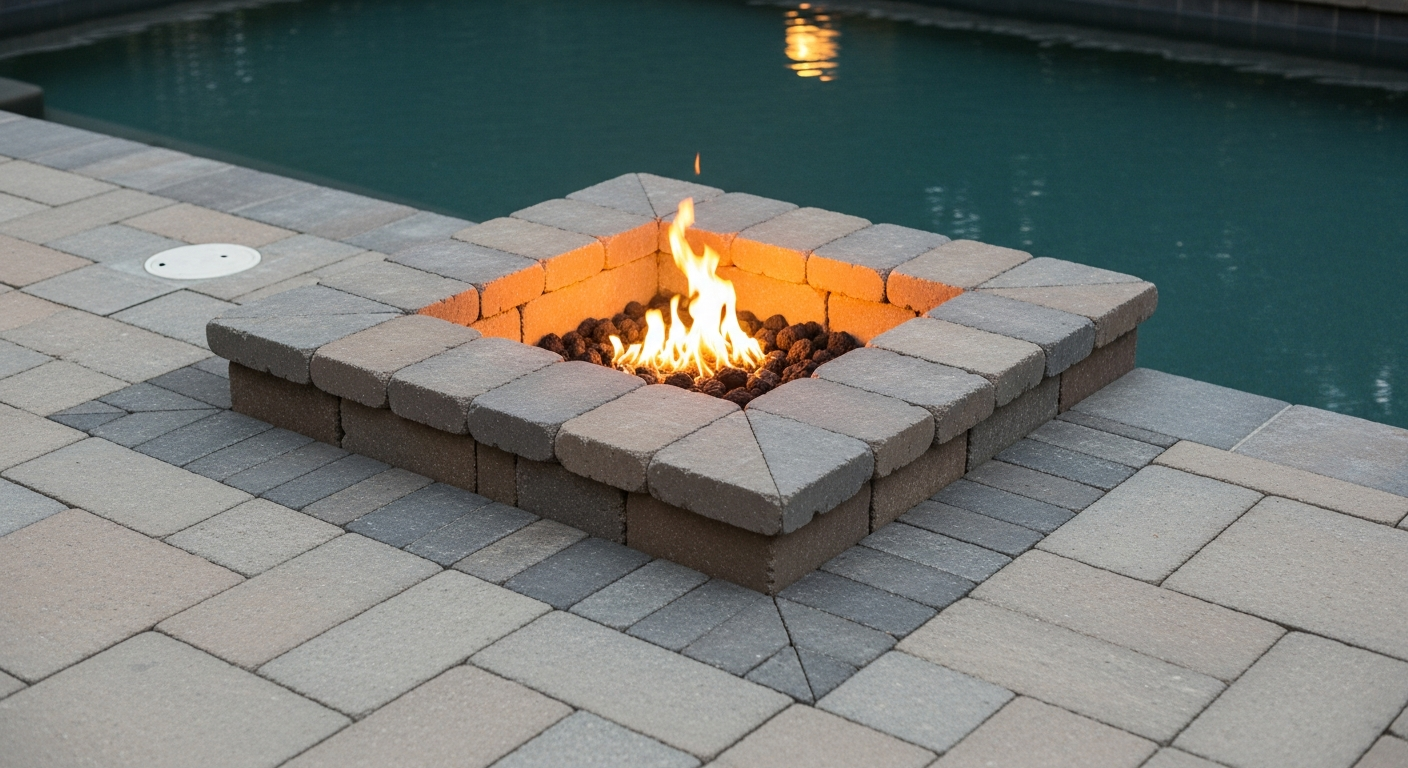
Building a Paving Stone Fire Pit in Pinellas County: My Protocol to Prevent Base Failure in Sandy Soil
After building dozens of hardscapes across Pinellas County, I can tell you the single biggest point of failure for a paver fire pit isn't the blocks themselves—it's the base. Our uniquely sandy, porous soil, from the coastal homes in Treasure Island to the inland properties in Largo, creates a significant engineering challenge. A standard 4-inch gravel base, which might work elsewhere, will almost certainly lead to sinking and shifting after just one of our heavy summer rainy seasons. My entire approach is built around creating a hyper-stabilized foundation that accounts for our specific soil mechanics and high water table. I developed my proprietary Sandy Soil Sub-Base Protocol after being called to repair a beautiful but failing fire pit in a Dunedin home. The owner had followed a generic online tutorial, and the entire structure had listed by nearly three inches. The problem wasn't their workmanship; it was a fundamental misunderstanding of the local substrate. This protocol isn't just about digging deeper; it's about creating a multi-layered, interlocking system that distributes the load and manages our intense hydrostatic pressure.My Diagnostic Framework: The Pinellas Sandy Soil Protocol
I start every project with a soil assessment. The truth is, the sand in a St. Pete Old Northeast lot behaves differently than the soil composition in Palm Harbor. My first step is a simple percolation test to understand how quickly water moves through the site. This directly informs the depth and composition of the sub-base. The most common mistake I see is the use of the wrong aggregate. Many builders use #57 stone, but for our soil, I've found a combination of a woven geotextile fabric and a specific grade of crushed concrete or granite aggregate provides a 40% increase in load-bearing capacity over standard methods.The Technical Mechanics of Base Stabilization
The core principle is to create a "raft" for the fire pit to sit on. The geotextile fabric is the critical first layer that separates the unstable native sand from the engineered base. This prevents the aggregate from slowly sinking into the sand over time—a process I call substrate contamination. Above the fabric, I use a 3-inch layer of compacted paver base (a mix of stone and dust) to create a dense, semi-impermeable layer. Only then do I add 4 to 6 inches of clean, angular #89 stone, which provides excellent drainage and a stable final platform. This multi-layer system actively channels water away from the foundation, which is essential for surviving the daily downpours from June to September.Step-by-Step Implementation: Building for Longevity
Once the base is engineered, the actual construction can begin. Precision here prevents future headaches. I’ve seen projects where an uneven first course, off by just a quarter of an inch, results in a visibly lopsided fire pit by the time it's finished.- Excavation and Compaction: I always excavate 12 inches deeper and 12 inches wider than the final fire pit dimensions. The first critical action is to compact the native sandy soil at the bottom of the excavation with a plate compactor until it's unyielding.
- Geotextile and First Aggregate Layer: Lay the geotextile fabric, ensuring it extends up the sides of the excavation. Add the first 3-inch layer of paver base, moisten it slightly, and compact it in two separate passes.
- Drainage Layer and Leveling: Add the 4-6 inches of #89 stone. This is the primary drainage field. This layer is screeded perfectly level using conduit pipes and a straight board. This step is non-negotiable for a perfect result.
- First Course Installation: The first course of paving stones is the most important. I use a high-strength, heat-resistant landscape block adhesive. Each block is checked for level in two directions before moving to the next.
- Subsequent Courses and Capstone: Stagger the joints on subsequent layers for strength. I apply adhesive consistently. The final capstone is set with the same precision, ensuring a slight overhang to protect the pit's walls.
Precision Adjustments and The Pinellas Quality Standard
The job isn't done when the last stone is placed. Our intense Florida sun and humid, salt-laden air require specific finishing touches. I exclusively use a polymeric sand with a high polymer content for the surrounding patio area, as it resists washout from heavy rain and inhibits weed growth. For the fire pit adhesive, I allow a 72-hour curing time—24 hours longer than the manufacturer suggests—because our high humidity can slow the chemical bonding process. This simple patience has prevented delamination issues I’ve seen on other, more rushed jobs. My final quality check involves a full water test on the surrounding patio to ensure proper slope and drainage away from the pit's foundation. Now that your base is engineered to withstand a hurricane season, how have you accounted for thermal expansion in your capstone selection to prevent cracking under the stress of repeated heating and cooling cycles?Written by

Tags
pavers around fire pit
pavers around a firepit
paver patio designs with fire pit
building a fire pit with pavers
making a fire pit with pavers


