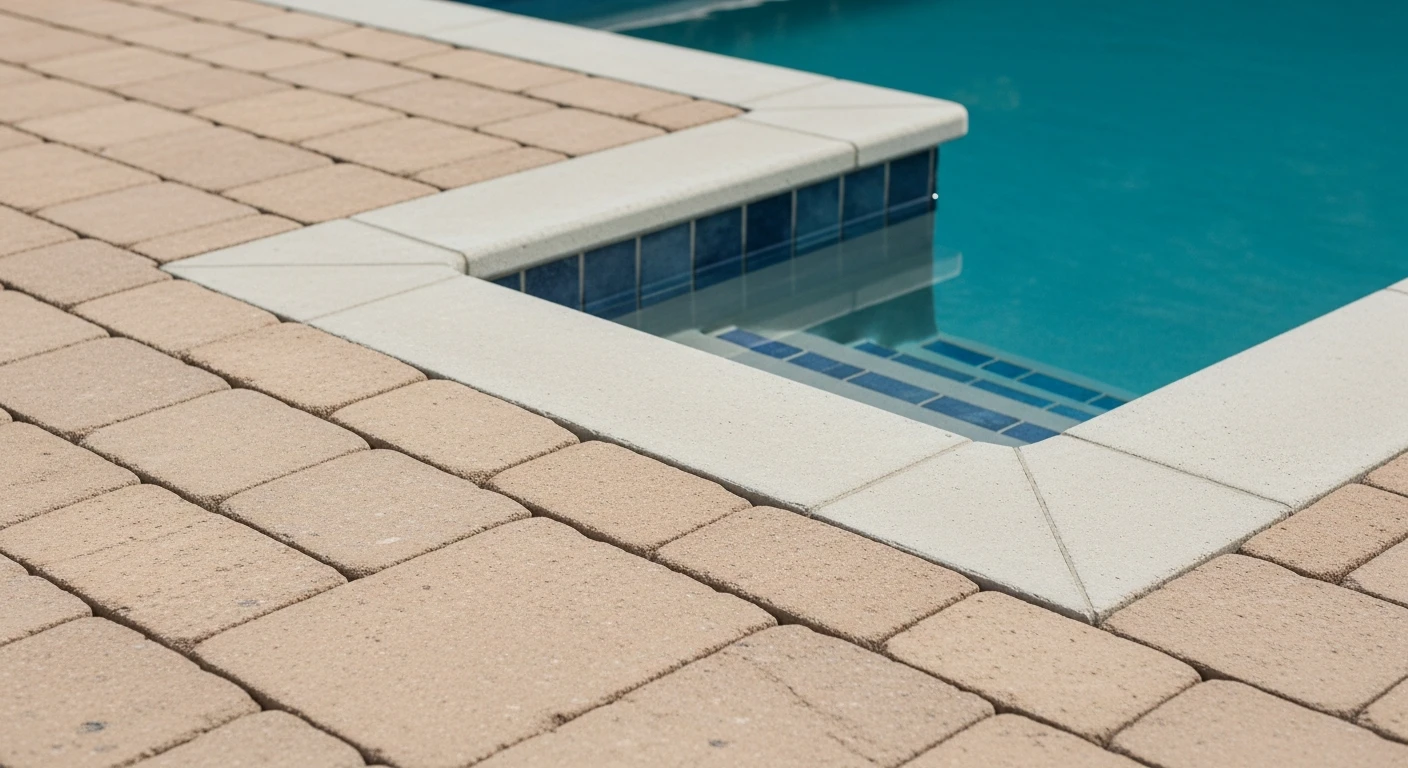
Interlocking Brick Pavers in Pinellas County: My Protocol for Eliminating Sub-Base Failure
After years of installing and, more often, repairing interlocking brick pavers across Pinellas County, I’ve pinpointed the single point of failure that costs homeowners the most: an improperly prepared sub-base that cannot handle our specific sandy soil and torrential summer rains. A beautiful patio in Old Northeast St. Pete or a driveway in Palm Harbor can begin to shift and sink in less than two years if the foundation isn't engineered for our unique hydro-geological conditions. My entire installation philosophy is built around mastering the sub-base to prevent this. It’s not just about digging and adding gravel; it's about creating a system that actively manages water and stabilizes the sand beneath it. This approach extends the functional lifespan of a paver installation by an estimated 50% and virtually eliminates the common call-backs for uneven surfaces and persistent weed growth I see plague other projects.My Diagnostic Framework for Pinellas County Paver Projects
I once got a call to assess a paver pool deck at a waterfront property in Snell Isle. The installation was only a year old, but it had developed significant low spots, creating puddles after every rain. The original installer used a standard base of crushed concrete, a common but critical error for this area. That material retains too much moisture and, when combined with our sandy soil, essentially turns into a slurry under the pavers during a heavy downpour. It was a complete failure waiting to happen. This experience solidified my proprietary method: the Hydro-Static Stabilization Base. It’s not a product, but a multi-layered system designed to achieve two primary goals: rapid water percolation and absolute load-bearing stability. It acknowledges that in Pinellas, you cannot stop water; you must control its path away from the paver joints and the sand setting bed.Deconstructing the Hydro-Static Stabilization Base
The system's success relies on a precise combination of materials and compaction metrics, which I adjust based on the specific soil composition of the site, from the clay-mixed sands inland to the purely granular soil near Clearwater Beach. The core components are:- Sub-Soil Compaction Analysis: Before a single shovel hits the ground, I assess the native soil's compaction. The goal is to establish a solid, non-shifting foundation before any material is added. Failure to do this means you're building on a weak platform from the start.
- Woven Geotextile Fabric: This is my non-negotiable first layer. It's not the flimsy fabric from a big-box store. I use a high-tensile, woven geotextile that acts as a separator. It prevents the granular base material from mixing with the sand sub-soil over time, which is the primary cause of long-term sinking.
- Layered Aggregate Base: I use a dual-layer aggregate system. The foundational layer is 4-6 inches of #57 stone, an angular crushed granite. Its size allows for excellent water drainage. This is compacted to a minimum of 98% Proctor density. On top of that, a 1-inch layer of #89 stone is screeded perfectly flat. This finer stone provides a more stable and precise setting bed than coarse sand.
The Step-by-Step Implementation Protocol
Executing this system requires methodical precision. Rushing any one of these steps compromises the entire structure. I’ve seen crews try to compact a 6-inch base all at once; it results in a solid top layer with a soft, unstable bottom that fails under load. My field-tested process is as follows:- Excavation and Grading: I excavate to a depth of 7-9 inches, depending on the application (patio vs. driveway). Critically, I establish a minimum 2% grade away from any structures to ensure positive water flow.
- Sub-Soil and Geotextile Placement: The native soil is compacted first. Then, the woven geotextile fabric is laid down, ensuring a 12-inch overlap at all seams to maintain the integrity of the separation barrier.
- Base Installation in Lifts: The #57 stone is brought in and laid in 2 to 3-inch lifts (layers). Each lift is individually moistened and compacted with a vibratory plate compactor before the next one is added. This is how you achieve that 98% Proctor density throughout the entire base.
- Screeding the Setting Bed: With the main base complete, I use 1-inch screed rails to perfectly level the #89 stone setting bed. This surface is what determines the final, flawless finish of the pavers.
- Paver Laying and Edge Restraint: Pavers are laid in the desired pattern. I then install a poured concrete toe edge restraint. The cheap plastic edging sold in stores will warp and fail in the Florida sun. A concrete toe is permanent.
- Lock-Up with High-Performance Polymeric Sand: After the pavers are set and compacted, the joints are filled. I exclusively use a rain-safe, high-performance polymeric sand. The key is using a leaf blower to get the paver surface and joints bone-dry before sweeping in the sand. This prevents the hazy residue that plagues so many installations in our humid climate.
Precision Finishing and Long-Term Quality Control
The final step is a final pass with the plate compactor, using a protective mat to prevent scuffing the pavers. This vibrates the sand deep into the joints, truly interlocking the entire system. I then advise clients on the proper sealing procedure. For our climate, a penetrating, breathable sealer is far superior to a film-forming one, as it won't trap moisture, which leads to that white, chalky efflorescence. The entire Hydro-Static Stabilization Base is designed to minimize moisture from below, making efflorescence a rarity. This level of detail is the difference between a paver patio that looks good for a season and one that performs flawlessly for decades. So, is your paver contractor just laying down bricks, or are they engineering a foundation designed to withstand the specific challenges of Pinellas County's soil and climate?Written by

Tags
interlocking stones near me
interlocking paver installers near me
locking pavers
interlocking pavers for sale
interlocking pavers for walkway