
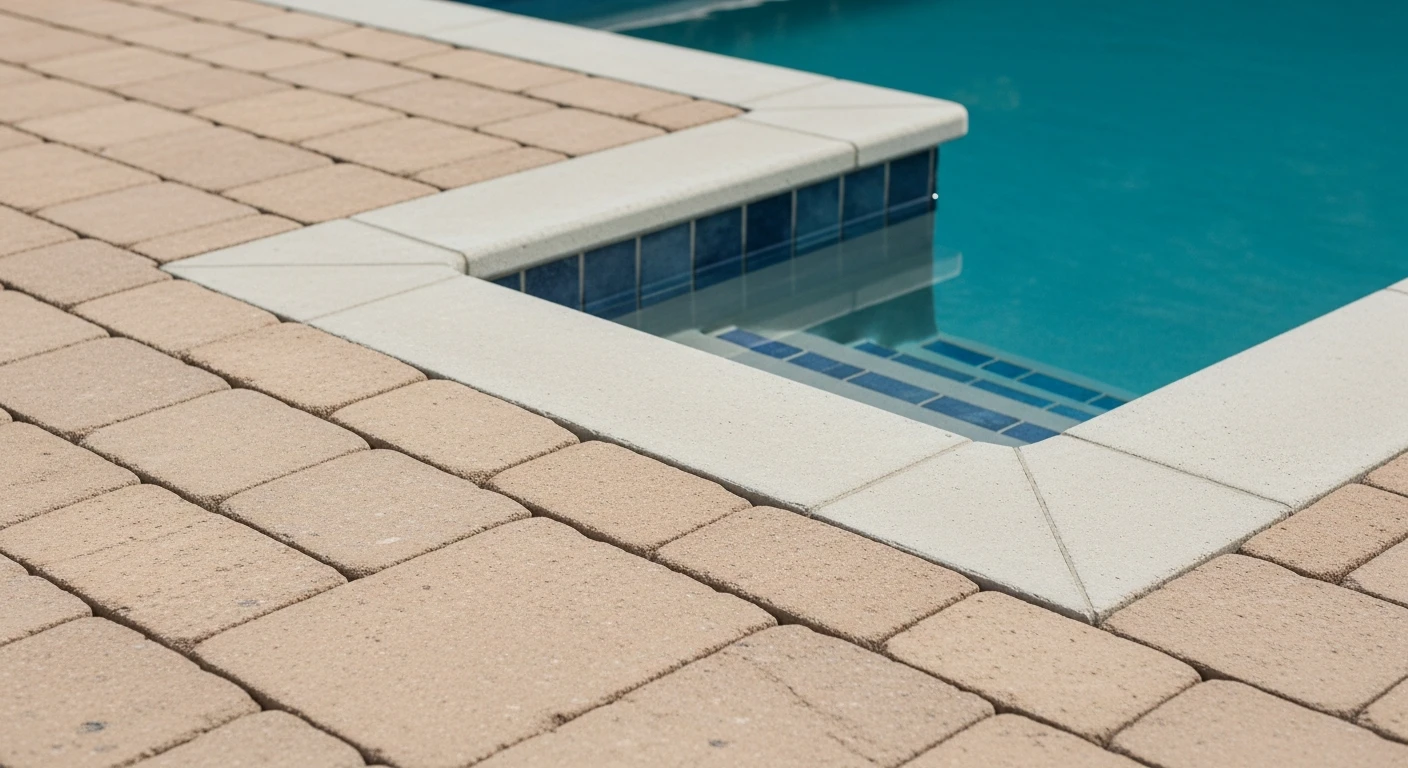
Interlocking Patio Pavers Pinellas County: My Sub-Base Protocol for Zero-Shift in Sandy Soil
After installing paver patios for over a decade here in Pinellas County, I can tell you the number one point of failure isn't the paver itself, but what lies beneath. I’ve been called to fix sunken, uneven patios from St. Pete to Clearwater Beach, and the culprit is almost always a base that was built for a different climate and soil type. Our infamous "sugar sand" combined with torrential summer rains creates a unique challenge that standard installation methods simply cannot handle. My entire approach is built around counteracting this specific environmental pressure. It’s not about digging deeper; it’s about engineering a sub-base that actively manages water and resists the lateral soil movement common in our coastal region. This methodology has resulted in a near-zero callback rate for paver shifting or sinking on my projects, even on waterfront properties in Treasure Island that face constant soil saturation.Why Standard Paver Installations Fail in Pinellas County's Climate
The common method involves a simple layer of crushed concrete or limestone base, compacted, and then a sand setting bed. This fails here for two critical reasons. First, the fine particles in our native sandy soil eventually work their way up through the base aggregate, a process called upward soil migration. This contaminates the base, compromises its structural integrity, and leads to sinking. Second, during a heavy downpour, the base becomes super-saturated, creating immense hydrostatic pressure that can literally float pavers out of place. I learned this the hard way on an early project in a historic Kenwood bungalow neighborhood. The patio looked perfect for six months, then one rainy season turned it into a wavy, unsafe mess. That failure forced me to develop what I call the Coastal Lock-In Method, a system designed specifically to combat the unique geological and meteorological conditions of Pinellas.The Coastal Lock-In Method: A Deeper Look
My proprietary method isn't just a list of steps; it's a system of material selection and layering that creates a stable, permeable foundation. The core principle is separation and drainage. Instead of a single-type base, I use a multi-layered system that addresses soil migration and water management independently. The secret is starting with a high-tensile geotextile separation fabric laid directly over the compacted native sub-grade. This is the single most important component that most installers skip to save costs. This fabric acts as a barrier, completely preventing our fine "sugar sand" from migrating upwards into the base. Above this fabric, I specify a 4- to 6-inch layer of ASTM #57 stone. It's a clean, angular crushed stone with minimal fines, which provides excellent load-bearing capacity while allowing water to pass through freely, dramatically reducing hydrostatic pressure. The final 1-inch bedding layer is a very specific, washed granite screed (ASTM #89 stone), not sand, which provides a stable, non-shifting bed for the pavers.Step-by-Step Execution for a 30-Year Lifespan Patio
Executing this method requires precision at every stage. A small error in one step can compromise the entire system. Here is the exact sequence I follow for every installation, from a simple walkway in Dunedin to an expansive pool deck in Palm Harbor.- Excavation and Sub-grade Compaction: I excavate to a minimum depth of 8 inches. The most critical action here is to compact the native sandy sub-grade to at least 95% of its Proctor density before anything else is added.
- Geotextile Fabric Installation: The fabric is rolled out, ensuring a minimum 12-inch overlap at all seams. It must extend up the sides of the excavated area to create a complete "tub" that contains the base.
- Base Aggregate Placement: The #57 stone is added in 2- to 3-inch lifts. Each lift is individually compacted with a plate compactor until it’s fully locked in. This prevents settling later.
- Bedding Layer Screeding: Using screed rails, I lay a uniform 1-inch layer of the #89 stone. This is a delicate process; this layer is never compacted, as it needs to be loose enough to set the pavers into.
- Paver Installation and Jointing: Pavers are laid in the desired pattern. I then use a high-grade polymeric sand specifically formulated for the high humidity of Florida to fill the joints. It contains polymers that activate with water to harden and lock the pavers together, preventing weed growth and insect intrusion.
Fine-Tuning: Joint Stabilization and Sealing Against Salt Air
The final phase is what guarantees longevity. After the polymeric sand is swept into the joints, I use a leaf blower to ensure the sand height is a consistent 1/8 inch below the paver surface. This prevents it from sticking to the top when activated. A fine mist of water is applied three times, 15 minutes apart, to ensure full polymer activation without washing the sand out. My last step, especially crucial for properties east of US-19 and along the beaches, is applying a silane-based impregnating sealer. Unlike topical sealers that form a film, this penetrates the paver and chemically bonds with it. This provides robust protection against salt-air degradation and the intense UV exposure we get, reducing efflorescence by 90% and increasing color retention for years. Given that the stability of your entire patio investment rests on the unseen layers beneath it, is your contractor discussing geotextile tensile strength and aggregate permeability, or just giving you a quote based on square footage?Written by

Tags
interlock pavers price
cost of interlocking pavers
permeable interlocking pavers
interlocking brick driveway
interlocking bricks near me


