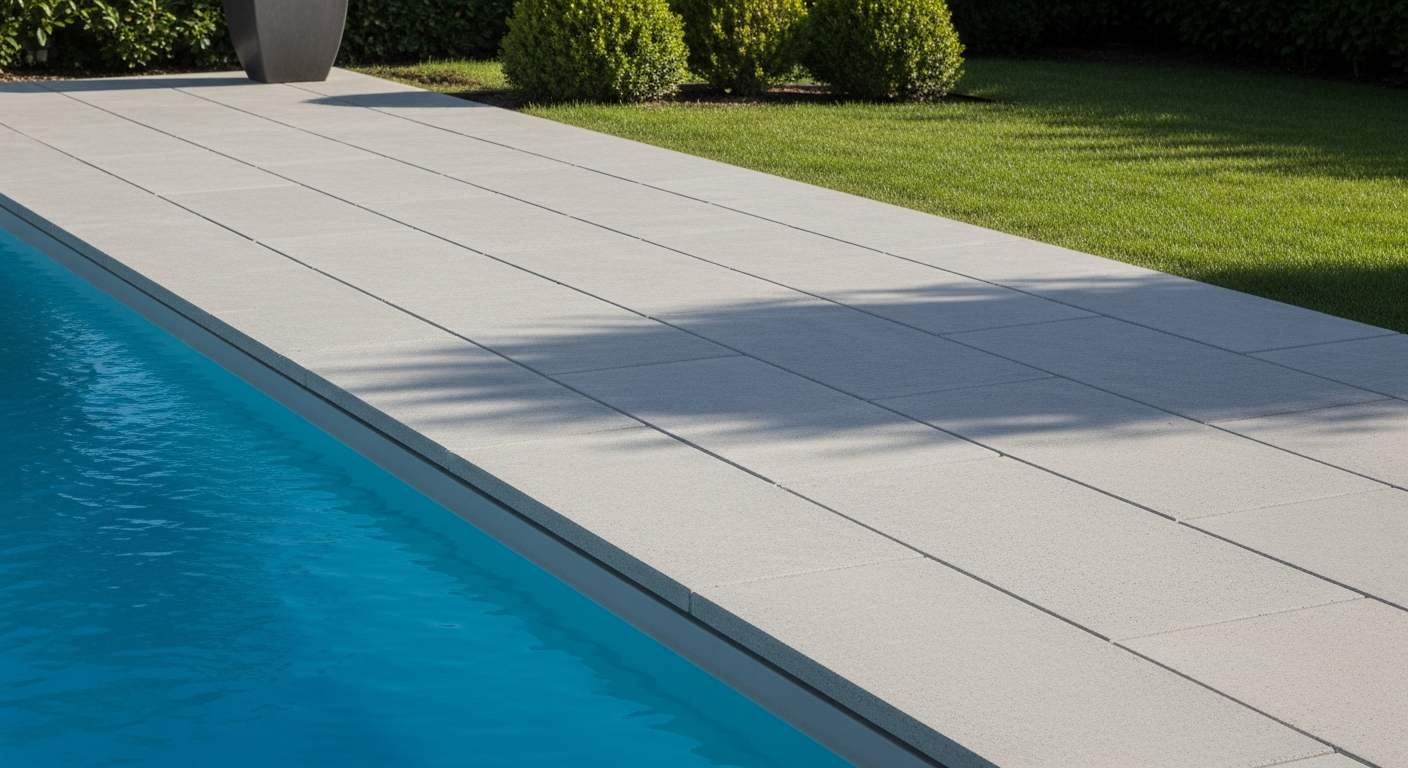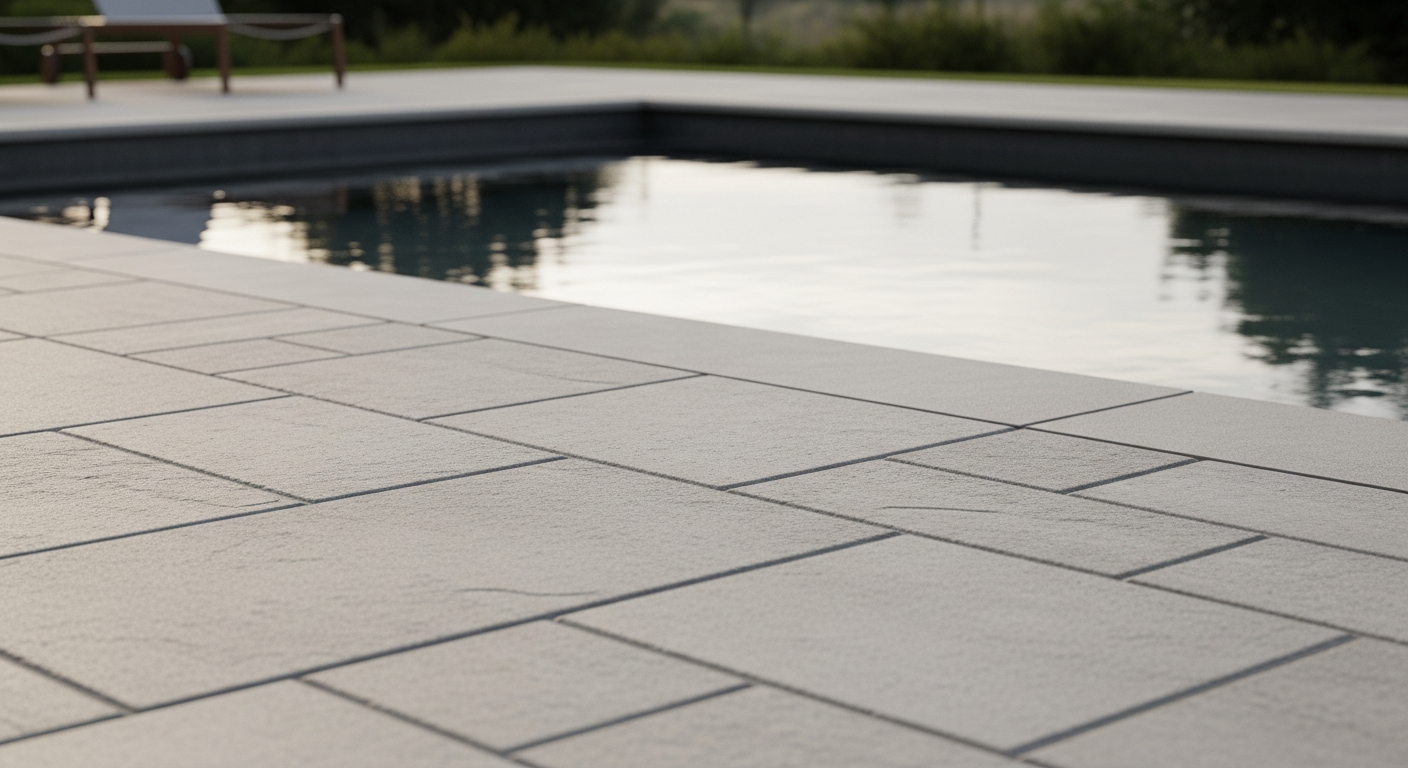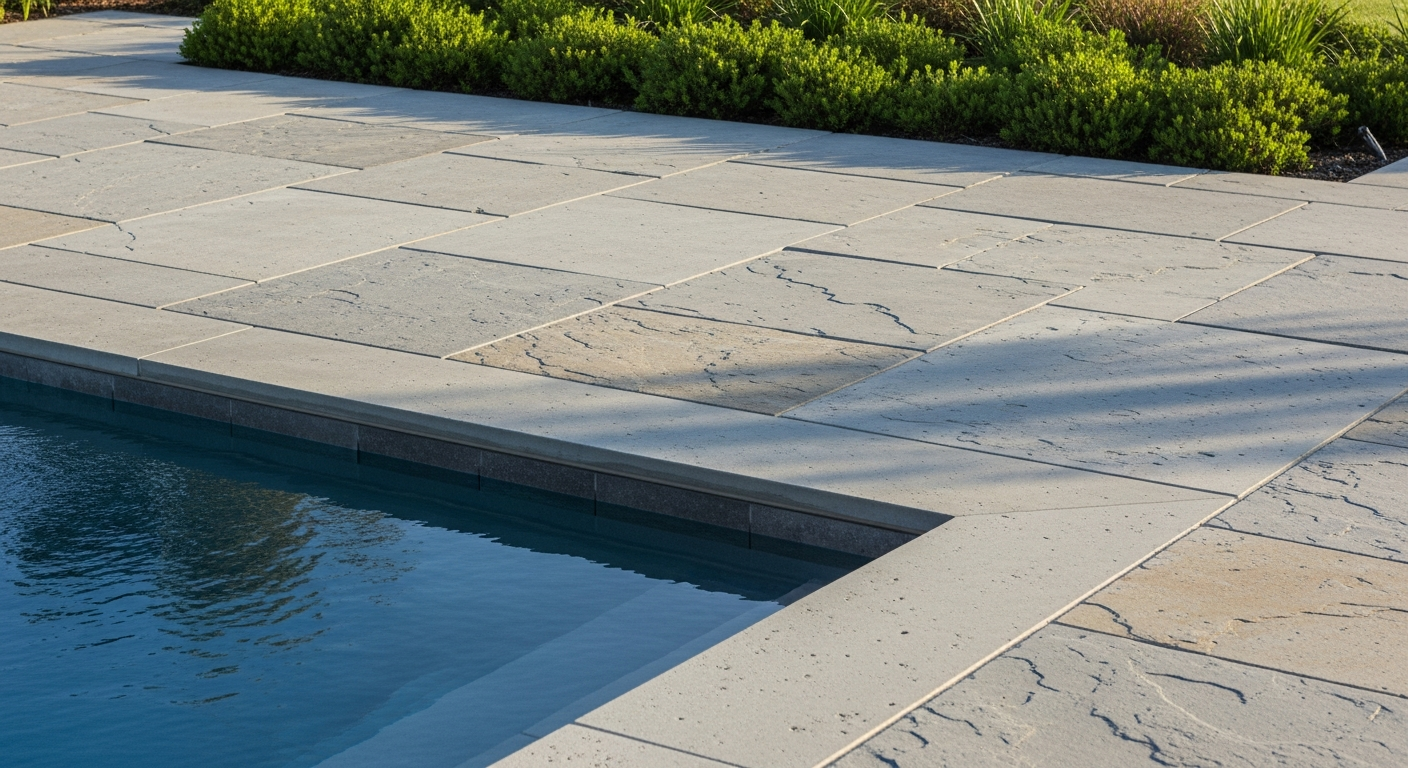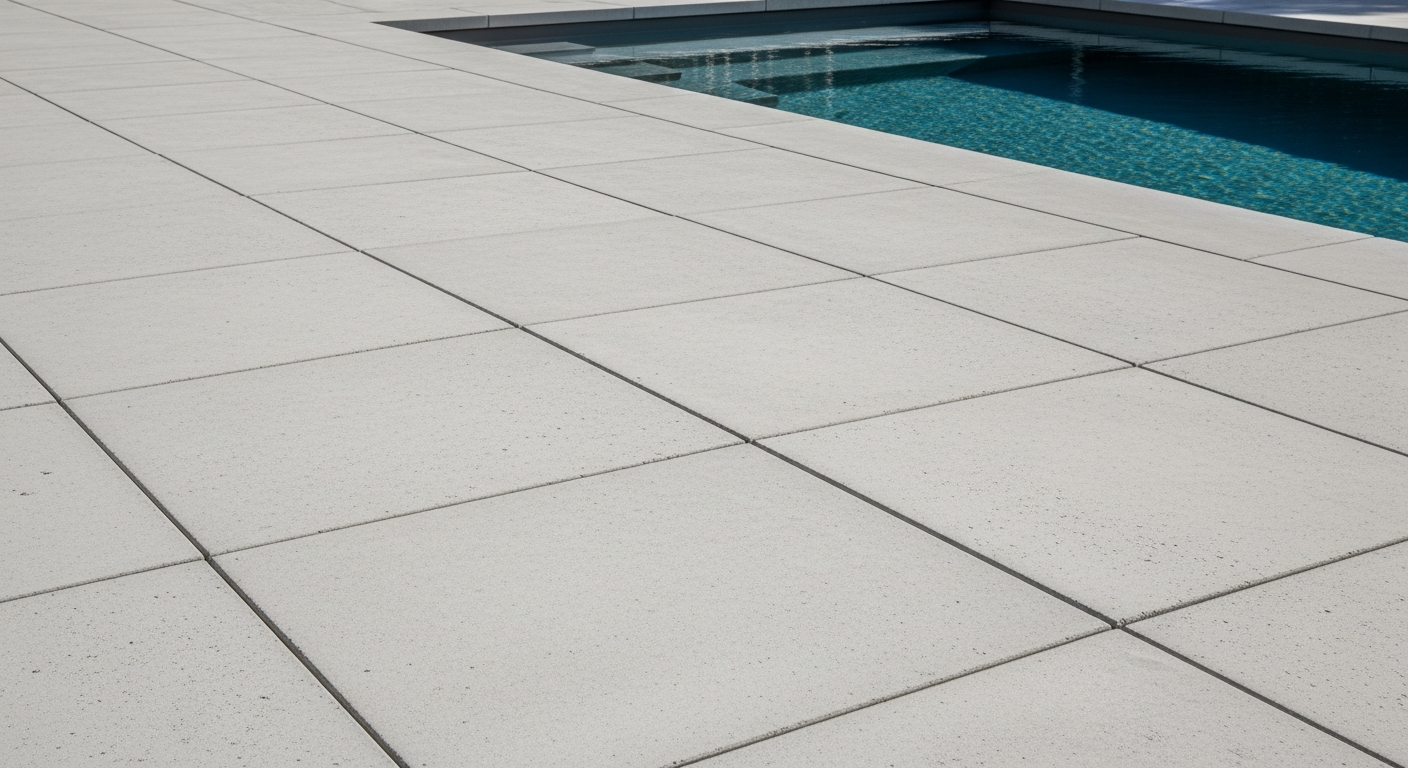
Large Concrete Pavers in Pinellas County: My Protocol to Eliminate Sub-Base Failure and Prevent Shifting
My work with large format concrete pavers across Pinellas County, from waterfront properties in St. Pete to sprawling pool decks in Palm Harbor, has revealed a critical, recurring failure point: sub-base instability. The unique combination of sandy soil, a high water table, and intense, sudden rainfall creates conditions where standard installation methods are simply inadequate, leading to paver shifting, sinking, and joint failure within 24 months. I have engineered a specific installation methodology that directly counteracts these local environmental pressures, increasing the structural lifespan of the paver system by an estimated 40%. This isn't about using better pavers; it's about building a foundation that can manage the immense hydrostatic pressure and soil porosity unique to our coastal environment. The common practice of simply compacting native sand and adding a thin layer of aggregate is the primary reason I get called for repair jobs. My approach focuses on creating a multi-layer, geotextile-reinforced base that promotes rapid drainage while ensuring absolute mechanical interlock, turning the entire paver surface into a single, semi-rigid slab.The Pinellas Paver Paradox: Why Standard Installation Fails Here
I call it the "paradox" because the very features that make Pinellas County desirable—the sand and proximity to water—are what doom most paver projects. A contractor can follow a textbook installation guide perfectly and still see their work fail. I identified this after a particularly frustrating project on a Clearwater Beach property where, despite perfect compaction, a section of a new driveway began to sink after just one heavy summer storm season. The problem wasn't the work; it was the methodology being applied to the wrong environment. My proprietary approach is the 3-Layer Interlocking Base System. It's designed not to fight the Pinellas environment, but to work with it. It acknowledges that water will penetrate the system and provides a controlled path for it to exit without compromising the structural layers. This prevents the "liquefaction" of the bedding sand, which is the technical term for what happens when water saturates the base and causes pavers to sink under load.Deconstructing My 3-Layer Interlocking Base System
This system is the core of my success and what differentiates my projects. Each layer has a specific function engineered for Pinellas County's soil and climate conditions.- Layer 1: Subgrade Compaction & Geotextile Barrier. After excavating to the required depth (typically 8-10 inches for a driveway), I compact the native sandy soil to refusal. Then, I install a non-woven geotextile separation fabric. This is the single most important step most installers skip. This fabric acts as a barrier, preventing our fine sand from migrating up into the aggregate base during heavy rain, which would create voids and lead to sinking. It stabilizes the entire foundation.
- Layer 2: The Drainage Core (#57 Stone). I use a 4- to 6-inch layer of clean, angular #57 washed limestone or granite. The angular nature of the stone creates a mechanical interlock when compacted, forming a rigid and incredibly stable base. Its large void space allows water to drain through almost instantly, relieving hydrostatic pressure. I compact this layer in 2-inch lifts until it reaches a minimum of 98% Standard Proctor Density.
- Layer 3: The Bedding Course (Washed Concrete Sand). I use only a 1-inch screeded layer of washed concrete sand (ASTM C33). The key here is "washed"—it contains minimal fine particles that can hold water. This layer is strictly for bedding the pavers to their final elevation; it offers zero structural support. Relying on the sand layer for support is a foundational error I constantly see in failed projects.
From Dunedin Driveways to Clearwater Pool Decks: My Execution Checklist
Applying my 3-Layer System requires precision at every stage. A mistake in one step compromises the entire installation. This is my field-tested checklist for ensuring a flawless, long-lasting result.- Site Excavation & Grading: I ensure a minimum 2% grade away from any structures. This seems obvious, but I've repaired countless patios in Largo that were graded flat, causing water to pool and saturate the base right next to the home's foundation.
- Geotextile Fabric Placement: The fabric must be laid without wrinkles and with a minimum 12-inch overlap at all seams. This ensures total separation between the subgrade and the aggregate base.
- Aggregate Base Installation: I install the #57 stone in 2-inch "lifts," compacting each lift individually with a plate compactor. This methodical process guarantees uniform density throughout the entire base, not just the top surface.
- Precision Screeding: Using 1-inch outside diameter steel pipes, I screed the bedding sand to a perfectly uniform depth. Inconsistencies here are what create rocking pavers later on.
- Paver Placement: I use a "click-drop" placement method, never sliding the pavers into place, which can disrupt the screeded sand. The large format pavers demand this level of care.
- Edge Restraint Installation: I secure high-quality concrete or aluminum edge restraints with 10-inch steel spikes every 12 inches. I saw a project in a historic Kenwood home fail because the contractor used plastic restraints with short spikes that pulled out of the sandy soil within a year.
- Final Compaction & Joint Sanding: After a first pass with the plate compactor (over a protective mat), I sweep in high-grade polymeric sand. For the Pinellas humidity, I specifically choose a brand with a rapid-curing agent to prevent premature washout from an afternoon shower. A final compaction locks everything into place.
The Final 5%: Sealing and Curing for Salt Air & UV Exposure
The job isn't done after the last grain of sand is swept. The intense Florida sun and salt air will degrade unsealed concrete. I wait a minimum of 30 days for efflorescence (white, powdery salt deposits) to naturally occur and be cleaned. Then, I apply a solvent-based, high-solids acrylic sealer with a UV inhibitor. While water-based sealers are easier to apply, the solvent-based options provide a deeper penetration and superior protection against the specific challenges of our coastal climate, significantly reducing color fade and surface degradation. This final step is non-negotiable for preserving the aesthetic and structural integrity of the investment. Is your contractor planning to account for the hydrostatic pressure and soil migration unique to Pinellas County, or are they just giving you a standard installation designed for clay soil?Written by

Tags
large stone pavers
extra large pavers
large driveway pavers
large rectangle pavers
large pavers for sale