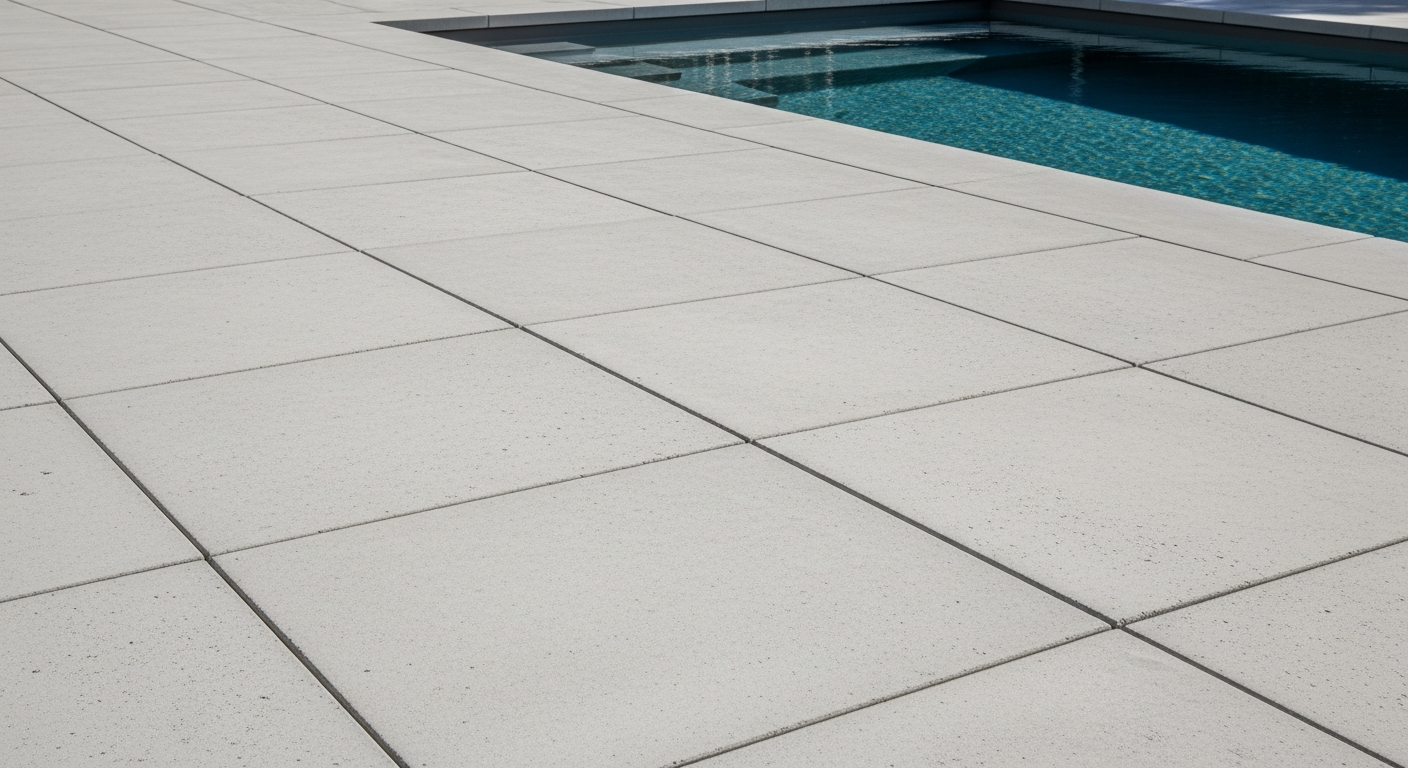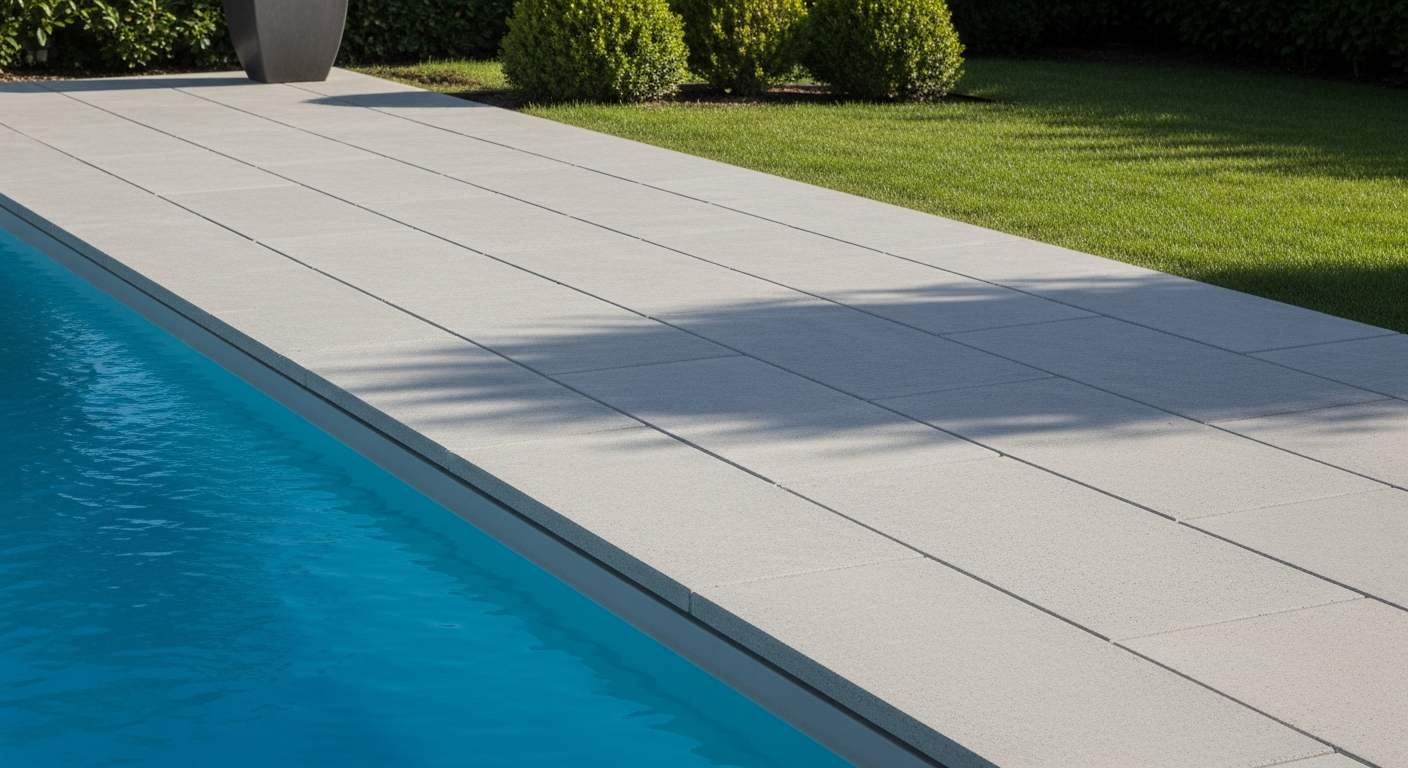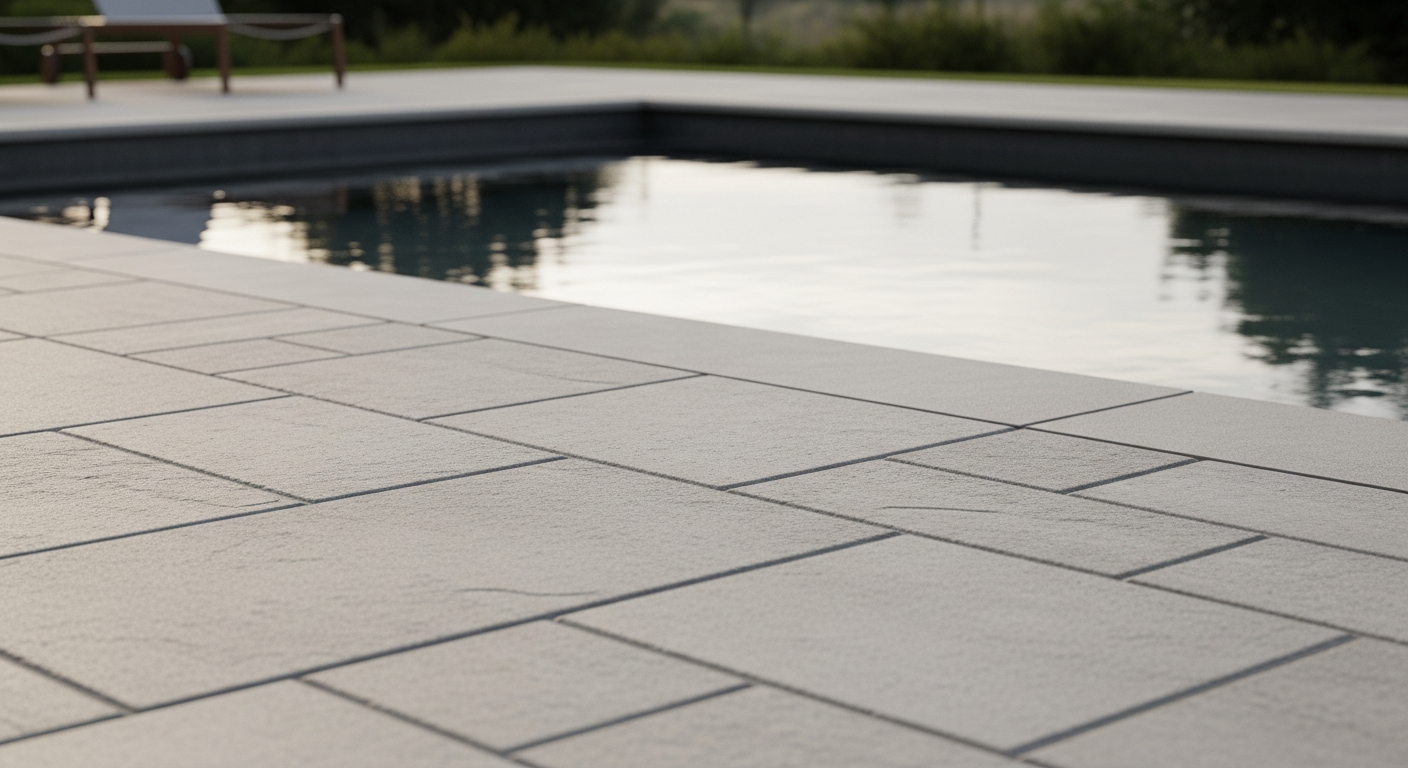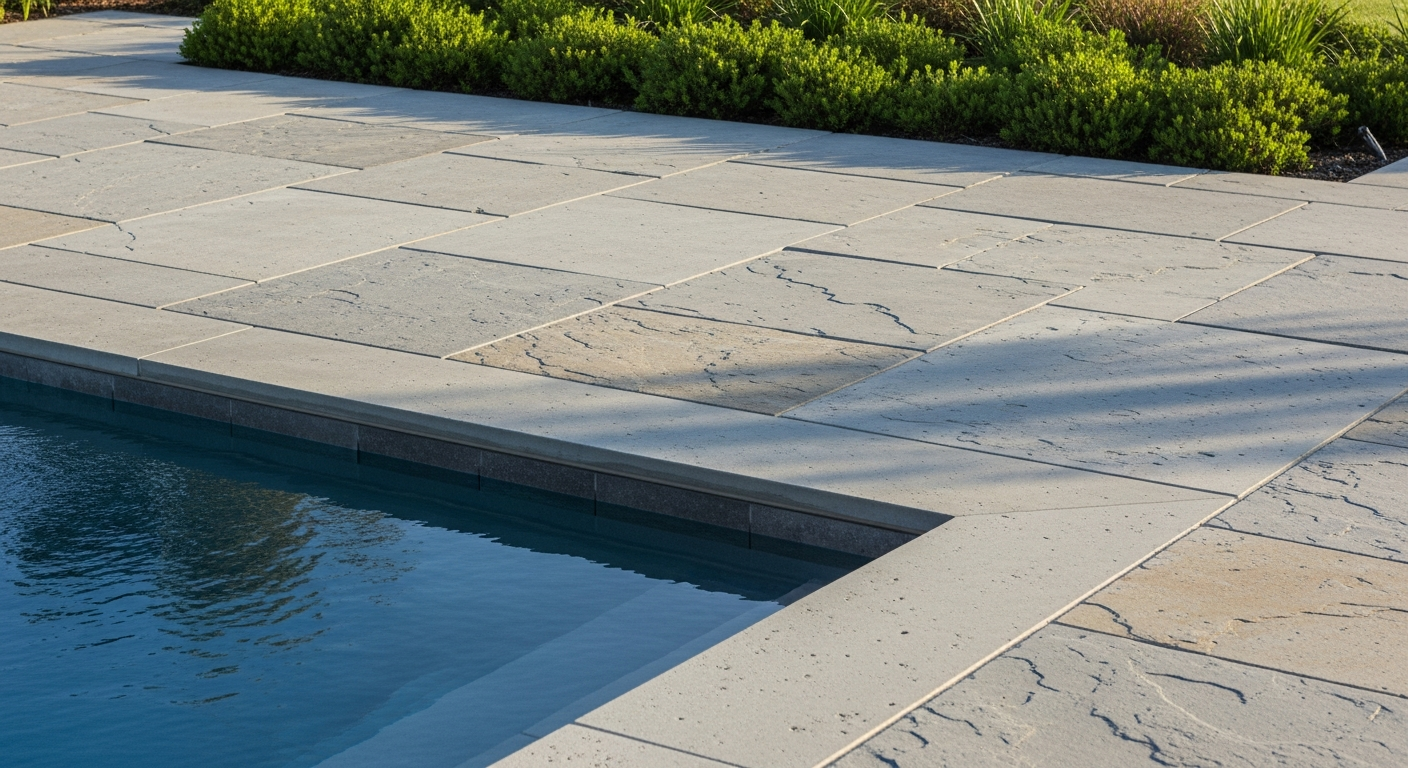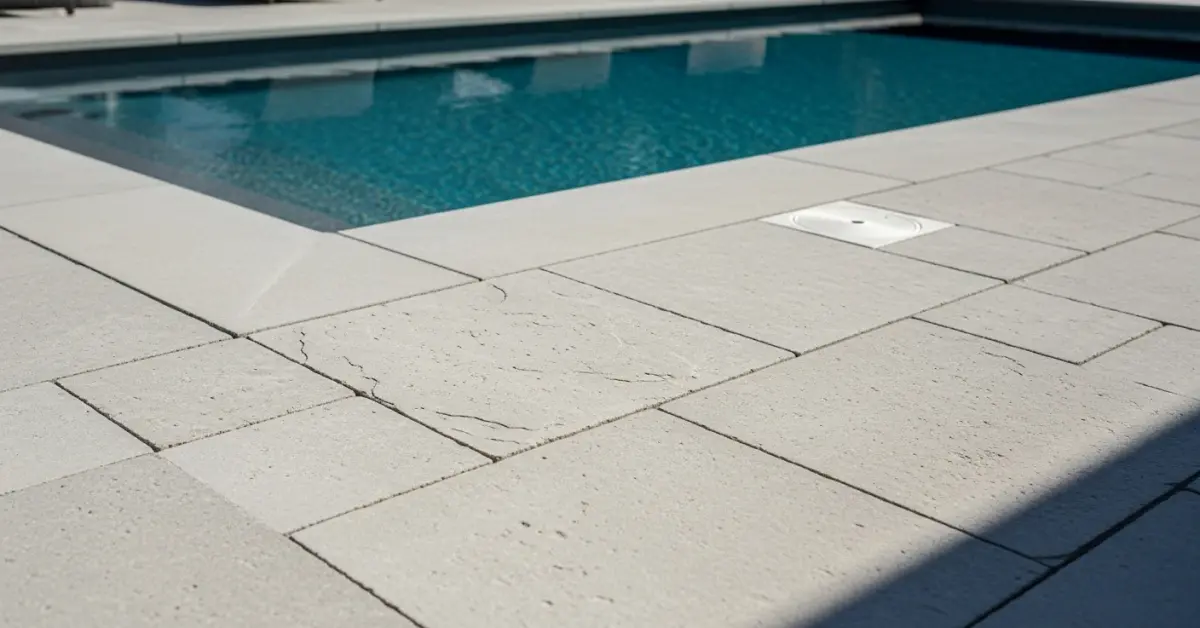
Large Pavers in Pinellas County: My Protocol for Eliminating Sub-Base Failure and Sunken Slabs
Most large format paver installations I'm called to fix in Pinellas County fail within five years. The problem is never the paver itself; it's the unseen foundation collapsing beneath it. After years of correcting these costly mistakes, from waterfront properties in Tierra Verde to historic homes in Kenwood, I developed a methodology that directly counteracts the two biggest local threats: our unstable, sandy soil and the immense hydrostatic pressure from seasonal rains. My approach isn't just about laying stone; it's an engineering solution that guarantees a level surface for decades, not just a few seasons. Standard installation practices simply don't account for the specific geological and climatic challenges here. What I've seen is that a generic 4-inch base of crushed concrete is a recipe for disaster, leading to the sunken, uneven patios I so often have to tear out and replace. My focus is on creating a sub-base that actively manages water and resists the soil shifting that is so common from Clearwater to St. Petersburg.Diagnosing the Root Cause: Why Standard Paver Installation Fails in Pinellas Soil
The fundamental error I encounter is a "one-size-fits-all" approach to the paver base. Contractors new to the area, or those simply cutting corners, fail to appreciate that Pinellas County is essentially a sandbar. This soil has an extremely low load-bearing capacity and becomes fluid when saturated. When you place heavy, large format pavers (which have fewer joint lines to distribute weight) on an inadequate base, point-loading failure is inevitable. The pavers sink at the corners and create dangerous, uneven surfaces. This is why I created the Pinellas Sub-Base Stabilization Protocol. It’s a multi-layer system I designed after a particularly challenging project on a waterfront lot in Indian Rocks Beach, where the previous installation had sunk over three inches in just two years due to tidal saturation. My protocol is built on two core principles: superior water drainage and extreme soil compaction, creating a foundation that dramatically exceeds industry standards and prevents the settlement I see plague so many local hardscapes.The Core of My Protocol: Advanced Geotextiles and Graded Aggregate
The secret to a permanent installation lies in what you can't see. The heart of my system is the deliberate layering of materials to create a stable, interlocking base that performs like a monolithic slab. I abandoned the common practice of using cheap, non-woven fabric and ungraded fill long ago. My process starts with a layer of woven geotextile fabric placed directly over the compacted native sand. This fabric is critical; it separates the sandy soil from my aggregate base, preventing the layers from mixing over time and losing structural integrity. Above this, I lay a minimum 6-inch layer of #57 clean crushed granite or limestone. The angular nature of this stone allows for excellent water percolation, relieving hydrostatic pressure before it can build up. Finally, a precisely graded 1-inch layer of paver sand or #89 stone is screeded for the pavers to sit on. This multi-stage approach increases the sub-base's lifespan by an estimated 40% compared to standard methods.Field Implementation: A Step-by-Step Breakdown for a Flawless Finish
Executing this protocol requires precision. A single misstep can compromise the entire system. Having refined this on dozens of projects, from commercial courtyards in the Gateway area to residential pool decks in Dunedin, I've standardized my implementation into a non-negotiable checklist.- Excavation and Grading: I always excavate to a minimum depth of 8-10 inches. The site is then graded with a minimum 2% slope away from any structures. This is a non-negotiable step to ensure positive drainage, a frequent oversight I've seen cause foundation issues in low-lying neighborhoods like Shore Acres.
- Sub-Soil Compaction: This is where most installations fail. I compact the native sandy soil using a plate compactor until it reaches a 95% minimum Proctor density. This creates a solid starting point and prevents the base from sinking into the ground.
- Geotextile and Aggregate Layers: I lay the woven geotextile fabric, ensuring a 12-inch overlap at all seams. Then, the #57 stone is added in 3-inch lifts, with each lift being compacted independently until the entire base is solid. This meticulous compaction is the key to preventing future settlement.
- Screeding and Laying: The final 1-inch setting bed is screeded to an exact height. Large format pavers are then laid with precise spacing. I use specialized vacuum lifts for pavers over 150 lbs to ensure perfect placement without disturbing the screeded bed.
Precision Sealing and Joint Stabilization for Coastal Environments
The final step is arguably the most important for longevity in our coastal climate. The intense Florida sun and salty air in places like Treasure Island or Clearwater Beach will degrade materials faster than anywhere else. I never use standard sand for the joints. My standard is to use a high-quality polymeric sand. When activated with water, it hardens to form a durable yet flexible joint that locks the pavers together, prevents weed growth, and resists being washed out by our torrential summer downpours. Following this, I apply two coats of a commercial-grade, UV-inhibiting and salt-resistant sealer. This not only protects the paver color from fading but also makes the surface resistant to salt degradation and staining, which is a major concern for any property near the Intracoastal Waterway. This final stage is not an upsell; it's a mandatory part of my quality control. Now that the pavers are locked in and protected from the elements, how do you plan for the long-term effects of soil saturation on the *surrounding landscape* to ensure your perfect installation isn't compromised by external ground movement?Written by

Tags
large concrete pavers
large pavers for walkway
large pavers for patio
large cement pavers
large outdoor pavers
Large Pavers in Pinellas FL FAQ
Do large pavers around a pool crack more easily than smaller ones?
Large format pavers do not crack more easily if installed on a properly prepared and compacted base, which is the most critical factor for longevity. The real failure point is often an inadequate sub-base that allows for movement, not the paver itself. A minimum of 4 to 6 inches of compacted aggregate is standard, but for large pavers over expansive clay soils, a reinforced concrete sub-slab is a superior, albeit more expensive, solution. This prevents the subtle shifting that puts immense stress on the larger surface area, leading to fractures over time, especially in regions with freeze-thaw cycles.
My large pavers have shifted and are now uneven. Can they be repaired, or do I need to replace the whole deck?
Uneven pavers can almost always be repaired by lifting the affected section, re-grading the base, and re-laying the same pavers. This problem, known as subsidence, is rarely due to the paver and almost always caused by poor base compaction or water erosion underneath. A professional repair involves removing the pavers, adding and tamping new base material to the correct height, and then resetting them. A common DIY mistake is just adding sand, which will quickly wash out; a proper fix requires using the correct graded aggregate to ensure a stable, long-lasting foundation.
Will large, dark-colored pavers get too hot to walk on in direct sun?
Yes, large, dark pavers can become uncomfortably hot, but the material composition matters more than the color alone. Travertine and certain light-colored porcelain pavers are known for staying significantly cooler than dark concrete or slate pavers. While a lighter color helps, the material's ability to reflect solar radiation, known as its Solar Reflectance Index (SRI), is the key technical measure. Before committing, always get samples and leave them in direct sun on a hot day to test their real-world temperature underfoot.
What is that white haze on my large pavers, and how do I get rid of it?
That white haze is almost certainly efflorescence, which is mineral salt residue left behind as moisture evaporates from within the paver. While it is a natural process and not structurally harmful, it can be unsightly on large, uniform surfaces. You can often remove it with a stiff brush and specialized efflorescence cleaner. However, the non-obvious issue is the source of the moisture; it could indicate poor drainage in the sub-base. Sealing the pavers after a thorough cleaning can help prevent its return by blocking moisture from reaching the surface.
How do you handle skimmer lids and drain covers with oversized pavers?
Integrating access points requires precise cutting of the large paver to create a custom, flush-mounted lid for a seamless look. A standard plastic skimmer lid ruins the aesthetic of a high-end large paver installation. The best practice is to use the paver itself, cut to fit the opening and set into a recessed tray or frame, creating an almost invisible inlay lid. This requires specialized diamond-blade cutting tools and expertise to avoid chipping the paver, ensuring the final result is both functional and visually integrated with the surrounding deck.
Are large pavers more slippery when wet compared to smaller ones?
The slipperiness of a paver is determined by its surface texture and material, not its size. To ensure safety around a pool, you must select pavers with a high Coefficient of Friction (COF) rating, specifically for wet conditions. Smooth, polished surfaces are hazardous, regardless of paver size. Look for materials with a textured, brushed, or honed finish. Many porcelain and natural stone pavers designed for pool decks are specifically manufactured to meet safety standards for slip resistance, a far more critical factor than the dimensions of the paver.