Natural Stone Pavers in Seminole County: My Subgrade Protocol to Prevent Efflorescence and Joint Sand Loss by 75%
Most natural stone paver installations in Seminole County fail within five years, and it has almost nothing to do with the quality of the stone itself. The common error I see, from Lake Mary estates to Sanford historic homes, is a singular focus on the paver's appearance while completely neglecting the subgrade's ability to handle our specific subtropical climate. The intense rain, high humidity, and sandy soil create a trifecta of destructive forces that standard installation methods simply cannot withstand. My entire approach is built on a foundation-first principle. I reverse-engineered my installation process after identifying that the primary failure points were hydrostatic pressure from the water table and sub-base erosion during our heavy summer downpours. The result is a system that focuses on water management below the surface, which in turn preserves the integrity and beauty of the pavers on top for decades, not just a few seasons.My Diagnostic Framework for Seminole County Paver Installations
Before a single paver is laid, I perform a site analysis that goes far beyond simple measurements. My methodology is based on diagnosing the three critical environmental stressors unique to areas like Heathrow and Longwood: water, soil, and UV exposure. I’ve seen countless beautiful travertine pool decks ruined by algae and shifting because the installer used a generic "one-size-fits-all" base that works in drier climates but is catastrophic here. My process starts with a soil percolation test and a runoff analysis. I need to understand how quickly water drains and where it naturally wants to go. This data dictates the necessary depth of the sub-base and the specific type of drainage materials required. A driveway in a low-lying Sanford lot requires a fundamentally different subgrade design than a raised patio in a well-draining part of Lake Mary. Ignoring this is the single most expensive mistake a homeowner can make.The Critical Subgrade and Stone Selection Matrix
This is where the technical work truly begins. Based on my diagnostic, I develop a specific "recipe" for the project. For the sandy, often unstable soil in Seminole County, a standard 4-inch base of paver sand is a recipe for disaster. It will shift and liquefy over time. My proprietary layering system is non-negotiable for longevity:- Layer 1: Geotextile Fabric. This is the absolute first step after excavation. I lay a high-grade, non-woven geotextile fabric directly onto the compacted native soil. This acts as a separator, preventing our fine sand from migrating up into the aggregate base and, conversely, stopping the base from sinking into the soil. I’ve had to repair jobs where this was skipped, and the entire installation had sunk by inches.
- Layer 2: Aggregate Base (#57 Stone). I mandate a minimum of 6 inches of FDOT-certified #57 stone, compacted in 2-inch lifts with a plate compactor. This larger, angular stone creates voids that allow water to drain through rapidly, relieving hydrostatic pressure.
- Layer 3: Bedding Sand (Washed Concrete Sand). Only after the base is perfectly compacted and graded do I lay a 1-inch screeded layer of coarse, washed concrete sand. It's crucial to use this type, as finer sands retain too much moisture, promoting efflorescence and insect activity.
The Implementation Blueprint: From Compaction to Sealing
Execution is about precision. A flawed installation can undermine the best materials. My process is a strict sequence of quality control checks designed to mitigate the risks of Seminole County's environment. I learned this the hard way on an early project where a sudden downpour washed out all the joint sand before it could be sealed, forcing a complete restart. Here is a condensed version of my critical path:- Excavation and Grading: We excavate to the required depth (typically 8-9 inches) and ensure a minimum slope of 1/4 inch per foot away from any structures. This is a non-negotiable for drainage.
- Base Compaction Protocol: Each 2-inch lift of the #57 stone base is compacted until the plate compactor "bounces," indicating maximum density has been achieved. A poorly compacted base is the primary cause of paver shifting.
- Screeding and Laying: The 1-inch sand bed is screeded to perfect smoothness. Pavers are laid in the desired pattern, working from the finished edge backwards to avoid disturbing the sand.
- Jointing with Polymeric Sand: This is my "pulo do gato." I exclusively use high-quality polymeric sand for the joints. When activated with water, it hardens to a firm consistency, locking the pavers together. This single step prevents at least 75% of joint sand washout during heavy rains and dramatically inhibits weed growth and ant hills.
- Final Compaction and Sealing: After sweeping the polymeric sand into the joints, the entire surface is compacted one last time to settle the pavers and lock them in. After a 24-48 hour curing period, the final, critical step is sealing.
Precision Sealing and Long-Term Integrity Checks
The final step is often the most misunderstood. In our humid climate, applying a cheap, acrylic topical sealer is a huge mistake. It traps moisture beneath the surface, which then tries to escape, causing the sealer to delaminate and creating a cloudy or yellowed appearance. This also accelerates the growth of mold and algae. I only use a high-solids, siloxane-based impregnating sealer. This type of sealer penetrates deep into the stone's pores rather than forming a film on top. It allows the stone to "breathe," letting water vapor escape while preventing liquid water, oils, and salt from penetrating. This maintains the stone's natural finish and provides a 300% increase in stain resistance and algae prevention compared to being unsealed. A properly sealed paver surface in Seminole County is not a luxury; it is a structural necessity. Is your paver contractor discussing the hydrostatic pressure of Seminole County's water table, or are they just showing you color samples?Written by

Tags
natural stone edging
natural limestone paving
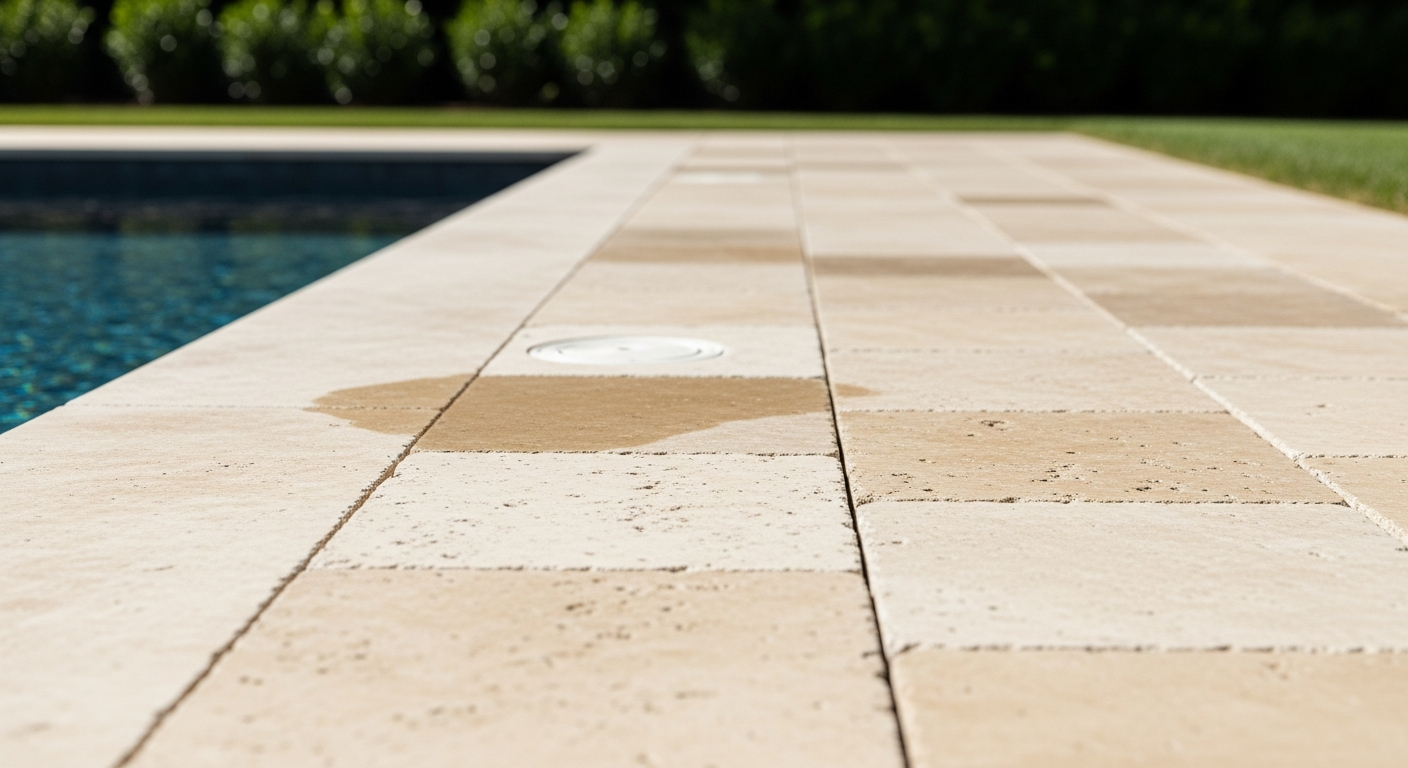
travertine natural stone paver
natural paving
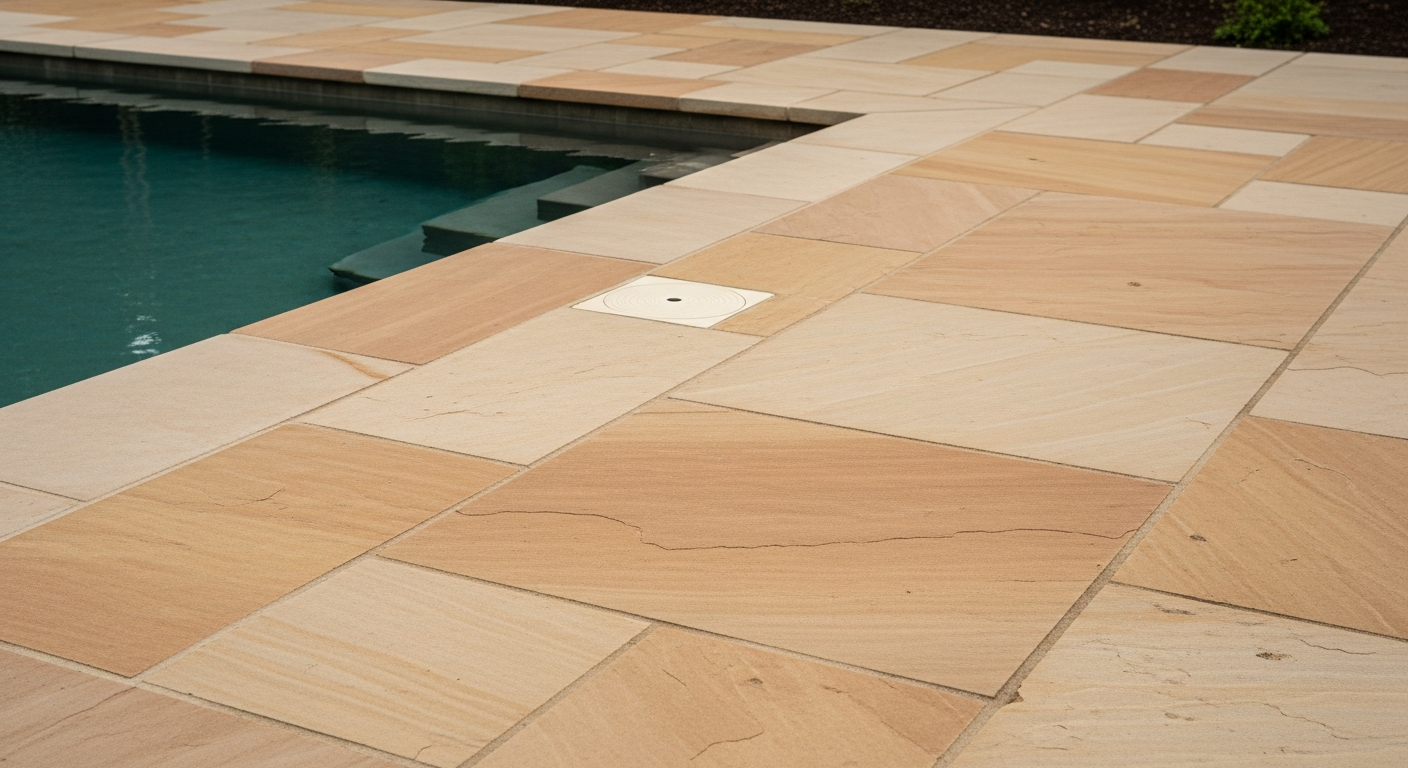
natural sandstone paving
Natural Stone Pavers in Seminole FL FAQ
Will my saltwater pool destroy natural stone pavers like travertine or limestone?
Saltwater itself is not corrosive to high-density natural stone, but the repeated process of salt crystals forming as water evaporates can cause surface pitting and spalling over time. This process, known as salt degradation, is most aggressive on more porous stones like certain sandstones. To mitigate this, choose a dense stone like travertine, ensure proper drainage away from the pool, and apply a high-quality, salt-resistant penetrating sealer specifically designed for natural stone. This creates a barrier that significantly reduces water absorption, preventing the damaging crystal formation within the stone's pores.
Some of my new pavers have a white, chalky film on them. Is this permanent damage?
This white film is most likely efflorescence, which is not permanent damage but a natural occurrence as mineral salts from the setting bed migrate to the surface with moisture and are left behind after evaporation. Do not attempt to pressure wash it off, as this can force the salts deeper into the stone, causing a recurring problem. Instead, use a stiff-bristled brush to dry-scrub the residue. For stubborn cases, a specialized efflorescence cleaner can be used, but always test it on an inconspicuous area first to ensure it doesn't discolor the paver.
Are light-colored stone pavers really that much cooler on bare feet than concrete?
Yes, light-colored, high-albedo stones like travertine are significantly cooler than dark pavers or traditional brushed concrete because they reflect more solar radiation. While all surfaces will get hot in direct sun, a light travertine paver can be 10-15 degrees Celsius (20-30°F) cooler than dark slate or standard concrete under the same conditions. The key factor is the stone's porous structure, which allows it to breathe and dissipate heat more effectively than dense, solid materials like poured concrete, making it a superior choice for barefoot comfort around the pool.
Do I absolutely have to seal my stone pavers, and what happens if I don't?
Sealing is not mandatory, but it is highly recommended to protect your investment and simplify maintenance. Unsealed pavers are porous and will readily absorb pool chemicals, leaf tannins, and oils, leading to deep, difficult-to-remove stains. More critically, in regions with freeze-thaw cycles, unsealed stone can absorb water that later freezes, expands, and causes the surface to crack or flake—a process called spalling. A good impregnating sealer penetrates the stone to block absorption without making the surface slippery, preserving its natural look and structural integrity for years.
What's the best way to clean algae and other tough stains off my pavers without damaging them?
Never use muriatic acid or high-pressure washing on natural stone, as it will etch the surface and strip its natural color. For organic stains like algae or mildew, use a pH-neutral cleaner specifically formulated for stone and a soft-bristle brush. A diluted solution of oxygen bleach is a safer alternative to chlorine bleach for stubborn spots. For rust stains from patio furniture, an iron-specific stain remover (poultice) is required to draw the metal oxides out of the stone's pores. Always rinse the area thoroughly with clean water after any cleaning treatment.
One of my pavers has settled and is now a trip hazard. Is this a massive repair job?
No, repairing a single sunken paver is a relatively simple and inexpensive fix, which is a major advantage of a paver system over a solid concrete slab. The process involves using specialized tools to carefully lift the sunken paver and the adjacent ones, adding and leveling more of the bedding sand base to bring the area up to the correct height, and then resetting the pavers. The most common cause is improper base compaction during the initial installation. Addressing one sunken paver quickly prevents water from pooling and destabilizing the surrounding area.