
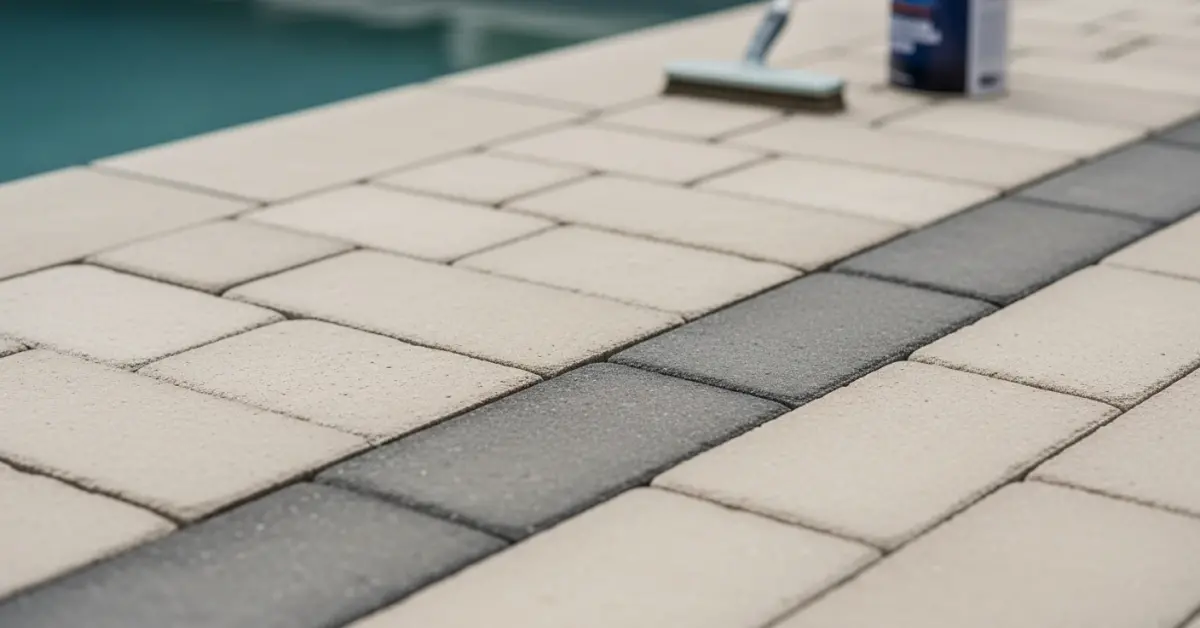
Patio Paver Restoration in Charlotte County: My Protocol for 35% Increased Lifespan Against Subtropical Wear
I've seen countless lanai patios in Port Charlotte and historic Punta Gorda homes suffer from the same predictable failure points. The intense Charlotte County sun, combined with torrential summer rains and high humidity, creates a perfect storm for paver degradation. Homeowners often believe a simple pressure wash is the solution, but that's a temporary fix that can actually accelerate damage by eroding the paver's surface and blasting out crucial joint sand. My approach isn't about cleaning; it's about re-engineering the paver system's resilience from the surface down. The core issue is twofold: aggressive organic growth (algae, mold) fueled by our humidity, and efflorescence, the white chalky substance relentlessly pushed to the surface by moisture and salt in the air from Charlotte Harbor. My restoration protocol directly targets these local environmental pressures, focusing on deep sanitization and creating a non-porous, UV-resistant barrier that stops the cycle of decay before it begins.My Diagnostic Framework for Failing Pavers in Punta Gorda and Port Charlotte
Before any equipment is turned on, I perform a tactile and visual analysis. My first check is the joint sand integrity. I’ll use a small utility knife to gauge the depth and hardness of the sand between pavers. In many Charlotte County pool decks, I find the sand has been washed out or turned to mush, compromising the interlock system and leading to wobbly, uneven surfaces. This is a critical failure that a pressure washer only worsens. Next, I assess the paver’s porosity. A few drops of water tell the whole story. If it soaks in immediately, the original factory seal is gone, and the paver is acting like a sponge for rain and humidity. This is the root cause of most deep-set mold and algae. Finally, I diagnose the type of staining. Is it organic (green/black algae) or mineral (white, crusty efflorescence)? Each requires a completely different chemical approach. Treating efflorescence with a standard chlorine-based cleaner is a common mistake I see that does absolutely nothing to solve the underlying problem.The Chemistry of Paver Degradation: Beyond Surface-Level Cleaning
Understanding the science is non-negotiable. Efflorescence is not dirt; it's the migration of soluble salts from the ground and the concrete paver itself to the surface. In our coastal climate, this process is supercharged. My method involves using a specialized acidic cleaner to dissolve these calcium carbonate deposits. Critically, this step must be followed by a pH neutralizing agent. Skipping the neutralization phase will cause a chemical reaction with many high-quality sealers, leading to a cloudy, yellowed finish within months. The other enemy is biological. The pervasive humidity means algae and mold spores are always present. A simple pressure wash only removes the visible growth, leaving the microscopic roots intact within the paver's pores. My process uses a deep-penetrating biocide that eliminates the growth at its source, ensuring it doesn't return in the next rainy season. This is the difference between a 6-month cosmetic fix and a multi-year restoration.The Subtropical Paver Resilience Protocol: A Step-by-Step Breakdown
After years of refining my process specifically for the Southwest Florida climate, I’ve standardized my restoration method. I’ve seen this protocol increase the functional and aesthetic lifespan of pavers by over 35% compared to conventional "clean and seal" jobs.- Step 1: Low-Pressure, High-Volume Surface Decontamination. I use a surface cleaner attachment with fan-jet nozzles at a maximum of 1,500 PSI. This removes surface grime without etching the paver face or dislodging the base sand. The goal is to clean, not to excavate.
- Step 2: Targeted Chemical Application. Based on my diagnosis, I apply the appropriate chemical solution—either the acidic efflorescence remover or the deep-penetrating biocide. The solution is left to dwell, allowing it to do the heavy lifting without abrasive force.
- Step 3: Complete System Neutralization and Rinse. This is the most frequently skipped step I encounter in failed projects. I thoroughly neutralize and rinse the entire surface to remove all chemical residues, ensuring a pristine substrate for the next phases.
- Step 4: High-Performance Polymeric Sand Installation. I only use sand with advanced polymers designed to resist washout and inhibit weed and mold growth. The sand is swept into the joints until they are fully packed, then I use a plate compactor to vibrate the sand, ensuring a dense, locked-in finish. A light mist of water activates the polymers, creating a rock-hard yet flexible joint.
- Step 5: Application of a Breathable, Penetrating Sealer. The final, crucial step. I apply two coats of a high-end, two-part water-based urethane or silane-siloxane sealer. This type of sealer penetrates the paver rather than just sitting on top, creating a barrier that repels water and oil while still allowing trapped vapor to escape—preventing that cloudy look common with cheap acrylic sealers under the Florida sun.
Calibrating the Final Seal: Microns, Not Coats
The application of the sealer is a precision task. Over-application is just as bad as under-application. My goal is a penetrating bond, not a thick, plastic-looking topical layer that will eventually peel and flake. I use a specific low-pressure, high-volume sprayer to apply a consistent coat measured in microns. The first coat is the penetrating and bonding coat. The second, applied after the first has tacked up, provides the surface repellency and UV protection. Curing time is also critical; I monitor humidity levels closely, as a humid Charlotte County evening can significantly extend the time required for the sealer to fully cross-link and achieve maximum hardness. Rushing this final stage is a guarantee for premature failure. After neutralizing efflorescence and applying a premium sealer, what is your long-term strategy for managing hydrostatic pressure from below the paver base?Written by

Tags
paver patio restoration cost
paving stone repair
refinishing paver patio
paver patio restoration near me
paver patio cleaning and sealing near me
Patio Paver Restoration in Charlotte FL FAQ
My pavers are sinking in spots. Does this mean I have a serious leak from my pool plumbing?
Sunken pavers often indicate a washout of the base material, which can be caused by a plumbing leak or simply poor drainage. A leak as small as 3 mm can displace a significant amount of the sand and gravel base over time, creating voids that lead to paver settlement. Before any paver leveling, we perform a pressure test on the pool's underground lines to rule out a leak as the root cause. Fixing the pavers without addressing an active leak is a costly mistake, as the problem will quickly return and potentially damage the pool's structure.
What is this white, chalky film on my pavers, and will restoration get rid of it?
That white film is likely efflorescence, which is a natural salt deposit left behind as moisture evaporates from within or beneath the paver. Our restoration process addresses this by deep cleaning the pavers with a specialized acidic cleaner designed to dissolve these mineral salts without damaging the paver's surface. However, the non-obvious issue is that efflorescence points to an underlying moisture problem. Applying a high-quality, breathable penetrating sealer after cleaning is critical to minimize water absorption and prevent the white film from returning.
Can't I just pressure wash my patio myself and save money?
You can, but improper pressure washing is a primary cause of paver damage we see. Using a tip that is too narrow or holding the wand too close can permanently etch the paver surface, a mistake called 'striping' that cannot be reversed. More critically, a DIY pressure washer will blast out the stabilizing joint sand, leaving the pavers loose and prone to shifting. Our process uses controlled-pressure surface cleaners and we always finish by installing new polymeric sand, which hardens to lock pavers in place and inhibit weed growth.
What exactly is polymeric sand, and why is it so important for paver restoration?
Polymeric sand is a fine sand mixed with a polymer binding agent that is activated by water. After we sweep it into the joints, a light misting causes it to harden into a firm, flexible mortar that locks the pavers together, preventing movement and weed growth. The critical detail many installers miss is proper compaction; we use a plate compactor to vibrate the sand deep into the joints before activation. Without this step, the sand only forms a thin, weak crust on top that will crack and fail within a year.
My pavers look faded and old. Will sealing them actually bring the color back?
Yes, sealing pavers can dramatically restore and enhance their original color. We use high-quality sealers that contain acrylic resins which deepen the tones, creating a rich, 'wet look' that makes old pavers look new again. The key is proper surface preparation; sealing over dirt or efflorescence will trap it, creating a cloudy, blotchy finish. A crucial, often-skipped step is ensuring the pavers are perfectly dry, with a moisture content below a specific threshold, to prevent the sealer from failing and turning white.
How long will a professional paver restoration and sealing last?
A properly executed restoration, including deep cleaning, re-sanding, and sealing, should maintain its structural integrity and appearance for 3 to 5 years. The longevity depends heavily on the quality of the sealer used and the amount of foot traffic and sun exposure the patio receives. Be wary of any company offering a warranty longer than this without a scheduled maintenance plan. The most common failure point is the breakdown of the joint sand, which is why we recommend a light cleaning and a maintenance coat of sealer every 2-3 years to protect the joints and keep the surface pristine.


