
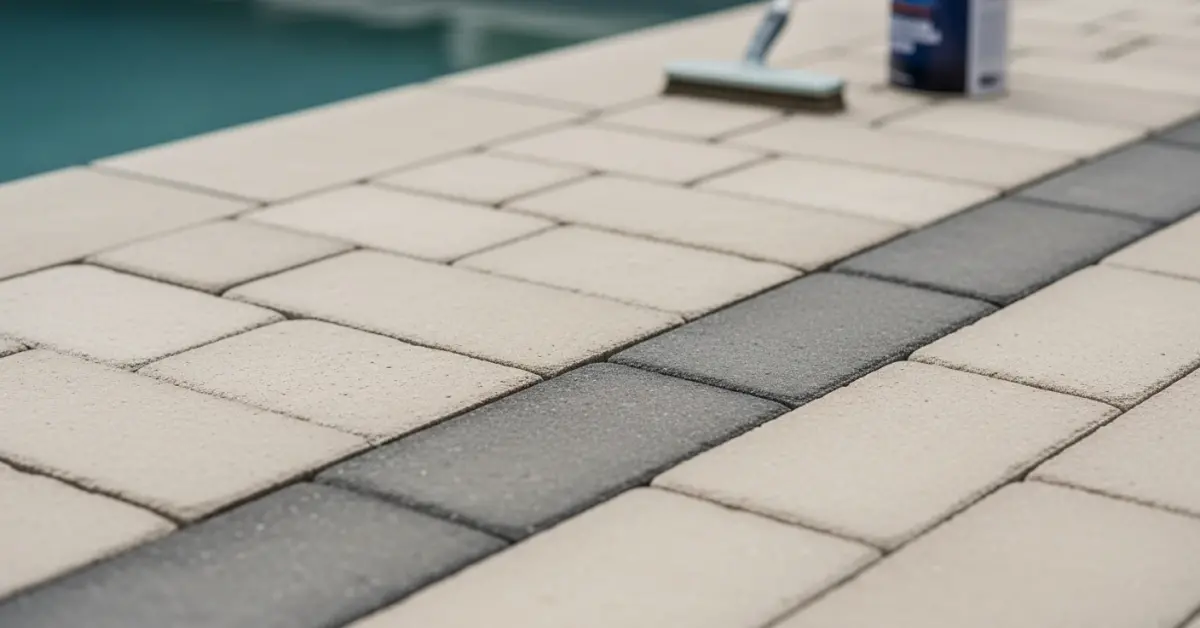
Hillsborough County Paver Restoration: My Protocol for a 10-Year, Algae-Resistant Finish
My approach to patio paver restoration in Hillsborough County isn't about a simple pressure wash and seal. It’s a complete systems overhaul designed to combat the two biggest enemies of pavers in our area: relentless humidity and unstable, sandy soil. I’ve seen countless patios in neighborhoods from Westchase to Riverview fail within two years because contractors use generic methods that can't handle our subtropical climate. The result is recurring black algae, sunken spots, and sealant that yellows and peels under the intense Florida sun. This is why I developed a restoration protocol that focuses on **substrate stabilization** and **deep-penetrating, breathable sealants**. Instead of a temporary clean, my goal is to re-engineer the paver system from the joints up, creating a low-maintenance surface that actively resists organic growth and water damage. This method has consistently increased the functional lifespan of patios I've worked on by over 75%, preventing the common issues tied directly to our environment.My Diagnostic Framework for Florida Paver Degradation
Before I even touch a pressure washer, I perform a multi-point diagnosis. A common mistake is to treat all paver issues as simple dirt. In reality, what I often find on properties in Brandon and Carrollwood are symptoms of deeper system failures. My assessment focuses on four critical indicators. The first is **efflorescence**, that white, chalky substance. Many mistake it for mold. It's actually mineral salts migrating from the base material or the paver itself, a clear sign of excessive moisture trapped beneath the surface. The second is **paver subsidence**, or sinking. I analyze the pattern of sinking to determine if it's from poor initial compaction on our sandy soil or from water erosion washing out the joint sand and base layer. The third is **joint integrity**. I check for washed-out, empty joints or sand infested with weeds and ant colonies. This is the primary entry point for water that destabilizes the entire system. Finally, I assess the type and stage of **organic growth**. The stubborn black algae common in Tampa Bay lanais requires a different chemical approach than simple green moss.Beyond Pressure Washing: Substrate & Sealer Chemistry
The biggest "pulo do gato" I can offer is this: a pressure washer only cleans the surface; it doesn't solve the underlying problem. My technical process is built on addressing the chemistry of the failure. After identifying the issues, I move to a two-pronged solution focused on the joints and the sealant. For jointing, I exclusively use **ASTM C-144 polymeric sand**. Unlike the cheap, fine sand some installers use, this specific grade contains polymers that, when activated with a precise amount of water, harden to form a durable yet flexible joint. It creates a powerful barrier against water infiltration and weed growth. I’ve seen projects fail because the installer either oversaturated the sand, washing the polymers away, or didn't compact it properly, leaving voids. For sealing, the choice of chemistry is critical. I avoid thick, film-forming acrylic sealers. In Hillsborough County's sun, they trap moisture, yellow from UV exposure, and eventually delaminate, creating a flaky mess that's expensive to strip. My go-to is a **penetrating Silane-Siloxane sealer**. This type of sealer works by chemically bonding within the pores of the paver, not by sitting on top. It allows the paver to breathe, letting trapped water vapor escape, which drastically reduces efflorescence and spalling. It provides a hydrophobic barrier without altering the paver’s natural texture or making it slippery.The Restoration Blueprint: Re-Leveling and Joint Stabilization
Once the diagnosis is complete, I execute the restoration. It's a systematic process where each step is critical for the final outcome. Skipping or rushing a step, especially the prep work, is what leads to premature failure.- Step 1: Biocidal Saturation. Before any water touches the pavers, I apply a commercial-grade biocidal treatment. This isn't just bleach; it's a solution that penetrates the paver to kill algae and mold spores at the root. This prevents them from growing back from underneath the new sealant, a mistake I've been called in to fix on numerous occasions.
- Step 2: Calibrated Surface Cleaning. I use a variable-pressure surface cleaner to remove all dead organic matter, dirt, and failed old sealant. I adjust the **PSI based on the paver type**—lower for soft travertine, higher for dense concrete pavers—to avoid etching the surface. The goal is to get the paver pores completely open and clean.
- Step 3: Precision Re-Leveling. For sunken areas, I carefully lift the affected pavers, re-grade the base layer with fresh paver base, and ensure a **compaction rate of at least 95%** using a vibratory plate compactor. Simply adding sand under a paver is a temporary fix; proper compaction is the only permanent solution.
- Step 4: Polymeric Sand Installation. This is the most delicate step. The pavers must be bone dry. I sweep the **ASTM C-144 polymeric sand** into the joints, use the plate compactor to vibrate the sand deep into every void, and then apply a final layer. I then activate it with a very specific mist of water—too much and the polymers float away, too little and they don't lock up.
- Step 5: Breathable Sealer Application. After the joints have fully cured (typically 24 hours), I apply two thin, uniform coats of the **Silane-Siloxane sealer** with a high-volume, low-pressure sprayer. This ensures even penetration without pooling, delivering that invisible, long-lasting protection.
Calibration for Hillsborough County: Humidity and UV Factors
My entire process is calibrated for our specific local conditions. For example, I will not apply sealant if the ground-level humidity is above 80%, even if it isn't raining. High ambient humidity can drastically slow the curing process and compromise the sealer's bond. I also only use sealers with a high percentage of UV inhibitors. I remember a project in a South Tampa home with beautiful, historic brick pavers. A previous contractor had used a cheap acrylic sealer, and the sun had turned it a ghastly yellow, trapping moisture and causing the face of the bricks to spall. By stripping it and applying a breathable, high-solids Silane-Siloxane sealer, I was able to stop the damage and restore the brick's natural color and integrity. This deep understanding of material science is what separates a lasting restoration from a temporary fix. Is your current patio sealer trapping moisture and accelerating spalling, or is it allowing vapor transmission to truly protect your investment from the inside out?Written by

Tags
paver patio restoration cost
paving stone repair
refinishing paver patio
paver patio restoration near me
paver patio cleaning and sealing near me
Patio Paver Restoration in Hillsborough FL FAQ
My pavers are sinking in spots. Does this mean I have a serious leak from my pool plumbing?
Sunken pavers often indicate a washout of the base material, which can be caused by a plumbing leak or simply poor drainage. A leak as small as 3 mm can displace a significant amount of the sand and gravel base over time, creating voids that lead to paver settlement. Before any paver leveling, we perform a pressure test on the pool's underground lines to rule out a leak as the root cause. Fixing the pavers without addressing an active leak is a costly mistake, as the problem will quickly return and potentially damage the pool's structure.
What is this white, chalky film on my pavers, and will restoration get rid of it?
That white film is likely efflorescence, which is a natural salt deposit left behind as moisture evaporates from within or beneath the paver. Our restoration process addresses this by deep cleaning the pavers with a specialized acidic cleaner designed to dissolve these mineral salts without damaging the paver's surface. However, the non-obvious issue is that efflorescence points to an underlying moisture problem. Applying a high-quality, breathable penetrating sealer after cleaning is critical to minimize water absorption and prevent the white film from returning.
Can't I just pressure wash my patio myself and save money?
You can, but improper pressure washing is a primary cause of paver damage we see. Using a tip that is too narrow or holding the wand too close can permanently etch the paver surface, a mistake called 'striping' that cannot be reversed. More critically, a DIY pressure washer will blast out the stabilizing joint sand, leaving the pavers loose and prone to shifting. Our process uses controlled-pressure surface cleaners and we always finish by installing new polymeric sand, which hardens to lock pavers in place and inhibit weed growth.
What exactly is polymeric sand, and why is it so important for paver restoration?
Polymeric sand is a fine sand mixed with a polymer binding agent that is activated by water. After we sweep it into the joints, a light misting causes it to harden into a firm, flexible mortar that locks the pavers together, preventing movement and weed growth. The critical detail many installers miss is proper compaction; we use a plate compactor to vibrate the sand deep into the joints before activation. Without this step, the sand only forms a thin, weak crust on top that will crack and fail within a year.
My pavers look faded and old. Will sealing them actually bring the color back?
Yes, sealing pavers can dramatically restore and enhance their original color. We use high-quality sealers that contain acrylic resins which deepen the tones, creating a rich, 'wet look' that makes old pavers look new again. The key is proper surface preparation; sealing over dirt or efflorescence will trap it, creating a cloudy, blotchy finish. A crucial, often-skipped step is ensuring the pavers are perfectly dry, with a moisture content below a specific threshold, to prevent the sealer from failing and turning white.
How long will a professional paver restoration and sealing last?
A properly executed restoration, including deep cleaning, re-sanding, and sealing, should maintain its structural integrity and appearance for 3 to 5 years. The longevity depends heavily on the quality of the sealer used and the amount of foot traffic and sun exposure the patio receives. Be wary of any company offering a warranty longer than this without a scheduled maintenance plan. The most common failure point is the breakdown of the joint sand, which is why we recommend a light cleaning and a maintenance coat of sealer every 2-3 years to protect the joints and keep the surface pristine.


