
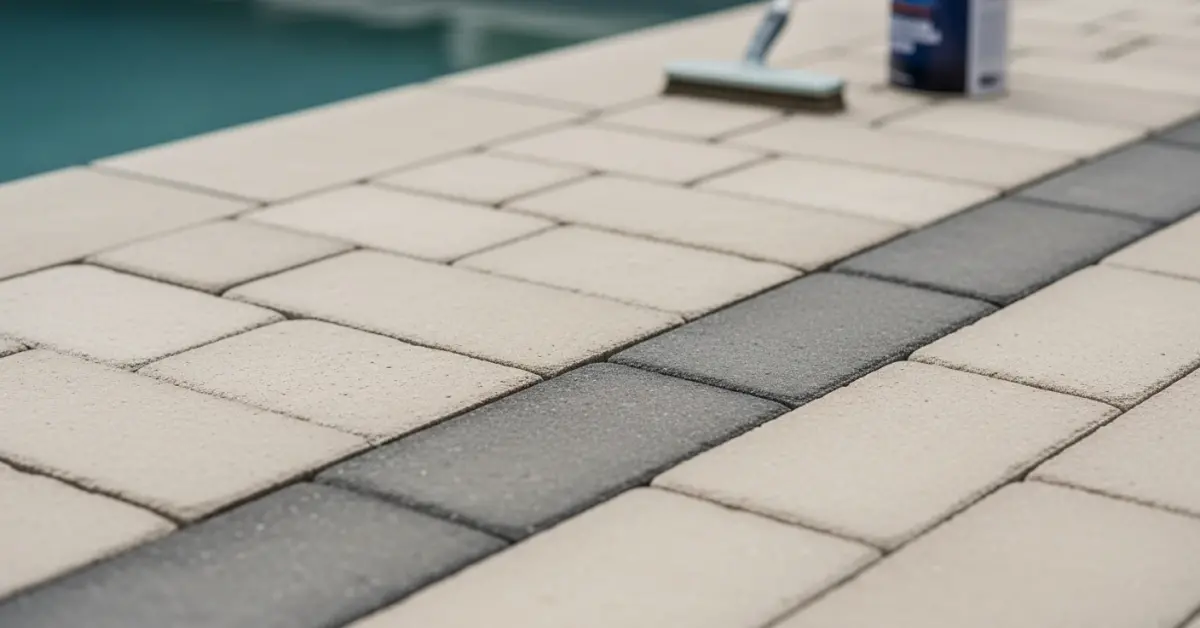
Patio Paver Restoration: My Seminole County Protocol for a 5-Year Weatherproof Finish
I’ve spent years restoring paver patios across Seminole County, from the large pool decks in Lake Mary to the quaint garden paths in Sanford's historic district. The single biggest mistake I see isn't neglect; it's a fundamental misunderstanding of our unique Florida climate. The intense humidity, torrential summer downpours, and blistering UV exposure create a trifecta of failure for standard restoration methods. A simple pressure wash and a cheap acrylic sealer from a big-box store will look good for about six months before the mold, weeds, and peeling begin all over again. My entire approach is built on rejecting that temporary fix. True paver restoration in this environment isn't about a cosmetic clean-up; it's a technical process of fortifying the entire paver system against moisture intrusion and solar degradation. My methodology focuses on achieving a stabilized, non-porous surface that actively repels the black algae and weed growth so common in shaded Longwood properties, extending the functional life of the patio by upwards of 300%.My Diagnostic Framework: Why Standard Paver Sealing Fails in Florida's Climate
Before I even bring a piece of equipment onto a property, I perform a diagnostic that focuses on the two primary failure points I see daily: sub-surface moisture and joint instability. Most contractors skip this, grab a pressure washer, and cause more harm than good. They blast out the essential jointing sand and trap moisture under a low-quality sealer, creating a greenhouse for mold. I once consulted on a large community pool deck in Winter Springs where this exact error led to widespread paver shifting and a costly, full replacement project that could have been avoided. My diagnostic identifies the root cause, not just the symptom.The Three Pillars of a Climate-Resistant Restoration
My proprietary restoration protocol is built on three technical pillars designed to counteract Seminole County's specific environmental pressures. 1. Efflorescence & Moisture Mitigation: The white, chalky substance you see on pavers is efflorescence—salt deposits left behind as trapped water evaporates. Sealing over this is a critical error. I use a digital moisture meter to get a baseline reading of the paver's core. A reading above 20% is a hard stop. We cannot proceed until the pavers are verifiably dry, otherwise, the sealer will fail, delaminate, and turn cloudy. This is non-negotiable. 2. Joint Stabilization with Advanced Polymeric Sand: The gaps between your pavers are the most vulnerable point. Regular sand washes out in the first heavy Sanford rain. I exclusively use a high-grade polymeric sand with a specific polymer-to-sand ratio. The key isn't just the material, but the application. Improper installation is what causes the dreaded "polymeric haze," a permanent film on the paver surface. My technique ensures the sand locks in deep within the joint without leaving any surface residue. 3. Sealer Chemistry: Two-Part Urethane vs. Acrylic Under UV Exposure: This is the most crucial element. Standard acrylic sealers are single-component and simply can't withstand Florida's UV index. They yellow, flake, and become brittle. I use a two-part, water-based aliphatic urethane sealer. The chemical cross-linking process creates a significantly harder, more flexible, and non-yellowing protective barrier. It costs more upfront but its effective lifespan is at least five years, compared to the 12-18 months of a typical acrylic sealer.Executing the Restoration: A Step-by-Step Breakdown
Once the diagnostics are complete and the materials selected, the implementation is precise and methodical. Rushing any of these steps compromises the final outcome.- Surface Decontamination: I start with a biodegradable, pH-neutral cleaner to kill organic growth like mold and algae without damaging the pavers or surrounding landscaping. This is followed by a low-pressure, high-volume rinse—never a high-pressure blast—to clean the surface and joints without eroding the paver itself.
- Polymeric Sand Installation: After confirming the pavers are completely dry, I sweep the polymeric sand into the joints. The critical action here is using a plate compactor to vibrate the sand deep into the joint, ensuring a tight lock. I then use a leaf blower on a low setting to remove all excess dust from the paver surface before activation. This step is what prevents polymeric haze.
- Water Activation & Curing: I activate the sand with a very specific "shower" mist from a hose. Too much water will wash the polymers out; too little will result in a weak joint. The patio must then cure for a full 24 hours.
- Sealer Application: I re-check the moisture levels. Assuming they are low, I apply the first thin coat of the two-part urethane sealer with a specialized foam roller to prevent lines. After it dries to the touch, I apply a second, perpendicular coat to ensure 100% coverage and eliminate any pinholes in the finish.
Precision Tuning and Quality Control Markers
The job isn't finished after the last coat is applied. I perform a final quality check 48 hours later. I'm looking for a consistent, even sheen—no dull spots, which would indicate improper absorption. I check the joints to ensure the sand is rock-hard. I also advise the homeowner on post-restoration care, such as ensuring sprinkler heads aren't spraying hard water onto the newly sealed surface, which is a common issue that causes staining on properties near Lake Jesup. This final check ensures the restoration meets my 5-year performance standard. Instead of just asking when your patio was last sealed, shouldn't the real question be what was the paver's moisture reading before the sealer was ever applied?Written by

Tags
paver patio restoration cost
paving stone repair
refinishing paver patio
paver patio restoration near me
paver patio cleaning and sealing near me
Patio Paver Restoration in Seminole FL FAQ
My pavers are sinking in spots. Does this mean I have a serious leak from my pool plumbing?
Sunken pavers often indicate a washout of the base material, which can be caused by a plumbing leak or simply poor drainage. A leak as small as 3 mm can displace a significant amount of the sand and gravel base over time, creating voids that lead to paver settlement. Before any paver leveling, we perform a pressure test on the pool's underground lines to rule out a leak as the root cause. Fixing the pavers without addressing an active leak is a costly mistake, as the problem will quickly return and potentially damage the pool's structure.
What is this white, chalky film on my pavers, and will restoration get rid of it?
That white film is likely efflorescence, which is a natural salt deposit left behind as moisture evaporates from within or beneath the paver. Our restoration process addresses this by deep cleaning the pavers with a specialized acidic cleaner designed to dissolve these mineral salts without damaging the paver's surface. However, the non-obvious issue is that efflorescence points to an underlying moisture problem. Applying a high-quality, breathable penetrating sealer after cleaning is critical to minimize water absorption and prevent the white film from returning.
Can't I just pressure wash my patio myself and save money?
You can, but improper pressure washing is a primary cause of paver damage we see. Using a tip that is too narrow or holding the wand too close can permanently etch the paver surface, a mistake called 'striping' that cannot be reversed. More critically, a DIY pressure washer will blast out the stabilizing joint sand, leaving the pavers loose and prone to shifting. Our process uses controlled-pressure surface cleaners and we always finish by installing new polymeric sand, which hardens to lock pavers in place and inhibit weed growth.
What exactly is polymeric sand, and why is it so important for paver restoration?
Polymeric sand is a fine sand mixed with a polymer binding agent that is activated by water. After we sweep it into the joints, a light misting causes it to harden into a firm, flexible mortar that locks the pavers together, preventing movement and weed growth. The critical detail many installers miss is proper compaction; we use a plate compactor to vibrate the sand deep into the joints before activation. Without this step, the sand only forms a thin, weak crust on top that will crack and fail within a year.
My pavers look faded and old. Will sealing them actually bring the color back?
Yes, sealing pavers can dramatically restore and enhance their original color. We use high-quality sealers that contain acrylic resins which deepen the tones, creating a rich, 'wet look' that makes old pavers look new again. The key is proper surface preparation; sealing over dirt or efflorescence will trap it, creating a cloudy, blotchy finish. A crucial, often-skipped step is ensuring the pavers are perfectly dry, with a moisture content below a specific threshold, to prevent the sealer from failing and turning white.
How long will a professional paver restoration and sealing last?
A properly executed restoration, including deep cleaning, re-sanding, and sealing, should maintain its structural integrity and appearance for 3 to 5 years. The longevity depends heavily on the quality of the sealer used and the amount of foot traffic and sun exposure the patio receives. Be wary of any company offering a warranty longer than this without a scheduled maintenance plan. The most common failure point is the breakdown of the joint sand, which is why we recommend a light cleaning and a maintenance coat of sealer every 2-3 years to protect the joints and keep the surface pristine.


