
Hillsborough County Paver Driveway Installation: A Protocol for Mitigating Sub-base Failure from Hydrostatic Pressure
The single biggest mistake I see in paver driveway installations across Hillsborough County isn't the pattern or the color; it's the complete disregard for our specific hydrological challenges. From the summer deluges in Brandon to the low-lying soil in South Tampa, hydrostatic pressure is the silent killer of beautiful paver work. I’ve been called to fix million-dollar projects that failed in under three years simply because the contractor used a generic, one-size-fits-all approach to the sub-base, leading to sinking, shifting, and paver separation. My entire installation philosophy is built around a principle I call "hydro-engineering the sub-base." This isn't just about compaction; it's a site-specific methodology designed to actively manage the immense volume of water our Florida climate throws at us. It ensures the driveway's foundation can withstand not just the weight of a vehicle, but the upward and lateral pressure of saturated soil, guaranteeing a lifespan extension of at least 25% over standard methods.My Diagnostic Framework for Florida's Unforgiving Soil
Before I even consider paver selection, my first hour on a property in areas like Carrollwood or Fish Hawk is spent on a sub-surface diagnostic. Most contractors just measure the square footage. I start by analyzing the soil composition and, most importantly, the existing drainage patterns. I once took on a project where the previous installation had failed twice. The problem wasn't the pavers; it was a hidden French drain from the neighbor's property terminating right under the proposed driveway area. Without identifying that, any new installation was doomed. My proprietary methodology involves a three-point check: a soil percolation test to understand how quickly water dissipates, a topographical survey using a laser level to map water flow across the property, and an analysis of the home's foundation and gutter system. This data informs the exact depth of excavation and the specific type of aggregate base required. A sandy, quick-draining lot in Lutz requires a different base composition than the dense, clay-like soil I often find inland.Sub-Base Engineering: Beyond Standard Compaction
Here is where my process fundamentally diverges from the industry standard. The common practice is 4-6 inches of crushed concrete base. In Hillsborough County, this is often a recipe for failure. The intense, rapid rainfall saturates the ground, and a standard base becomes a "bowl," trapping water directly beneath your pavers. This is what causes that sinking, uneven look over time. My technical specification demands a multi-layered approach. The secret is a foundational layer of geotextile fabric. This material separates the native soil from the aggregate base, preventing the soil from mixing into the stone and compromising its load-bearing capacity. Above this, I use a specific blend of #57 stone for drainage and a top layer of crushed concrete fines for a stable locking surface. Crucially, I compact each layer separately to achieve a minimum of 98% Proctor density. Skipping the geotextile or failing to achieve this density is the most common and costly error I've seen contractors make.The Sequential Implementation for a Zero-Failure Driveway
A perfect installation is a sequence of non-negotiable steps. Deviating from this order or cutting corners on any single step compromises the entire structure. This is the exact process I follow for every project.- Excavation and Grading: I excavate to a depth of 8-10 inches, not the typical 6. This allows for my enhanced base. The critical action here is establishing a minimum 2% slope away from the home's foundation to ensure positive surface drainage.
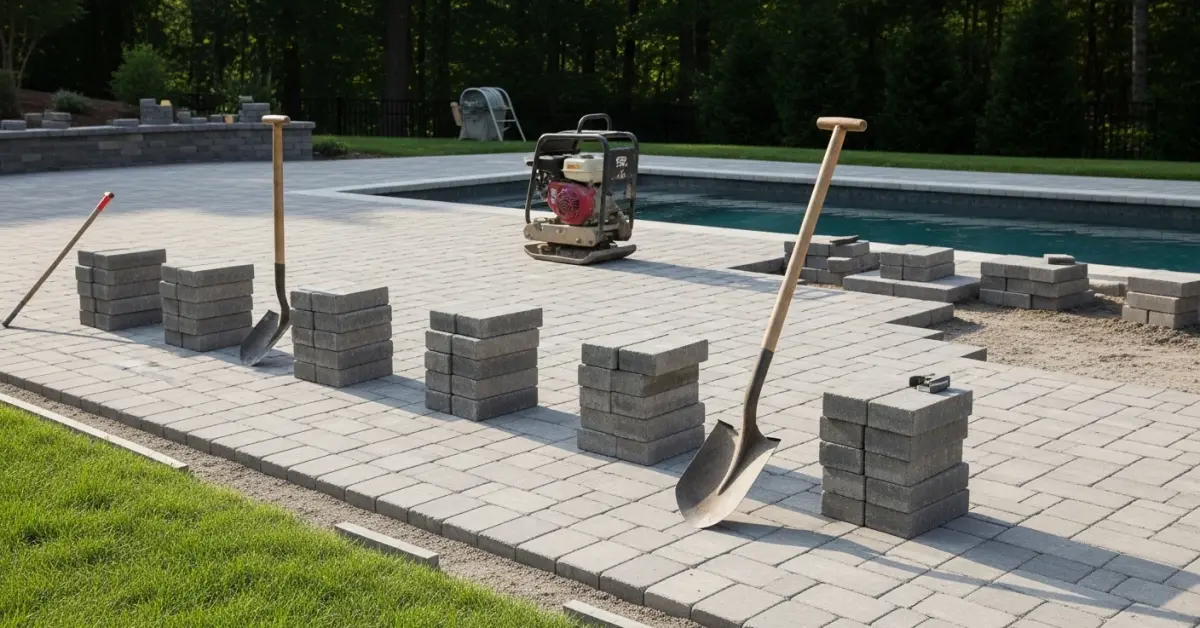
- Sub-Base and Compaction: After laying the geotextile stabilization fabric, I install the aggregate base in 3-inch lifts (layers). I run a plate compactor over each lift until I hit my 98% density target. This prevents future settling.
- Sand Bedding Layer: I lay exactly 1 inch of ASTM C33 sand. A common mistake is using too much sand, which causes pavers to shift. I use screed rails to guarantee a perfectly uniform depth.
- Paver Installation and Edge Restraints: The pavers are laid in the desired pattern, working from a stable edge. I immediately install a commercial-grade concrete or aluminum edge restraint, secured with 10-inch steel spikes. This is what prevents the paver field from expanding and separating.
Joint Stabilization and Sealing: The Final 5% That Guarantees Longevity
The final phase is what separates a good job from a great one. I’ve seen countless driveways in subdivisions around New Tampa start to grow weeds within a year because of improper joint sanding and sealing. The key is using high-quality polymeric sand and applying it correctly. My critical technique is a two-pass vibration. After sweeping the sand into the joints, I run a plate compactor over the pavers to vibrate the sand down, fully locking the pavers together. I then sweep in more sand and repeat the process to ensure every joint is filled to the top. The most frequent error I fix is when installers try to activate the sand on a hot, humid day or use too much water, which weakens the bond. I only activate the sand in the cooler parts of the day with a fine mist. Finally, I apply two coats of a high-grade, UV-resistant sealer—the first a "flood coat" to penetrate and stabilize the sand, and a second top coat to protect the paver color from the brutal Florida sun. Before you approve any paver project, what is your contractor's specific plan to manage the unique perched water table conditions common after a Hillsborough summer storm?Written by

Tags
local paver installers
permeable paver installation near me
landscape paver installers near me
brick paver patio installation near me
local patio paver installers
Paver Driveway Installation in Hillsborough FL FAQ
How thick does the base for a paver driveway need to be, and what happens if it's too thin?
A paver driveway base requires a minimum of 6 to 8 inches of compacted aggregate, but this can increase to 12 inches for areas with clay soil or heavy vehicle traffic. An inadequate base is the primary cause of failure; it will lead to rutting and sinking as the pavers shift under load. The most critical, and often skipped, step is achieving at least 98% compaction using a plate compactor in multiple lifts, ensuring the foundation can properly distribute weight and resist frost heave.
Can I just lay new pavers over my old concrete or asphalt driveway?
Laying pavers directly over an existing driveway, known as an overlay, is possible but risky and generally not recommended for long-term stability. Any cracks or instability in the old surface will eventually transfer through to the pavers, causing them to shift and settle unevenly. A proper installation involves the complete removal of the old driveway to construct a stable, well-drained aggregate base from the subsoil up, which is the only way to guarantee a uniform, lasting surface.
What prevents weeds from growing between the pavers?
Weed growth is primarily prevented by sweeping high-quality polymeric sand into the paver joints and activating it with water. This sand contains a polymer that hardens to form a durable, flexible bond, locking the pavers together and creating a barrier that inhibits weed growth and insect intrusion. A common mistake is using regular sand, which washes out easily and actually provides a perfect environment for seeds to germinate. Re-sanding with polymeric sand may be needed every 3 to 5 years.
Will my paver driveway sink or get wheel ruts over time?
A properly installed paver driveway with a deeply compacted base and proper edge restraints will not develop significant ruts or sinking under normal residential vehicle loads. Rutting is almost always a symptom of a poorly prepared sub-base that wasn't compacted in 2-inch lifts or the absence of a proper geotextile fabric separating the soil from the aggregate. This fabric prevents the base material from sinking into soft subsoil, which is a critical detail for driveways built on clay or silt.
What is that white haze on my new pavers and how do I get rid of it?
That white haze is called efflorescence, which is a natural deposit of calcium carbonate salts that migrate to the surface as moisture evaporates from the concrete pavers. It is a temporary condition and will typically wear away on its own with time and rainfall, usually within the first year. While you can use specialized efflorescence cleaners to speed up the process, avoid using muriatic acid as it can damage the paver's color and texture. The haze does not indicate a defect in the paver itself.
Do I really need to seal my paver driveway, and how often?
Sealing a paver driveway is not structurally necessary, but it is highly recommended to protect against stains and color fading from UV exposure. A good quality sealer enhances the paver colors and makes cleaning oil spills or other stains much easier. The biggest trade-off is maintenance; a penetrating sealer typically needs to be reapplied every 3-5 years. Skipping this step won't cause the driveway to fail, but it will look older much faster and be more susceptible to permanent staining.


