
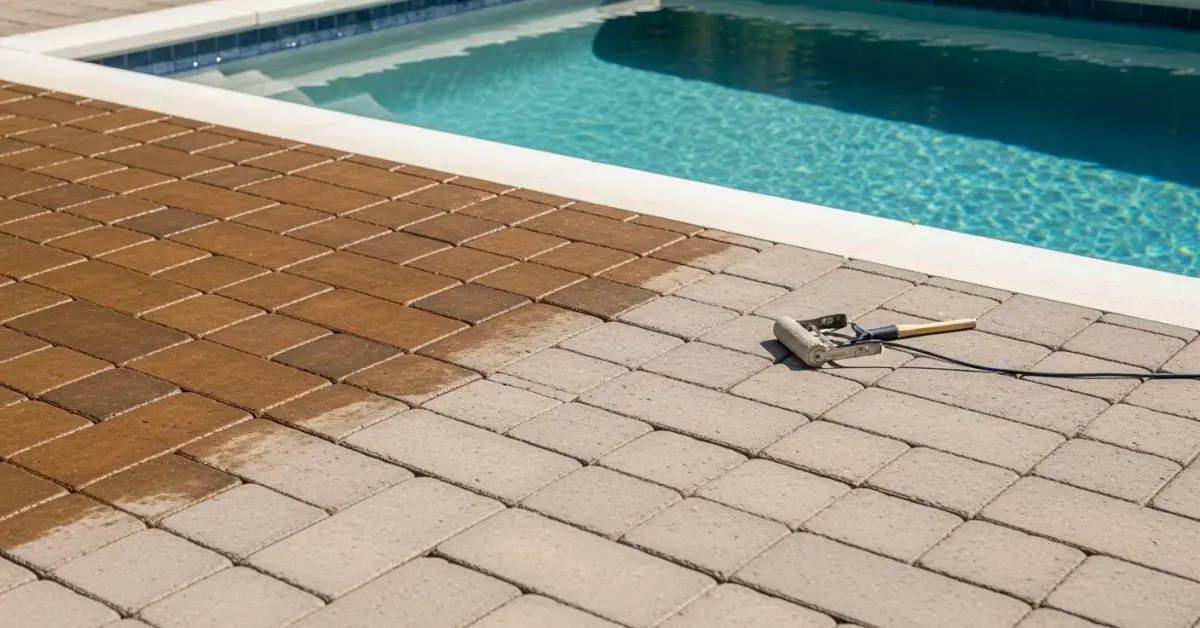
Paver Driveway Sealing in Charlotte County: My Protocol for a 3-Year, UV-Resistant, Anti-Mold Finish
My sealing process for Charlotte County paver driveways is engineered specifically to combat the intense Florida UV exposure and torrential summer rains. I’ve refined this method after correcting dozens of failed jobs in Port Charlotte and Punta Gorda, where the wrong sealer choice leads to a white, hazy mess within a single season. Forget generic advice. The key isn't just the sealer; it's the moisture content diagnosis and the application technique. My approach focuses on creating a microporous barrier that allows substrate moisture to escape while blocking surface water and inhibiting mold growth, a persistent issue for homes near the Peace River and the coastal areas of Englewood.My Proprietary 3-Point Paver Integrity Audit
Before a single drop of sealer is sprayed, I perform a mandatory diagnostic. I developed this after seeing a large project in a gated community in Punta Gorda fail because the contractor sealed over damp pavers, trapping efflorescence. This audit prevents 90% of common sealing failures.- Joint Sand Stabilization Analysis: I physically probe the paver joints. Are they filled with fine, washed-out sand or properly compacted polymeric sand? Heavy rains in Charlotte County can empty joints in months, leading to paver shifting. The integrity of the joint sand dictates the entire project's longevity.
- Sub-Surface Moisture Reading: I use a calibrated concrete moisture meter to test multiple areas of the driveway. I will not apply a sealer if the reading is above 15% moisture content. Applying a film-forming sealer on a damp paver is the number one cause of the milky, white haze (moisture blushing) I see everywhere.
- Contaminant & Efflorescence Mapping: I identify the type of stain—be it oil, rust from irrigation well water, or the white, powdery salt deposits of efflorescence. Each requires a specific chemical pre-treatment; a simple pressure wash won't solve the underlying chemical issue.
Sealer Chemistry: Why Most "Wet Look" Sealers Fail in Florida's Climate
The standard solvent-based acrylic sealer sold in big-box stores is a trap for Charlotte County homeowners. While it provides an initial high gloss, its low permeability traps humidity. When the sun heats the paver, the trapped moisture vaporizes and pushes against the acrylic film, causing it to delaminate and turn white. My go-to solution is a water-based, two-part aliphatic urethane sealer. It costs more upfront but its chemical structure is UV-stable (non-yellowing) and forms a breathable, yet highly durable, film. For a more natural look, a silane/siloxane penetrating sealer offers superb water repellency without forming a surface film, which is ideal for properties right on the water in South Gulf Cove to minimize slipperiness.The Cross-Hatch Application Protocol for a Flawless, Uniform Finish
Achieving a uniform, non-streaky finish is about systematic application, not just spraying back and forth. My protocol ensures every square inch of the paver and joint receives a calibrated amount of sealer.- Calibrated Surface Cleaning: The goal is to clean, not erode. I use a fan-tip pressure washer nozzle, maintaining a consistent distance from the surface, at no more than 2,500 PSI. For stubborn efflorescence, I pre-treat with a specific acid-based cleaner, letting it dwell for precisely 10 minutes before neutralizing and rinsing.
- Polymeric Sand Installation: After the surface is bone-dry (verified with my moisture meter), I sweep high-grade polymeric sand into the joints. The critical step most people miss is using a plate compactor on the "vibrate" setting to settle the sand deep into the joints before the final sweep. This ensures a rock-solid lock.
- Two-Coat Cross-Hatch Spraying: I use a battery-powered, low-pressure sprayer with a conical tip. The first coat is applied walking North-to-South. After it dries to the touch, the second, lighter coat is applied walking East-to-West. This cross-hatch pattern eliminates the streaking and blotching common with single-direction application, especially on darker pavers. The application must be done in the cooler parts of the day, never in direct midday sun.
Precision Adjustments for Lanai and Pool Deck Safety
Standard driveway sealing can create a dangerously slick surface around pools, a major concern for homes with lanais in Port Charlotte. My quality standard for these areas is absolute. During the application of the final coat, I introduce a broadcast polymer grit additive. This is a fine, translucent particle that becomes suspended in the sealer. It's invisible to the eye but creates a micro-texture that increases the coefficient of friction by an estimated 30%, providing essential grip without feeling rough underfoot. Given the intense sun and humidity, how do you accurately measure the sealer's wet-film thickness (WFT) during application to guarantee it cures to the manufacturer's specified dry-film thickness (DFT) for maximum durability?Written by

Tags
driveway paver sealing near me
paver sealing near me
paver patio cleaning and sealing near me
patio paver cleaning and sealing near me
patio paver cleaning and sealing
Paver Driveway Sealing in Charlotte FL FAQ
My new paver driveway is only a year old. Do I really need to seal it already?
Yes, sealing your paver driveway within the first year of installation is the best practice for long-term protection. While the pavers themselves are durable, the crucial element you are protecting is the polymeric sand in the joints, which prevents weed growth and shifting. Sealing locks this sand in place and provides a barrier against oil stains, salt damage, and color fading from UV rays. Waiting until you see visible wear, such as weeds or loose pavers, means you are already addressing a problem rather than preventing it, which often requires more extensive joint restoration before sealing can even begin.
Will sealing my driveway make the pavers slippery, especially when it rains?
No, a professionally applied sealer should not make your pavers dangerously slippery if the correct product and technique are used. The key is to avoid over-application, which can create a thick, glossy film on the surface. We use sealers with a non-slip additive, a fine aggregate mixed into the sealant, which creates a textured, high-traction finish that maintains grip even in wet conditions. This is especially critical on sloped driveways where water runoff and ice can pose a significant hazard. DIY applications often fail here, creating a slick surface that's difficult and costly to strip and correct.
Can I just power wash my driveway and apply a sealer from a big-box store myself?
While it seems straightforward, improper surface preparation is the number one cause of sealer failure, leading to a hazy, white appearance called efflorescence bloom. A professional cleaning involves more than just a power wash; it requires specific cleaners to remove ground-in dirt, oil, and any existing, failing sealer. More importantly, the pavers must be completely dry before sealing, which can take 24-48 hours. Sealing over even slight dampness traps moisture, which will turn the acrylic sealer cloudy and require a full chemical stripping to fix, costing far more than a professional job.
What's the difference between a water-based and a solvent-based sealer for my driveway?
The primary difference is in appearance and environmental impact, with solvent-based sealers offering a richer, 'wet look' enhancement and water-based ones providing a more natural, matte finish. Solvent-based sealers penetrate deeper into the paver pores, providing excellent color enhancement and stain protection, but they have a strong odor during application due to higher volatile organic compounds. Water-based sealers are low-odor, eco-friendlier, and still offer great protection, making them a popular choice. The right one depends on your desired aesthetic and local regulations.
How often do I need to reseal my paver driveway, and what are the signs it's time?
Typically, a high-quality paver driveway sealing will last between 3 to 5 years, depending on traffic and weather exposure. The most reliable sign that it's time to reseal is when water no longer beads up on the surface and instead soaks in quickly, darkening the pavers. You may also notice the color of the pavers beginning to fade or the joint sand starting to wash out during heavy rain. Waiting until you see significant weed growth between the pavers is a clear indicator that the protective barrier has completely failed and immediate attention is needed to prevent shifting.
My driveway has some white, chalky stains. Can you just seal over them?
No, sealing over those white stains will permanently trap them, making them impossible to remove later. That chalky substance is called efflorescence, which is a natural salt deposit that migrates out of the concrete pavers as moisture evaporates. Before any sealing can occur, these deposits must be completely removed with a specialized efflorescence cleaner and a light acid wash. Sealing a driveway without properly treating this issue is a common mistake that results in a cloudy, blotchy finish that magnifies the original problem.


