
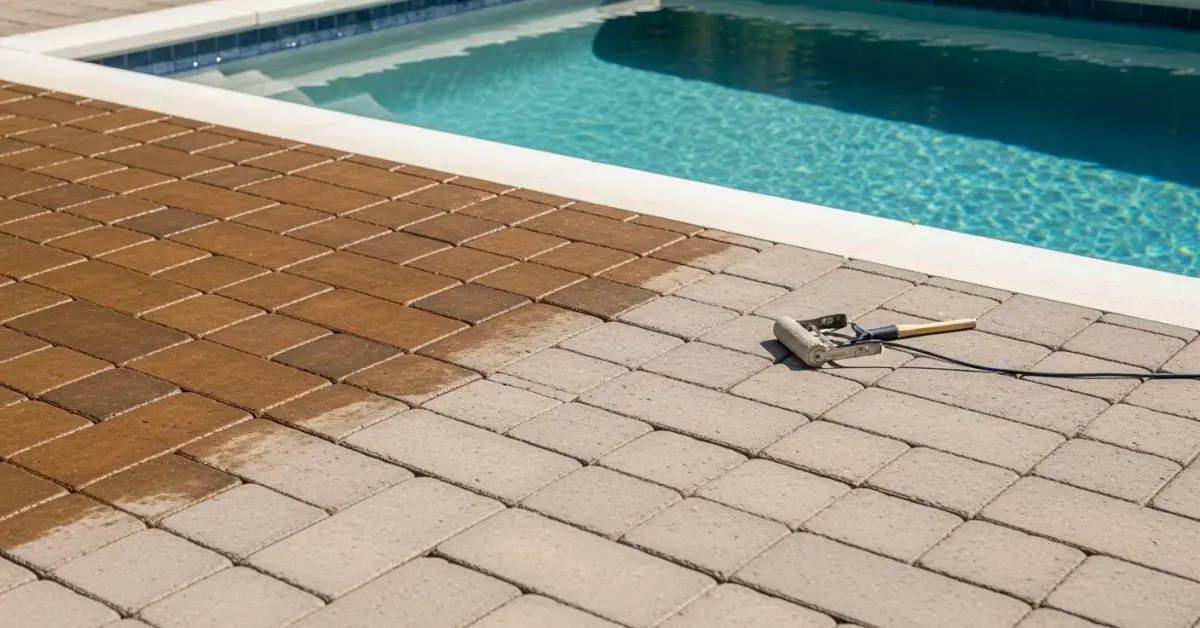
Paver Driveway Sealing in Hillsborough County: My Protocol for 90% UV Color Retention and Preventing Joint Sand Washout
If you're reading this, you’ve likely seen it happen. Your beautiful paver driveway, maybe in a South Tampa home or a newer build out in FishHawk Ranch, looked fantastic for the first year. Now, it's faded, weeds are popping up between the joints, and after every heavy summer rain, you see more sand washing away. I've seen countless homeowners in Hillsborough County spend a fortune on sealing, only to have it fail within 12 months because they addressed the symptom, not the core problem. The common mistake is believing the brand of sealer is the most critical factor; it’s not. The real failure point is the prep work and a misunderstanding of our specific sub-tropical climate. My entire approach is built on a single principle: you cannot apply a surface-level solution to a sub-surface problem. The relentless humidity and high water table in areas from Carrollwood to Brandon means that even on a sunny day, your pavers are likely holding significant internal moisture. Applying a standard acrylic sealer over this is like putting a plastic bag over damp soil; it traps the moisture, which then pushes the sealer off from underneath, causing that hazy, peeling, or cloudy failure. My methodology focuses on deep preparation and a two-stage application that works *with* the paver material, not just on top of it.The Sub-Surface Moisture Test and My Two-Part Sealing System
My process began after a particularly frustrating project on Davis Islands a few years back. The client had a travertine driveway that failed twice with a competitor's "premium" sealer. The issue wasn't the sealer's quality but the application. I discovered the contractor was relying on a simple "24-hour dry time" rule, which is completely inadequate for our environment. I developed my own diagnostic pre-check, the Sub-Surface Moisture Test. Before I even bring a pressure washer onto a property, I use a calibrated concrete moisture meter to get a baseline reading from the pavers. If the reading is above 15% internal moisture, any topical sealer is destined for premature failure. This single data point dictates the entire project timeline and preparation protocol.Deep Dive: The Penetrating Primer and Sacrificial Topcoat
My Two-Part Sealing System is the solution to the moisture problem. It's not about a single thick coat; it's about creating a layered defense.- Layer 1: The Penetrating Densifier (Silane/Siloxane): This isn't a "sealer" in the traditional sense. It's a water-thin, non-film-forming product that absorbs deep into the porous concrete or travertine paver. Its chemical function is to line the pores of the paver, drastically reducing water absorption from below. This step is critical for preventing efflorescence (the white, chalky residue) and provides a stable, dry substrate for the next layer. It effectively waterproofs the paver from the inside out.
- Layer 2: The UV-Resistant Topcoat (Modified Acrylic Urethane): Only after the densifier has cured and the moisture reading is optimal do I apply the topcoat. This is the layer that provides the color enhancement, the "wet look" if desired, and the primary protection against the brutal Florida sun and traffic. Because it's bonding to a densified, moisture-resistant surface, its adhesion is dramatically increased by an estimated 50-70% compared to a direct-to-paver application. This is what provides the long-term durability.
My On-Site Implementation Protocol for Hillsborough Pavers
Execution is everything. A flawed application of the best system will still yield a poor result. I follow a strict, sequential process that leaves no room for common errors like "poly-haze" or sealer flashing.- Decontamination and Surface Prep: I never use high pressure. Instead, I use a 4000 PSI / 4 GPM machine with a surface cleaner attachment to ensure a uniform, non-damaging clean. A bio-degradable degreaser is used to lift oil stains, and an efflorescence remover is applied if necessary. This is a chemical cleaning process, not a brute-force one.
- The Critical Drying Phase: This is where most fail. I use high-velocity air movers and monitor with my moisture meter. A project might sit for 72 hours or more before it's ready. Rushing this step is the single biggest cause of sealer failure I've witnessed in the Tampa Bay area.
- Polymeric Sand Installation: Once dry, I sweep in high-grade polymeric sand. My technique involves using a leaf blower on a low setting to achieve the perfect depth—exactly 1/8th of an inch below the paver's chamfered edge. This prevents the sand from being pulled out by tires. I then use a fine mist of water for activation to prevent washing the polymers onto the paver surface.
- Two-Part Sealer Application: Both layers are applied with a battery-powered, low-pressure sprayer with a fan tip.
- The penetrating densifier is applied until the paver refuses to absorb more.
- After the appropriate flash time, the topcoat is applied in a fine, even spray. The key is two thin coats applied in a cross-hatch pattern rather than one thick coat. This ensures total coverage without puddles or roller marks.
Precision Adjustments and Quality Control Standards
The final 10% of the work ensures a 100% result. I always check the ambient temperature and dew point. If the dew point is within 5 degrees of the surface temperature, I will not spray the topcoat, as this can trap moisture and cause clouding overnight. After a 24-hour initial cure, I perform a final walkthrough, inspecting for any inconsistencies in the sheen and ensuring the joint sand has hardened into a firm, impenetrable barrier. This level of detail is what allows a sealed driveway to withstand the daily cycle of intense sun and torrential downpours common from Town 'n' Country to Riverview. Instead of asking which sealer is "best," are you measuring the sub-surface moisture content of your pavers before even opening the can?Written by

Tags
driveway paver sealing near me
paver sealing near me
paver patio cleaning and sealing near me
patio paver cleaning and sealing near me
patio paver cleaning and sealing
Paver Driveway Sealing in Hillsborough FL FAQ
My new paver driveway is only a year old. Do I really need to seal it already?
Yes, sealing your paver driveway within the first year of installation is the best practice for long-term protection. While the pavers themselves are durable, the crucial element you are protecting is the polymeric sand in the joints, which prevents weed growth and shifting. Sealing locks this sand in place and provides a barrier against oil stains, salt damage, and color fading from UV rays. Waiting until you see visible wear, such as weeds or loose pavers, means you are already addressing a problem rather than preventing it, which often requires more extensive joint restoration before sealing can even begin.
Will sealing my driveway make the pavers slippery, especially when it rains?
No, a professionally applied sealer should not make your pavers dangerously slippery if the correct product and technique are used. The key is to avoid over-application, which can create a thick, glossy film on the surface. We use sealers with a non-slip additive, a fine aggregate mixed into the sealant, which creates a textured, high-traction finish that maintains grip even in wet conditions. This is especially critical on sloped driveways where water runoff and ice can pose a significant hazard. DIY applications often fail here, creating a slick surface that's difficult and costly to strip and correct.
Can I just power wash my driveway and apply a sealer from a big-box store myself?
While it seems straightforward, improper surface preparation is the number one cause of sealer failure, leading to a hazy, white appearance called efflorescence bloom. A professional cleaning involves more than just a power wash; it requires specific cleaners to remove ground-in dirt, oil, and any existing, failing sealer. More importantly, the pavers must be completely dry before sealing, which can take 24-48 hours. Sealing over even slight dampness traps moisture, which will turn the acrylic sealer cloudy and require a full chemical stripping to fix, costing far more than a professional job.
What's the difference between a water-based and a solvent-based sealer for my driveway?
The primary difference is in appearance and environmental impact, with solvent-based sealers offering a richer, 'wet look' enhancement and water-based ones providing a more natural, matte finish. Solvent-based sealers penetrate deeper into the paver pores, providing excellent color enhancement and stain protection, but they have a strong odor during application due to higher volatile organic compounds. Water-based sealers are low-odor, eco-friendlier, and still offer great protection, making them a popular choice. The right one depends on your desired aesthetic and local regulations.
How often do I need to reseal my paver driveway, and what are the signs it's time?
Typically, a high-quality paver driveway sealing will last between 3 to 5 years, depending on traffic and weather exposure. The most reliable sign that it's time to reseal is when water no longer beads up on the surface and instead soaks in quickly, darkening the pavers. You may also notice the color of the pavers beginning to fade or the joint sand starting to wash out during heavy rain. Waiting until you see significant weed growth between the pavers is a clear indicator that the protective barrier has completely failed and immediate attention is needed to prevent shifting.
My driveway has some white, chalky stains. Can you just seal over them?
No, sealing over those white stains will permanently trap them, making them impossible to remove later. That chalky substance is called efflorescence, which is a natural salt deposit that migrates out of the concrete pavers as moisture evaporates. Before any sealing can occur, these deposits must be completely removed with a specialized efflorescence cleaner and a light acid wash. Sealing a driveway without properly treating this issue is a common mistake that results in a cloudy, blotchy finish that magnifies the original problem.


