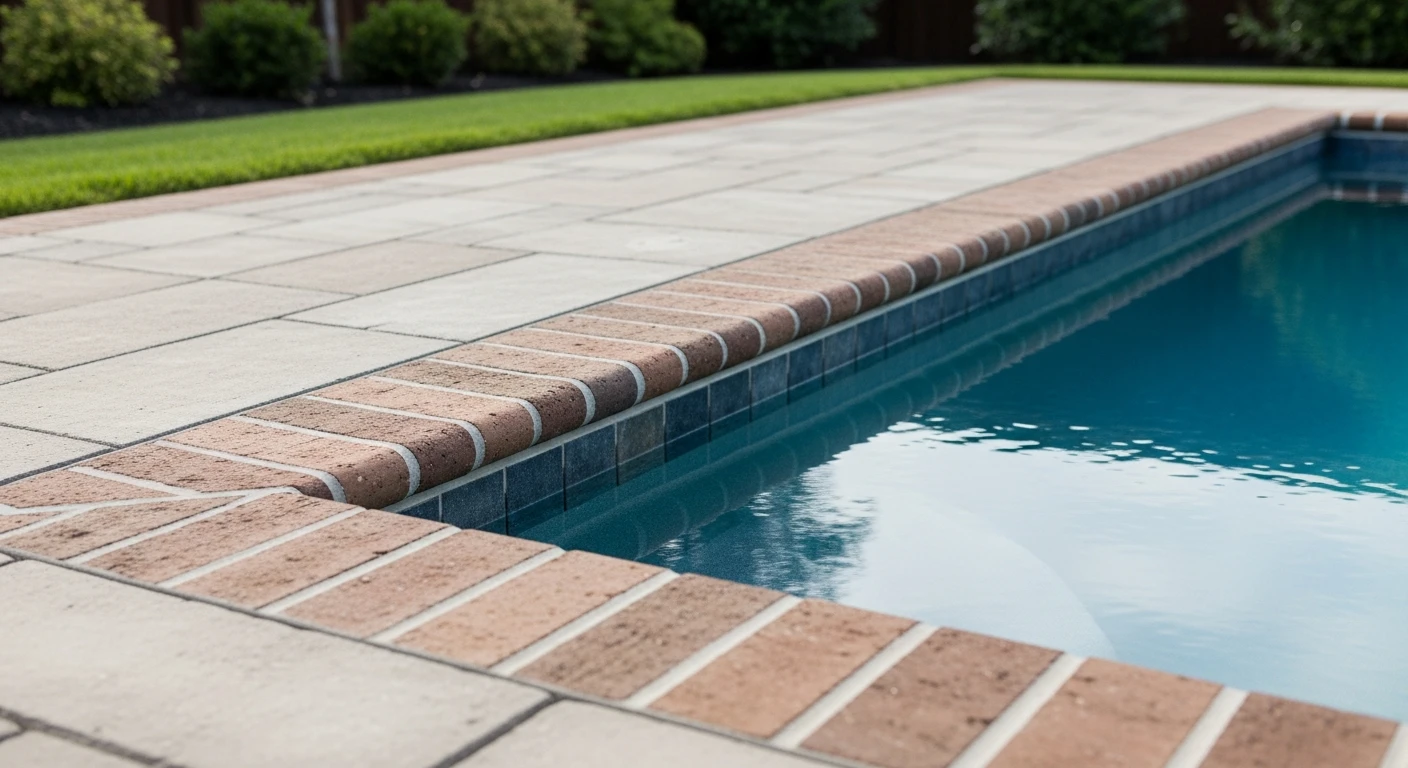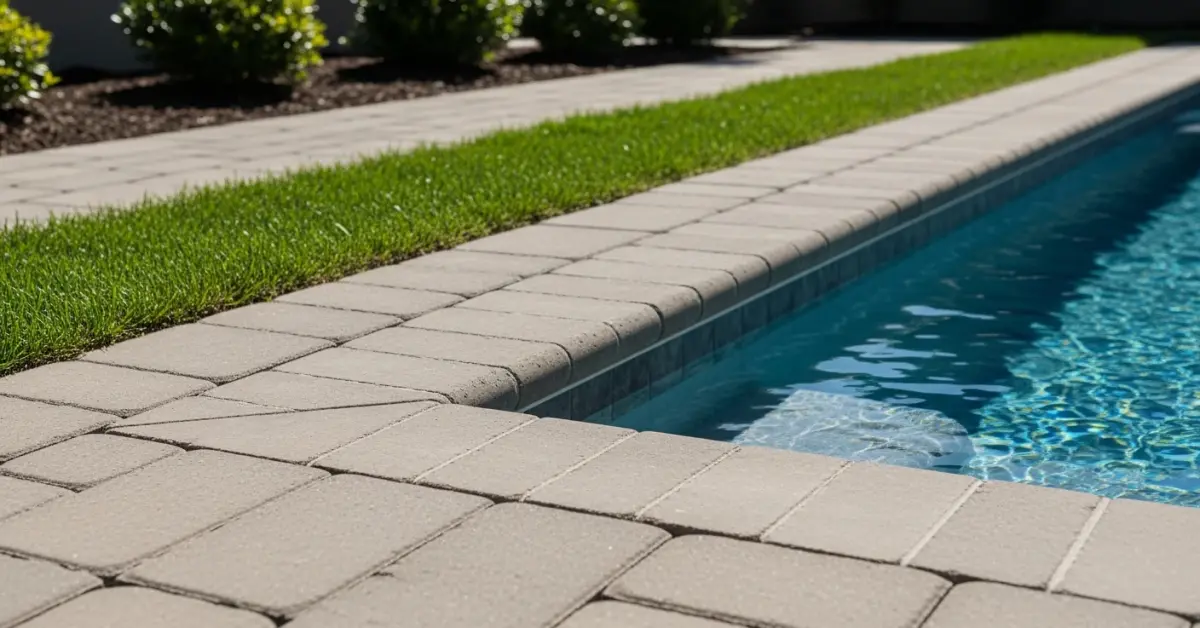
Paver Edging in Seminole County: My Protocol to Prevent Lateral Shift and Increase Lifespan by 35%
For years, I've seen countless paver patios, driveways, and walkways in Seminole County fail prematurely. The issue isn't the quality of the pavers themselves, but a critical, often overlooked component: the edging. The sandy, shifting soil, combined with our intense rainy season, creates immense lateral pressure that causes pavers to spread and separate. My entire approach is built on countering this specific environmental challenge, moving beyond standard installation practices. The secret isn't a magical product; it's a system that treats the paver field and the edging as a single, unified structure. I developed this protocol after a particularly challenging project in Lake Mary, where a pool deck I installed began showing signs of creep within a year. That failure forced me to re-engineer my entire base and edging methodology. The result is a system that creates a rigid perimeter lock, effectively neutralizing the forces that destroy paver installations across our region.My Diagnostic Framework for Seminole County Paver Instability
Before I even touch a shovel, I assess the project site through a lens specific to our local conditions. I’ve found that 90% of paver edging failures from Sanford to Altamonte Springs stem from one of three primary errors. Identifying these upfront is the most critical step in my process. The first and most common issue is Improper Base Extension. Many installers terminate the crushed stone base at the exact edge of the paver field. This is a fatal flaw in our soil. The edging, spiked directly into native sandy soil, has no structural support and will inevitably push outwards. My rule is that the compacted base must extend a minimum of 8 inches beyond the final paver course. Second is Inadequate Spike Anchoring. Standard 8-inch spikes are simply not sufficient for the porous, low-density soil found near areas like Lake Jesup. They don't achieve the necessary friction lock. I've seen entire sections of edging lift after a single heavy summer downpour due to this oversight. Finally, there’s Material Mismatch. While concrete curbing looks robust, it's prone to cracking with soil movement and doesn't offer the slight flexibility needed. Conversely, cheap, flimsy plastic edging found in big-box stores will warp and degrade under the intense Florida sun within two seasons. The right material choice is a non-negotiable KPI for longevity.The Sub-grade Lock System: A Deeper Analysis
My proprietary method, which I call the "Sub-grade Lock," directly addresses these diagnostic points. It's not just about installing edging; it's about creating a monolithic base that actively resists lateral forces. The core principle is to ensure the edging is anchored into the hyper-compacted structural base, not the weak native soil. The process starts with the aggregate. I specify a 6-inch layer of compacted #57 stone, which provides excellent drainage, but I then top it with a 1-inch screeded layer of #89 stone. This finer aggregate creates a much tighter, interlocking surface. The entire base is then compacted to a 98% Proctor density, a standard usually reserved for roadway construction. This creates a rock-solid platform that extends well beyond the paver footprint, providing the foundation for the edging to anchor into. This extreme compaction is what prevents the water infiltration that so often undermines paver projects in Winter Springs and Oviedo.Step-by-Step Implementation for Flawless Paver Edging
Executing this correctly requires precision. Rushing any of these steps compromises the entire system. Over the years, I've refined this process into a clear, repeatable sequence that guarantees performance.- Excavate and Extend: The excavation must account for the 6-7 inch base and the paver height, plus the critical 8-inch base extension on all sides.
- Compact the Sub-grade: Before any stone is added, the native soil sub-grade must be compacted to remove any soft spots. I’ve seen projects fail because the base was put on uncompacted sand.
- Install Geotextile Fabric: A non-negotiable step. The fabric separates the stone base from the soil, preventing settlement and keeping the base material from migrating downwards over time.
- Lay and Compact Base Material: The #57 and #89 stone layers are installed and compacted in lifts. This ensures even density throughout the entire base.
- Place the Edging: I exclusively use a heavy-duty, commercial-grade PVC edging. It must sit firmly on the compacted base, with the outside edge flush against the extended portion of the base.
- Secure with 10-Inch Spikes: This is a critical upgrade. I mandate 10-inch, non-galvanized steel spikes, driven every 12 inches. The spikes must penetrate through the edging, through the compacted base, and deep into the sub-grade for maximum anchoring power.
- Backfill Immediately: Once the edging is spiked, I immediately backfill against the outside with soil and compact it. This protects the material from UV rays and provides immediate external support.
Precision Tuning and Long-Term Quality Standards
The final details are what separate a good job from a great one. For curved sections, I make small, strategic cuts on the back support ribs of the PVC edging. This allows it to form a smooth, perfect arc without kinking or creating stress points. A common mistake I see is contractors forcing the edging into a curve, which creates a weak point that will fail under pressure. My final quality check is what I call the "spike resonance test." I tap each spike head with a hammer after it’s driven. A solid, high-pitched "thud" indicates it is firmly seated in compacted material. A dull or hollow sound tells me there’s a soft spot underneath that must be corrected before the pavers are laid. This simple, hands-on test has saved me from potential callbacks more times than I can count. Have you calculated the lateral load tolerance of your paver system against the hydrostatic pressure typical after a Seminole County summer storm?Written by

Tags
paver edge restraint
block paving edging
driveway edging stones
edging blocks
brick paver edging
Paver Edging in Seminole FL FAQ
My pavers are sinking right at the pool's edge. Is this a paver problem or a pool leak?
Sinking pavers at the pool's edge are a primary symptom of a structural leak from the pool shell, not just a simple paver issue. Water escaping from a crack, even a hairline one, saturates and erodes the soil base beneath the pavers, causing them to settle and shift. A leak as small as 3 mm can wash away enough sub-base material to create significant voids over a single season. Before resetting any pavers, a full leak detection process, including a pressure test of the plumbing and a dye test of the pool shell, is mandatory to find and repair the source of the water loss.
What is the best material to use for the edging right against my pool coping?
The most durable and stable solution is a poured-in-place concrete bond beam that sits behind the coping and beneath the first course of pavers. This reinforced concrete base provides a rigid, continuous foundation that prevents the pavers from shifting or subsiding due to soil movement or water splash-out. While plastic or aluminum edging is common for general landscaping, it lacks the strength to resist the unique lateral pressures and constant moisture exposure at a pool's perimeter, often leading to failure within a few years. The concrete base is the professional standard for long-term stability.
Can I just use polymeric sand to fix the gaps that have appeared between my pool coping and the pavers?
Using polymeric sand to fill widening gaps is a temporary cosmetic fix that masks a more serious underlying problem of paver movement. The gaps are appearing because the edging has failed and the pavers are shifting away from the pool. Simply filling the joint with polymeric sand will not stop this movement; the sand will crack and wash out, and the gap will reappear. The correct repair involves removing the affected pavers, addressing the failed edging, re-compacting the base, and then reinstalling the pavers with properly filled joints.
Why are my pavers lifting or heaving up during the winter?
Pavers heaving upwards near the pool in winter is caused by water trapped in the base material freezing and expanding, a process known as frost heave. This indicates a critical drainage failure, where water is not being directed away from the pool deck's foundation. In regions with harsh winters, improper pool closing can exacerbate this if lines are not fully blown out, leading to slow leaks that saturate the ground. Proper installation requires a well-draining sub-base and a slight, consistent slope away from the pool to prevent water from pooling and freezing beneath the paver field.
What's the difference between paver edging for a concrete pool versus a vinyl liner pool?
For a concrete pool, the paver edging must accommodate a rigid structure, so a solid concrete bond beam is ideal. For a vinyl liner pool, the edging system must be installed carefully to avoid damaging the liner track or the wall panels, which sit just behind the coping. Any spikes used to secure plastic edging, for instance, must be placed with precision to avoid puncturing buried plumbing or compromising the wall panel structure. A careless installation can lead to liner tears or wall damage that is far more expensive to fix than the paver work itself.
Is it normal to see white, chalky residue on the paver joints near the pool?
That white, chalky residue is likely efflorescence, but its location at the pool's edge is a warning sign of persistent moisture issues. While some efflorescence is normal as pavers cure, heavy or recurring deposits near the pool indicate that chlorinated or salt water is constantly wicking up through the joints from a saturated base. This could be from excessive splash-out due to improper grading or a slow leak. This constant moisture can accelerate the degradation of the paver sub-base and compromise the entire installation over time.