
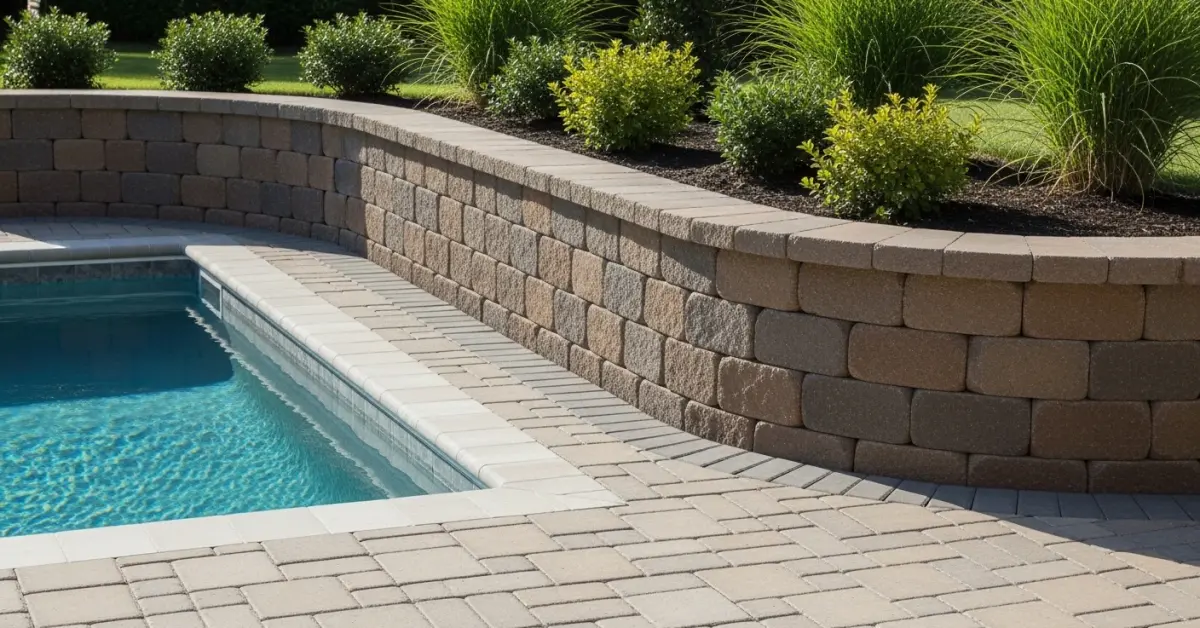
Paver Retaining Wall Seminole County: My Geogrid Protocol for Mitigating Hydrostatic Pressure Failure
The single most critical failure point I see in paver retaining walls across Seminole County isn't the blocks themselves; it's the invisible force of water and soil pressure working against a poorly prepared foundation. From sprawling properties in Lake Mary to the more compact yards in Altamonte Springs, I've been called to fix walls that are bowing, cracking, or completely collapsing, and the root cause is almost always a fundamental misunderstanding of our unique sandy soil and intense rainy season. Most contractors can stack blocks, but they fail to engineer a system that actively manages hydrostatic pressure. My approach treats a retaining wall not as a static barrier, but as a complete drainage and reinforcement system. The goal isn't just to hold back dirt; it's to create a structure that will remain plumb and stable for decades, even after a heavy Central Florida summer storm.Diagnosing the Core Problem: Soil Instability and My Compaction Framework
I was once on a project in Sanford where a two-year-old retaining wall was already showing a significant forward lean. The original installer used a standard plate compactor on our native sandy soil, assuming it was enough. This is a catastrophic error. Seminole County's soil drains quickly but has very poor cohesive strength, meaning it shifts and settles under load, especially when saturated. My proprietary methodology, the "Vibratory Lock-in," was developed specifically to counteract this. Instead of just tamping down the soil, my process focuses on achieving a specific density target. I insist on a base compacted to a minimum of 95% Standard Proctor Density. This isn't just a number; it's a verifiable engineering metric that ensures the foundation can bear the immense weight of the wall and the soil behind it without shifting. This often requires using a heavier, reversible plate compactor and testing the compaction in lifts (layers), something most residential contractors skip to save time.The Technical Deep Dive: Geotextile Fabric and Base Material Selection
Underpinning the Vibratory Lock-in is a critical material choice. The common mistake is simply dumping #57 stone into the trench. While this gravel drains, its rounded shape can shift over time within our fine sand. My specification is different. I mandate the use of a non-woven geotextile separation fabric lining the entire excavation trench first. This fabric is the unsung hero; it prevents our native sand from migrating up into the base material, which would compromise drainage and stability within a few seasons. For the base material itself, I prefer an angular crushed concrete or granite over rounded river rock. The sharp, interlocking angles of crushed stone provide significantly more mechanical stability.- Excavation Depth: My formula is a 6-inch minimum base plus an additional 1 inch of depth for every 1 foot of planned wall height. For a 3-foot wall, that’s a 9-inch deep compacted base.
- Material Lock: The angular stone, when compacted, creates a much more rigid, unified base that resists the lateral pressure that causes walls to slide.
- Moisture Control: This angular base also creates larger voids, promoting faster water percolation down to the drainage pipe, directly reducing hydrostatic pressure buildup.
Step-by-Step Implementation: The Drainage and Geogrid Matrix
Building the wall is about precision and integrating reinforcement at key intervals. A paver wall in Florida without proper drainage and geogrid is not a structure; it's a liability waiting for the next hurricane season. My non-negotiable process follows a strict sequence.The Critical Path to a 30-Year Wall
- 1. Foundation and Drainage Pipe: After compacting the base, I lay the first course of blocks, ensuring it's perfectly level. Directly behind this first course, I place a 4-inch perforated drain pipe encased in a fabric "sock," with a slight downward grade to daylight away from the wall. This is the primary escape route for water.
- 2. Backfill with Clean Stone: I backfill behind the wall with clean, draining gravel (like the #57 stone), not the native sandy soil that was excavated. This creates a vertical drainage column, or a "chimney drain," that directs water straight down to the pipe.
- 3. Geogrid Integration: This is the structural steel of a paver retaining wall. For any wall over 2 feet high in Seminole County, I embed a layer of biaxial geogrid. I lay it on top of a course of blocks and extend it back into the soil at least 60% of the wall's total height. For a 4-foot wall, the geogrid must extend back at least 2.5 feet. I repeat this every two courses of blocks. This mechanically ties the wall face back into the earth, creating a single, massive, reinforced structure.
- 4. Capping and Adhesion: The final course of capstones must be secured with a high-grade, flexible polyurethane-based construction adhesive. The intense Florida sun and humidity will degrade inferior adhesives, leading to loose caps within a few years.
Fine-Tuning for Longevity and Quality Assurance
The details separate a functional wall from a masterpiece. One crucial factor is the "batter," or setback. Every wall I build has a slight backward lean into the hillside. A minimum standard is a 1/2-inch to 1-inch setback for every vertical foot. This uses gravity to its advantage, making the wall inherently more stable against soil pressure. Furthermore, to combat the inevitable mold and algae from our humidity, especially on properties near the Wekiva River, I recommend treating the finished wall with a high-quality, breathable, penetrating sealer. This prevents moisture from soaking into the concrete pavers but still allows any trapped vapor to escape, preventing the spalling and deterioration I've seen on improperly sealed walls. This simple step can add a decade to the wall's aesthetic life. Given the principles of hydrostatic relief and mechanical reinforcement, how would you modify the geogrid length and drainage pipe placement for a tiered wall system built on a clay-lensed soil pocket, an anomaly sometimes found in the Oviedo area?Written by

Tags
landscape paver retaining wall
landscape pavers retaining wall
patio paver wall
paver walls landscaping
paver block retaining wall
Paver Retaining Wall in Seminole FL FAQ
My paver retaining wall is leaning towards my pool. Is this an emergency?
Yes, a leaning wall is a sign of imminent failure and requires immediate attention to prevent catastrophic damage to your pool's structure. The pressure from a collapsing wall can easily crack a concrete pool shell or buckle the wall of a vinyl liner pool, leading to repairs costing thousands. This is often caused by failed geogrid reinforcement or improper soil compaction during the initial build. Do not attempt to push it back; the weight is immense. Cordon off the area and call a structural specialist, as the surcharge load from the soil and water is likely exceeding the wall's design capacity.
How close to my pool can I safely build a paver retaining wall?
A paver retaining wall should be built no closer than its own height from the pool's edge to avoid compromising the pool's structural integrity. For example, a 4-foot high wall must be at least 4 feet away from the pool shell. Placing it too close creates a massive surcharge load on the soil, which can exert enough lateral pressure to crack a gunite pool or bulge a fiberglass wall over time. This rule of thumb ensures the zone of influence from the wall's footing and the pool's structure do not dangerously overlap, preventing long-term stress and potential failure.
Water is weeping through the face of my paver wall after it rains. Is this normal?
Weeping is a sign that your wall's drainage system is overwhelmed or was improperly installed, and it is not a normal or desirable condition. A properly constructed wall uses a perforated pipe at the base and at least 12 inches of clean gravel backfill to channel water away, preventing hydrostatic pressure from building up. When water pushes through the face, it carries fine soil particles with it, creating voids behind the wall that lead to settling and eventual collapse. This is a critical issue that compromises the wall's stability and must be addressed by improving the drainage.
Can I use the same pavers for my pool deck and the retaining wall?
While you can use pavers from the same product family for aesthetic consistency, you cannot use thin deck pavers to build the actual retaining wall structure. Retaining walls require solid, heavy, interlocking segmental retaining wall (SRW) blocks designed to handle immense lateral earth pressure. Deck pavers are thinner, lack the interlocking mechanisms, and would quickly fail. You can, however, use matching capstones or even adhere a thin paver veneer to the face of a properly built block wall, but the core structure must be made from purpose-built SRW units.
Do I need a concrete footing for a paver retaining wall next to a pool?
No, a paver retaining wall must be built on a compacted gravel base, not a rigid concrete footing. A concrete footing does not allow for drainage and can trap water, leading to frost heave in colder climates that will destroy both the wall and potentially the nearby pool plumbing. The proper foundation is a trench filled with compacted aggregate, typically extending 6 inches deep and 12 inches wider than the base block. This flexible footing allows water to drain freely and lets the entire wall system settle uniformly without creating stress points.
What is the most common mistake that causes a paver wall near a pool to fail?
The single most common failure is inadequate or completely absent geogrid reinforcement within the backfill. Many builders treat a 4-foot wall near a pool the same as a 2-foot garden wall, but the proximity to the pool and saturated soil changes everything. Geogrid is a synthetic mesh laid in layers between the blocks and extending several feet back into the soil, effectively tying the wall to the earth behind it. Without it, the wall is just a heavy facade waiting for a single heavy rainstorm to push it over, with your pool being the first thing it falls into.


