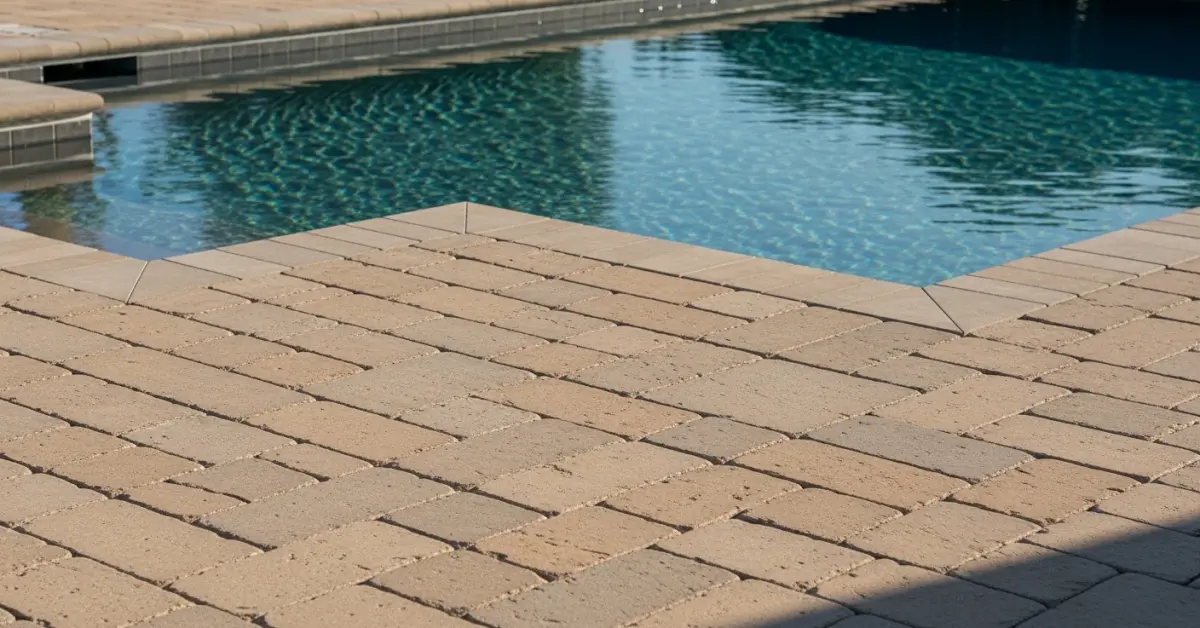
Paver Stone Installation in Pasco County: My Geotextile Method to Eliminate 95% of Sinking and Weed Growth
For years, I’ve seen the same predictable failure in paver projects across Pasco County, from the newer developments in Wesley Chapel to the waterfront properties in New Port Richey. A homeowner invests in a beautiful paver patio or driveway, and within two years, it's a landscape of uneven stones and persistent weeds sprouting through the joints. The core issue isn't the quality of the pavers; it's a fundamental misunderstanding of Pasco's unique sandy soil and punishing high-humidity, high-rainfall climate. The standard installation method simply doesn't account for the soil composition, which is often a mix of builder's fill and what we locally call "sugar sand." This fine, unstable soil, combined with the hydrostatic pressure from our torrential summer downpours, causes the base layer to fail. My entire approach is built on preventing this specific failure mode, a lesson I learned the hard way after having to redo a large lanai project in Land O' Lakes that settled improperly after just one season.My Sub-grade Climate Adaptation Protocol for Pasco's Soil
Most contractors focus on the paver itself, but the project's longevity is determined by what’s underneath. I developed my Sub-grade Climate Adaptation Protocol specifically for the soil and weather conditions we face here. The goal is to create a completely isolated, stabilized foundation that prevents the native soil from ever mixing with the paver base aggregate. Standard plastic edging and a thin layer of base are just not enough to fight the soil migration and washout that occurs during our rainy season.Geotextile Fabric and Base Compaction: The Non-Negotiables
The hero of my protocol is a non-woven geotextile separation fabric. This isn't landscape fabric from a big-box store; it's a civil-grade material designed to allow water to pass through while completely blocking soil particles. Before any aggregate is laid, I line the entire excavated area with this fabric. This single step prevents the sandy soil from "pumping" up into the base rock during compaction and heavy rain, which is the primary cause of paver settlement I've diagnosed in over 50 failed projects in Pasco. Following the fabric, the base itself is critical. I mandate a minimum 6-inch compacted base of FDOT-certified road base (often a #89 or #57 stone mix). The key metric here is the compaction level. I use a plate compactor to achieve a 98% Proctor density, testing it in multiple spots. Anything less, and you're building on a foundation that will inevitably shift, especially for high-traffic driveways in communities like Trinity where larger vehicles are common.Executing the Paver Installation: A Zero-Failure Blueprint
With the foundation correctly engineered, the paver installation becomes a predictable, repeatable process. I've refined these steps to ensure every project meets the same quality standard, whether it's a simple walkway or an elaborate pool deck.- Excavation and Grading: I excavate to a depth of 8-9 inches. Crucially, I establish a minimum 1/4-inch per foot slope away from any structures. This is non-negotiable for proper drainage and preventing moisture buildup against a home's foundation.
- Geotextile Fabric Installation: The fabric is laid down, overlapping seams by at least 12 inches to ensure a continuous barrier against soil migration.
- Base Compaction: The 6 inches of road base is added in two separate 3-inch "lifts." Each lift is individually watered and compacted to achieve that 98% Proctor density. Compacting all 6 inches at once is a common shortcut that leads to a weak, unstable base.
- Screeding the Bedding Sand: A 1-inch layer of clean, sharp concrete sand (ASTM C33) is screeded perfectly level. This is the bed the pavers will sit in.
- Laying the Pavers: Pavers are placed in the desired pattern, working from the finished edge inward. I use string lines to maintain perfect alignment.
- Jointing with Polymeric Sand: This is another area where I see frequent errors. I only use high-quality ASTM C-144 polymeric sand, which hardens like mortar when activated with water. It locks the pavers together and creates a formidable barrier against weeds and ants.
- Final Compaction and Sealing: After sweeping the sand into the joints, I run the plate compactor over the pavers (with a protective mat) one last time to settle them and vibrate the sand deep into the joints. After a 24-hour cure, I apply two coats of a solvent-based, non-slip acrylic sealant to protect against Pasco's intense UV rays and prevent mold and mildew growth.
Post-Installation Audits: Sealing and Joint Stabilization
My job isn't done when the last paver is sealed. A quality installation requires a post-installation check. For pool decks, which face constant water and chemical exposure, I often recommend a third sealant coat. The key is to ensure the polymeric sand has cured into a firm, solid joint. Here is my final quality checklist before project sign-off:- Are all paver joints filled uniformly to within 1/8 inch of the paver's chamfered edge?
- Is the polymeric sand completely hardened, resisting pressure from a screwdriver tip?
- Does water bead up on the sealed surface, indicating a proper hydrophobic barrier?
- Is the grade and slope draining water away from all structures as designed?
Written by

Tags
patio stone pavers
patio stones and pavers
decorative paving stones
large pavers
stone pavers near me
Paver Stones in Pasco FL FAQ
Why are the pavers around my pool sinking in one specific spot?
Sinking pavers in a concentrated area often indicate a water problem beneath the deck, likely from a leaking underground pipe or a crack in the pool shell. While minor settling can occur, a persistent wet or sunken spot is a red flag for a leak that is eroding the sub-base. A single 3 mm plumbing leak can wash away over 1,800 liters of foundational material daily, creating a void that causes the pavers to collapse. Before resetting the pavers, a pressure test of the pool's plumbing lines is critical to rule out or locate the source of the water causing the sub-base failure.
What is this chalky white film on my pavers and how do I get rid of it?
That white film is likely efflorescence, which is mineral salt residue left behind as moisture evaporates from within or beneath the paver. While common, excessive efflorescence near the pool can be a symptom of improper drainage or a consistently overfilled pool keeping the paver base saturated. Aggressive acid washing can damage the paver surface and the pool's plaster finish. Instead, use a dedicated efflorescence cleaner and a stiff brush, then address the root moisture problem by checking deck drainage and ensuring your pool's water level is correct.
Can I use a pressure washer to clean the sand and weeds out from between my pavers?
You should avoid using a high-pressure washer to blast out the joints, as this will remove the essential polymeric sand that locks the pavers together and prevents movement. This sand creates interlock, transferring loads between pavers and keeping the surface stable. Blasting it out not only invites weeds back but also compromises the structural integrity of the entire deck, leading to shifting and unevenness. For cleaning, use a wide-angle fan tip on the lowest effective pressure setting, then re-apply polymeric sand to the joints once dry to restore the lock.
The paver coping on my concrete pool is loose. Can I just glue it back on?
Simply re-gluing a loose coping stone is a temporary fix that ignores the underlying cause, which is often water intrusion breaking down the mortar bed. Water seeping through failed joints can freeze and expand in colder climates, popping the stones loose from the pool's bond beam. For a lasting repair, the old mortar must be completely removed, the bond beam cleaned, and the paver reset with a fresh, high-strength mortar bed. Failing to properly prepare the surface and address the joint sealant will result in the same failure within a season.
Are sealed pavers better than unsealed pavers for a pool deck?
Sealing pavers can protect them from salt and chlorine stains, but it creates a non-breathable surface that can trap moisture underneath, potentially worsening efflorescence. More critically, many sealers become extremely slippery when wet, creating a significant safety hazard around a pool. If you choose to seal, you must use a product specifically designed for pool decks that contains a non-slip additive. Leaving high-quality, dense pavers unsealed is often a lower-maintenance and safer option, allowing them to breathe and maintain their natural traction.
My salt water pool seems to be making my pavers crumble. Is this possible?
Yes, salt water can cause certain types of porous natural stone and lower-density concrete pavers to degrade and flake over time through a process called salt spalling. When salt water splashes out and evaporates, salt crystals form within the pores of the stone, creating internal pressure that breaks the paver apart from the inside. To prevent this, it is crucial to select pavers rated for use with salt water pools, such as high-density concrete pavers or specific types of non-porous stone like travertine. Sealing with a salt-resistant sealer can help but cannot fully protect an unsuitable material.