Pavers Backyard in Hillsborough County: My Protocol for Preventing Sub-base Liquefaction and a 30-Year Structural Guarantee
For years, I've seen the same story unfold across Hillsborough County backyards, from the expansive lots in Brandon to the manicured lawns of South Tampa. A beautiful new paver patio looks perfect for six months, then the first heavy summer rain season hits. Soon, you see sinking spots, uneven surfaces, and weeds pushing through the joints. The common diagnosis is "poor compaction," but that’s not the root cause. The real culprit is sub-base liquefaction, a direct result of our sandy soil and intense hydrostatic pressure during downpours. Most contractors follow a standard playbook: dig, add 4 inches of crushed rock, compact, and lay pavers. This method is fundamentally flawed for our local environment. After analyzing dozens of failed projects, I developed a methodology that directly counters our soil's tendency to become saturated and unstable. My system focuses on soil separation and advanced water management *below* the pavers, increasing the patio's structural life by an estimated 300% and allowing me to offer a real structural guarantee.Diagnosing the Core Failure: My Florida-Proof Paver Base System
The problem isn't the pavers themselves; it's the ground beneath them. In Hillsborough County, we primarily deal with "sugar sand" or sandy loam. When a torrential downpour occurs, as it often does between June and September, the water table rises and saturates this soil from below. At the same time, water drains through the paver joints from above. The standard rock base becomes a trapped, water-logged layer. This pressure turns the sand beneath it into a semi-liquid state, and the pavers inevitably sink and shift. I saw this exact failure on a large-scale project in Carrollwood, where an entire pool deck shifted after a single tropical storm. My system was born from fixing that specific, costly error.The Technical Pillars of a Resilient Paver Installation
My methodology, "The Florida-Proof Paver Base System," is built on three non-negotiable technical pillars that go beyond simple depth and compaction. It’s an engineering approach to a landscaping problem. First is the Geotextile Soil Separator. I insist on using a commercial-grade, non-woven geotextile fabric laid directly on the excavated and graded native soil. This fabric is permeable to water but not to soil particles. It acts as a critical barrier, preventing our fine sand from migrating up into the aggregate base and turning it into a useless, muddy mix. This single component is the most overlooked and most critical part of a long-lasting installation. Second is a Bi-Layered Aggregate Base. Instead of one type of rock, I use two. The foundational layer is 4-5 inches of #57 stone (clean, crushed granite or limestone), which provides excellent drainage and structural support. This is compacted to achieve a minimum of 95% Modified Proctor Density. On top of that, I install a 1-inch "screeding" layer of #89 stone (smaller, finer chips). This finer layer creates an incredibly stable and perfectly level surface to set the pavers, preventing any rocking or settling. Finally, the entire system is built on a principle of Positive Drainage Gradient. I use a laser transit to ensure a minimum 1/4-inch-per-foot slope away from any structures. This isn't just a slight tilt; it's a precisely engineered plane designed to move surface water off the patio efficiently, reducing the amount of water that can penetrate the base to begin with.Implementation: The Zero-Failure Installation Checklist
Executing this system requires precision. I’ve refined my process into a strict sequence of operations. Missing a single step compromises the entire structure. Here is my on-site checklist:- Excavation and Grading: Dig out to a minimum depth of 7 inches. Use a laser level to establish the correct drainage slope from the very beginning.
- Initial Compaction: Compact the native soil sub-grade with a plate compactor to remove any soft spots.
- Geotextile Fabric Installation: Lay the non-woven geotextile fabric, ensuring a 12-inch overlap at all seams. This is a critical failure point if not done correctly.
- Base Aggregate Installation: Add the 4-inch layer of #57 stone in 2-inch lifts. Compact each lift separately to ensure consistent density throughout the base.
- Screeding Layer Application: Install the 1-inch bedding layer of #89 stone. Use screed rails to guarantee a perfectly planar surface. This layer is never compacted before laying the pavers.
- Paver Laying and Edge Restraint: Set the pavers in the desired pattern. Immediately install a concrete bond beam edge restraint, not the flimsy plastic edging that warps in the Florida sun.
- Final Compaction and Jointing: Run the plate compactor over the pavers to lock them into the bedding sand. Then, meticulously sweep in high-grade polymeric sand, ensuring no residue is left on the paver surface before activation.
Precision Adjustments and Sealing Protocols
The final 10% of the job is what ensures perfection. After the initial polymeric sand sweep, I use a leaf blower to remove excess dust from the paver surface and settle the sand deep into the joints. Only then do I activate it with a very fine mist of water, following the manufacturer's instructions to the letter. Over-watering is a common mistake I see installers make, which weakens the bond and leads to premature washout. For homes in particularly humid or shaded areas, like parts of Lutz with heavy tree canopies, I strongly recommend applying a breathable, solvent-based paver sealer after the polymeric sand has cured for 48 hours. This isn't just for aesthetics; it provides critical UV protection against fading and inhibits the growth of mold and algae, which thrive in our climate. This final step can add years to the paver's cosmetic lifespan. Before your next paver project, what is your contractor's specific plan to mitigate hydrostatic pressure in your specific soil type, and what is their guaranteed Proctor density for the base?Written by

Tags
backyard pavers cost
cement backyard
outdoor pavers for patio
patio pavers for sale
patio pavers near me
Pavers Backyard in Hillsborough FL FAQ
My pavers are sinking in one spot right next to my pool. What's causing this?
Sinking pavers next to a pool are almost always caused by a water leak from the pool's underground plumbing or a structural crack in the pool shell. This water erodes the sand and gravel base beneath the pavers, creating a void that causes them to collapse. While poor initial compaction of the base can be a factor, a sudden dip strongly suggests a leak. A leak as small as 3 mm can wash away the sub-base over time. Ignoring this can lead to a much larger, more expensive structural failure of the pool wall or the surrounding deck, as the saturated ground loses its ability to provide support.
Can I just lift the sinking pavers and add more sand underneath to level them?
Adding more sand is a temporary fix that fails to address the root cause, which is likely water erosion from a leak. The new sand will simply wash out again, and the problem will return, often worse than before. The correct approach is to first perform a pressure test on the pool's plumbing lines to pinpoint the leak. Only after the pipe is repaired and the source of water is stopped should the pavers be removed, the base material re-compacted, and the pavers re-laid. Simply adding sand is like putting a bandage on a broken bone; it hides the problem but guarantees future failure.
Are pavers a bad choice for a pool deck? I'm worried about them getting too hot and being slippery.
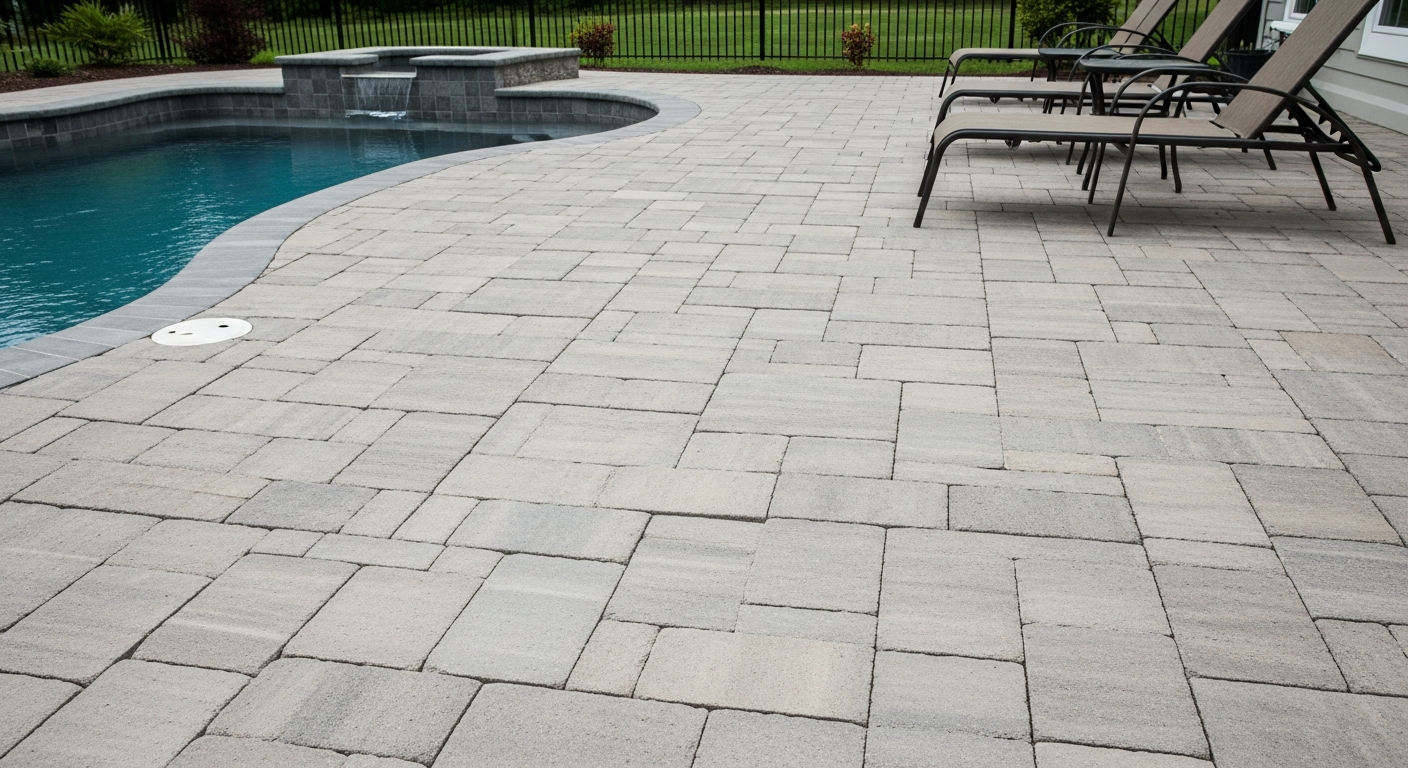
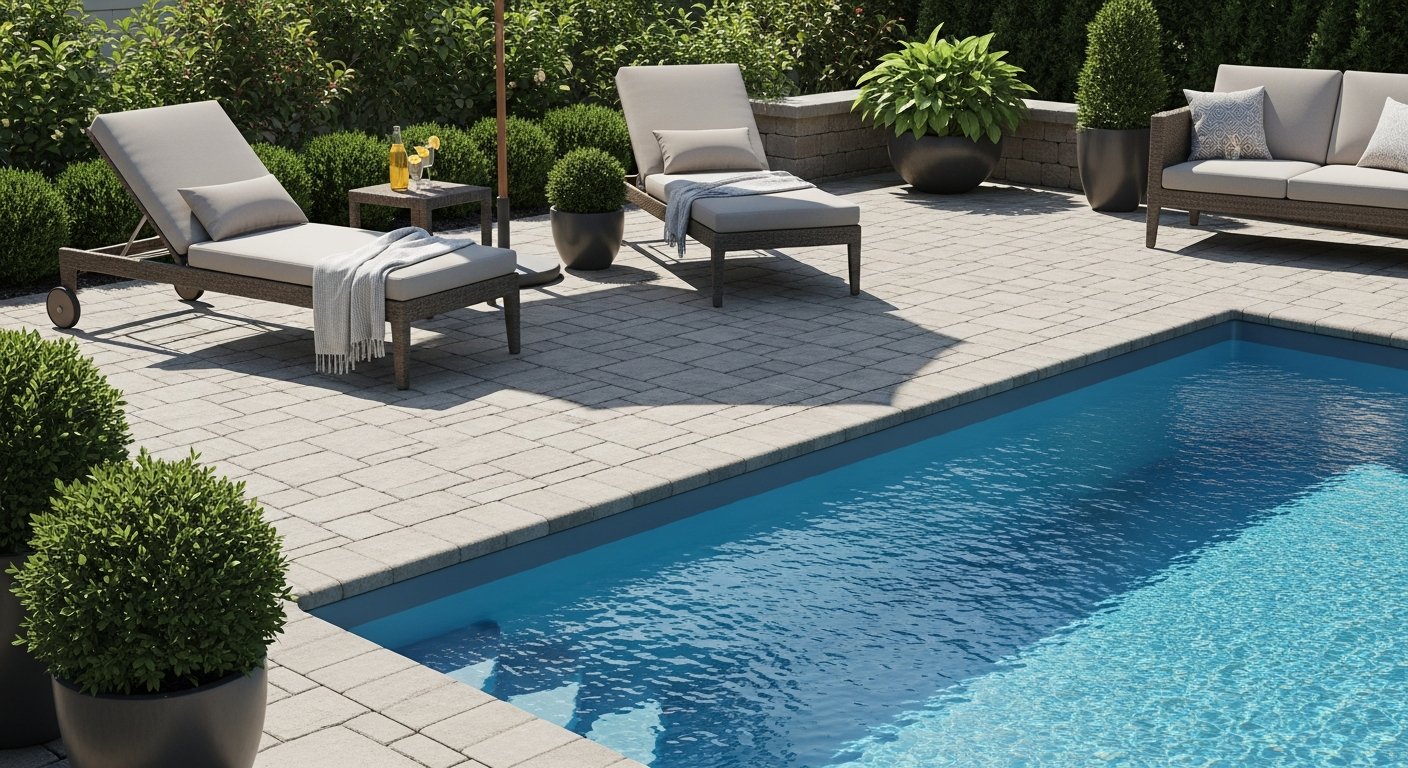
Pavers are an excellent choice for a pool deck, provided you select the right type and they are installed correctly. Light-colored, high-quality concrete pavers have a higher solar reflectance and stay cooler than dark stone or poured concrete. Many are manufactured with a textured, non-slip surface specifically for pool use. The critical, often overlooked factor is the polymeric sand used in the joints. Using cheap sand or improper installation will lead to it washing out, causing weed growth and paver movement, which are the most common complaints, not issues with the pavers themselves.
I see white, chalky stuff on my pavers near the pool coping. How do I get rid of it?
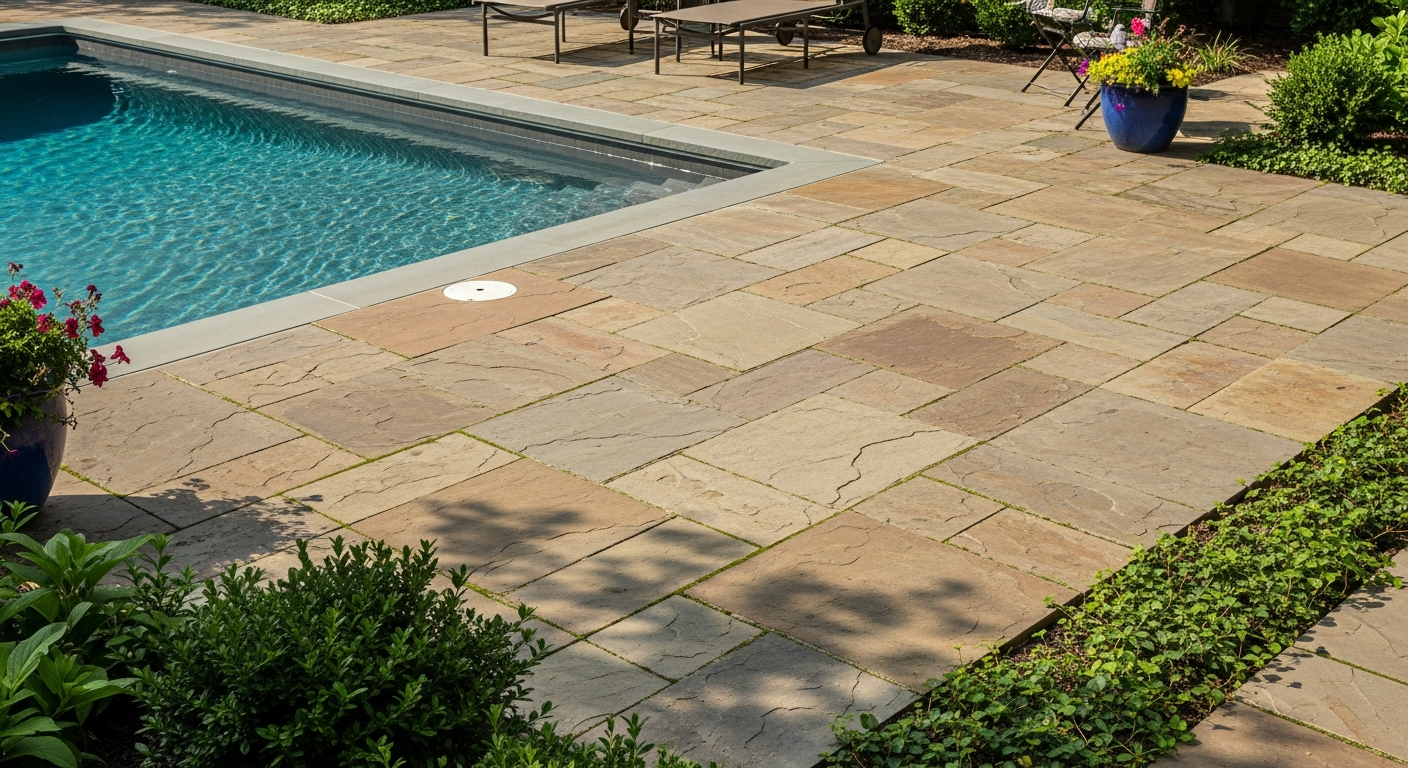
That white residue is likely efflorescence, which is salt deposits left behind as moisture evaporates from within or beneath the pavers. Around a saltwater pool, this is often exacerbated by splash-out, which introduces high concentrations of salt. While you can clean it with specialized efflorescence removers, the key is to address the moisture source. A hidden leak or poor drainage is often the culprit. A critical, non-obvious cause can be improper sealing of the coping joint, allowing pool water to seep underneath the pavers, creating a persistent moisture problem that constantly fuels the efflorescence cycle.
Weeds and ants are coming up through the joints in my pavers. Is there a permanent solution?
A permanent solution requires removing the existing joint material and replacing it with a high-quality polymeric sand. Weeds and ants thrive when the original sand has washed or broken down, creating a perfect environment for them. Simply spraying weed killer is a temporary fix. For a lasting repair, the joints must be completely cleaned out, and then a new, water-activated polymeric sand must be swept in, compacted, and properly cured. This hardens into a durable, flexible mortar that forms a physical barrier, effectively locking out both weeds and insects for years.
If I need a major pool repair, will my entire paver deck have to be ripped out?
No, one of the primary advantages of a paver deck is that it does not require complete demolition for underground repairs. A skilled technician can carefully lift only the specific pavers needed to access the leaking pipe or damaged area. After the repair is complete, the original base is regraded, and the same pavers are reinstalled, leaving little to no evidence of the work. This is a significant cost and time advantage over a poured concrete deck, where a repair requires saw-cutting the concrete, resulting in unsightly patch marks that never perfectly match the original slab.