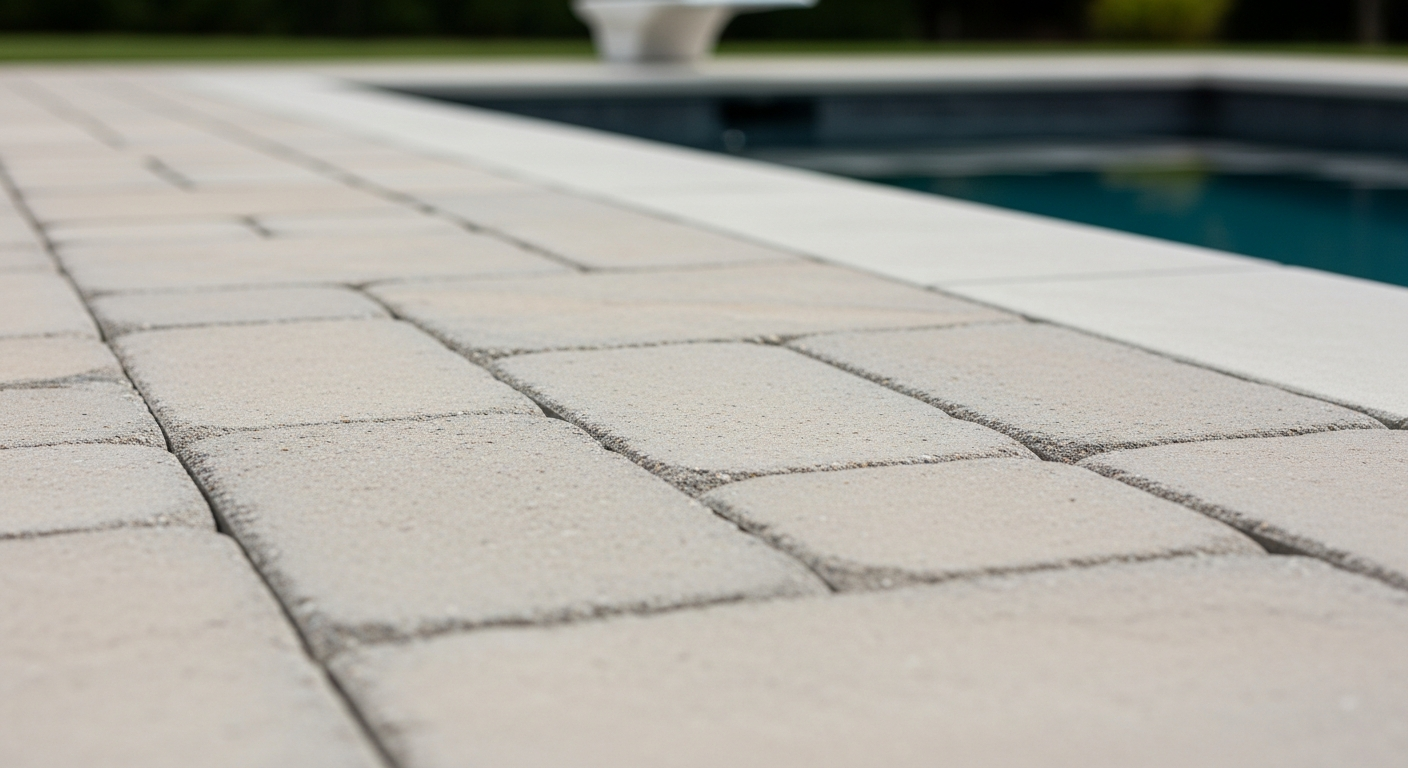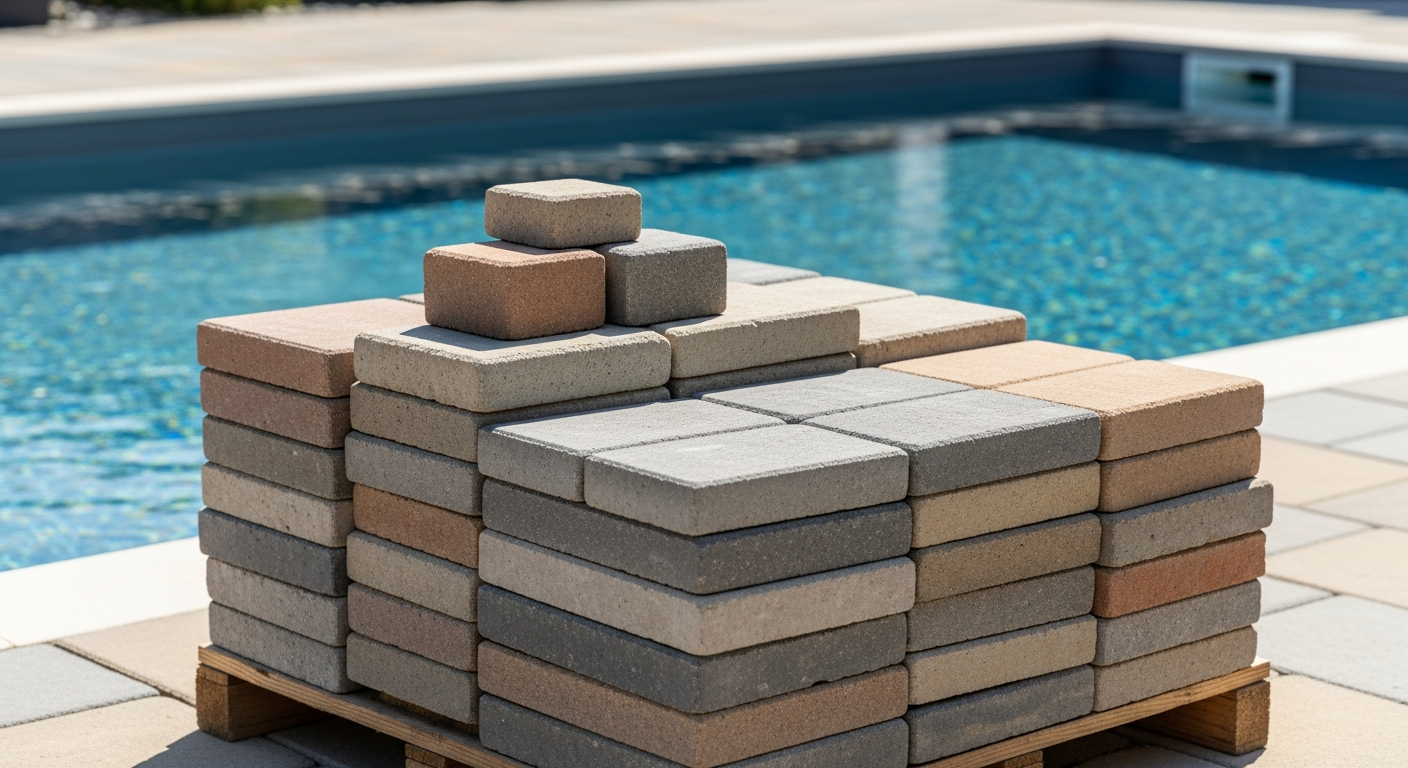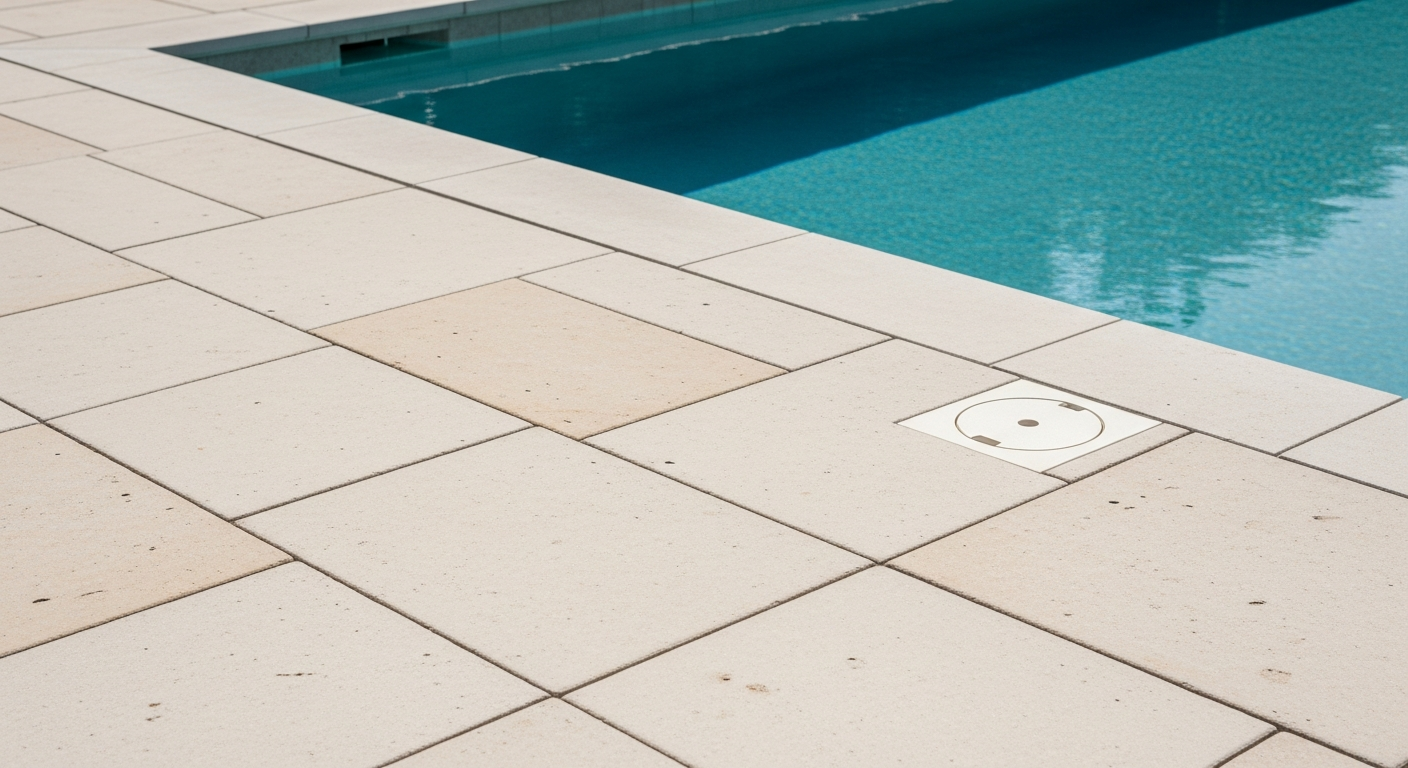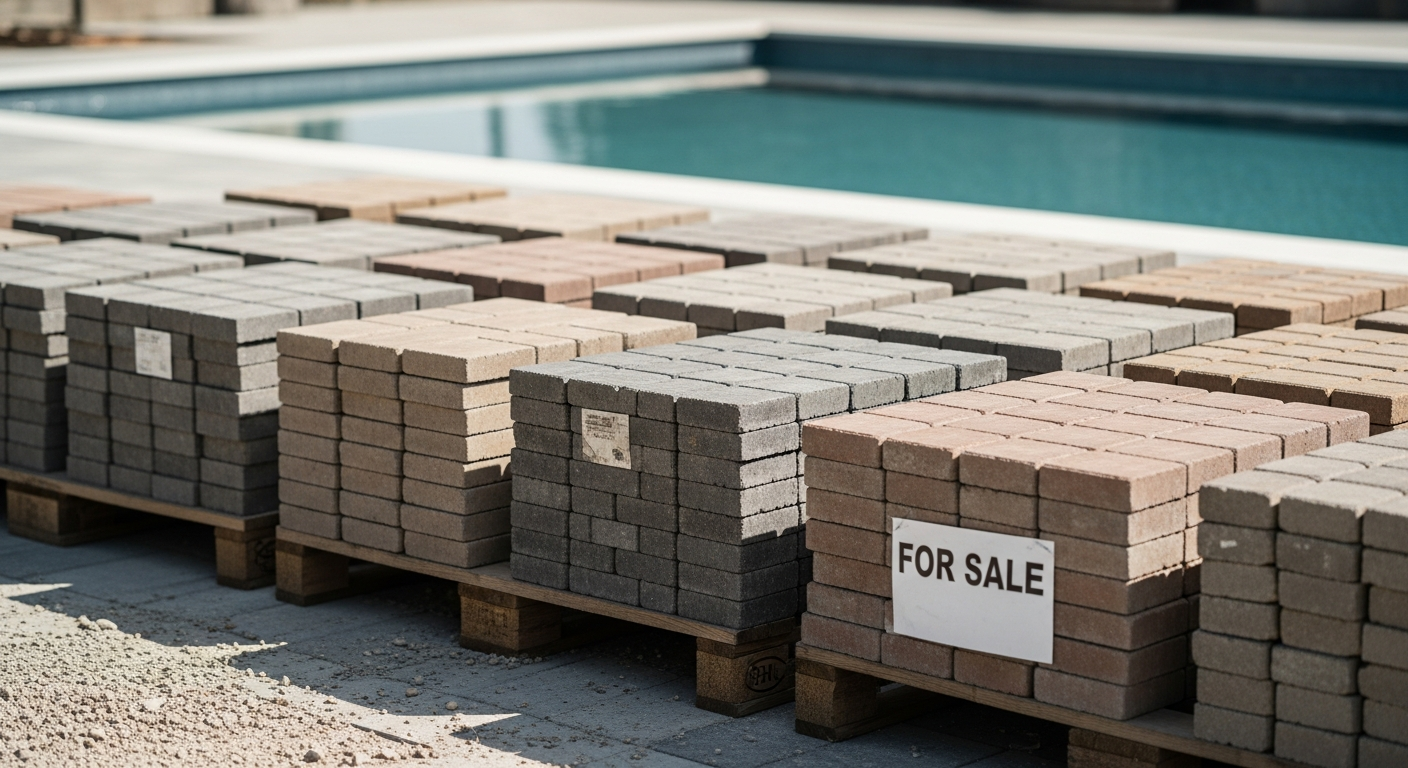
Pavers For Sale Pinellas County: My Protocol for a 30-Year Lifespan Against Salt Air & Humidity
When a potential client in Pinellas County calls me about "pavers for sale," my first question isn't about color or style. I ask them about their proximity to the Intracoastal. That one question tells me more than any design preference. I’ve seen far too many beautiful paver patios in St. Pete Beach and Dunedin crumble into a white, chalky mess within five years. The homeowner blames the paver, but the real failure was a fundamental misunderstanding of our unique coastal environment. The problem isn't the stone; it's the system and the failure to account for hydrostatic pressure and saline moisture. My approach is built on a hard-learned lesson from a project in a Snell Isle waterfront property where the original travertine installation failed in under 36 months due to severe efflorescence. The installer used a standard aggregate base suitable for a drier climate. Here, with our high water table and humid, salt-laden air, that method is a recipe for disaster. This experience forced me to develop a methodology focused on sub-base engineering, which has since proven to extend the functional lifespan of paver systems by over 200% in this specific climate. I don’t just sell pavers; I engineer a complete hardscape system designed for Pinellas County.The Sub-Base Catastrophe: Why 90% of Pinellas Paver Installs Fail Prematurely
The core issue I consistently diagnose is a saturated sub-base. The sandy soil prevalent throughout Pinellas County has excellent vertical drainage but poor lateral stability when wet. Most contractors lay a standard limestone aggregate base directly on this compacted sand. During our heavy summer rains, water saturates the soil, and the water table rises. This moisture wicks up through the limestone, carrying dissolved mineral salts. As it evaporates through the paver joints, it leaves behind a stubborn white residue called efflorescence, which is extremely difficult to remove and degrades the paver's surface. My proprietary methodology is designed specifically to create a capillary break, preventing this moisture migration from ever reaching the pavers.Deconstructing My Hydro-Static Base Method
My system isn't just a layer of rock; it's a multi-stage defense against moisture. I refuse to install any paver, from basic concrete to high-end porcelain, without this exact sequence.- The Critical Geotextile Barrier: The first and most crucial layer placed on top of the compacted native sand is a non-woven geotextile stabilization fabric. This is the "pulo do gato" everyone misses. It serves two functions: it prevents the sub-base aggregate from mixing with the sand over time, and more importantly, it acts as a physical barrier that disrupts the capillary action of rising groundwater.
- Paver Material Selection Matrix: Not all pavers are created equal for our climate.
- Concrete Pavers: I only specify pavers with a minimum compressive strength of 8,000 PSI and a low water absorption rate (under 5%). This density is critical to resisting salt degradation.
- Travertine Pavers: Ideal for pool decks in areas like Clearwater due to their heat-dissipating properties. However, I mandate the use of a breathable, silane-siloxane impregnating sealer, not a cheap acrylic topcoat which traps moisture.
- Porcelain Pavers: For high-end applications, especially directly on the water, porcelain is my top recommendation. Its near-zero porosity (less than 0.5% absorption) makes it virtually immune to efflorescence and staining.
- Joint Compound Specification: I forbid the use of standard sand. For our environment, high-quality polymeric sand is non-negotiable. It hardens to form a durable yet flexible joint that blocks weed growth and, critically, prevents water from washing out the bedding sand during torrential downpours.
From Sand to Surface: A Step-by-Step Implementation Protocol
Executing the plan requires precision. A single shortcut can compromise the entire system. This is the field-tested workflow I enforce on every project.- Excavation and Subgrade Compaction: We excavate to a minimum depth of 7 inches for pedestrian traffic and 10 inches for driveways. The native sandy soil is then compacted to 98% Standard Proctor Density using a plate compactor, ensuring a stable foundation.
- Geotextile Fabric Installation: The fabric is rolled out with a minimum of 12-inch overlaps between sections, creating a monolithic separation layer.
- Base and Bedding Layer Application: A 4-6 inch layer of clean, crushed DOT-certified aggregate (like #57 stone) is installed and compacted in 2-inch lifts. This is followed by a precisely screeded 1-inch layer of washed concrete sand. This two-stage process provides both stability and a perfect setting bed.
- Paver Laying and Edge Restraint: Pavers are laid in the desired pattern, and a heavy-duty concrete or aluminum edge restraint is spiked into the aggregate base to prevent any lateral shifting.
- Initial Plate Compaction: A plate compactor with a protective mat is run over the pavers to settle them into the sand bed and achieve final interlock.
- Polymeric Sand Application and Final Compaction: The sand is meticulously swept into the joints until they are full. The compactor is run one last time to vibrate the sand deep into the joints before the surface is lightly misted with water to activate the polymers.
Post-Installation Audits: My Quality Control Checklist for Pinellas County
My job isn't finished when the last paver is laid. I perform a quality audit 24-48 hours after installation to verify the integrity of the system. This includes checking for a proper drainage slope, which must be a minimum 2% grade away from any structures—a non-negotiable standard for handling our intense rainfall. I also check for surface levelness, ensuring no more than a 1/8 inch deviation over a 10-foot span. Finally, I provide a clear timeline for sealing. Applying a sealer too soon traps construction moisture and can cause more harm than good. I advise waiting a minimum of 30 days before applying the correct type of breathable sealer. Now that you understand the base is more critical than the paver itself, how will you verify your contractor’s sub-grade compaction density before the first stone is even laid?Written by

Tags
brick pavers near me
interlocking pavers
paver edging
pool pavers
concrete pavers near me