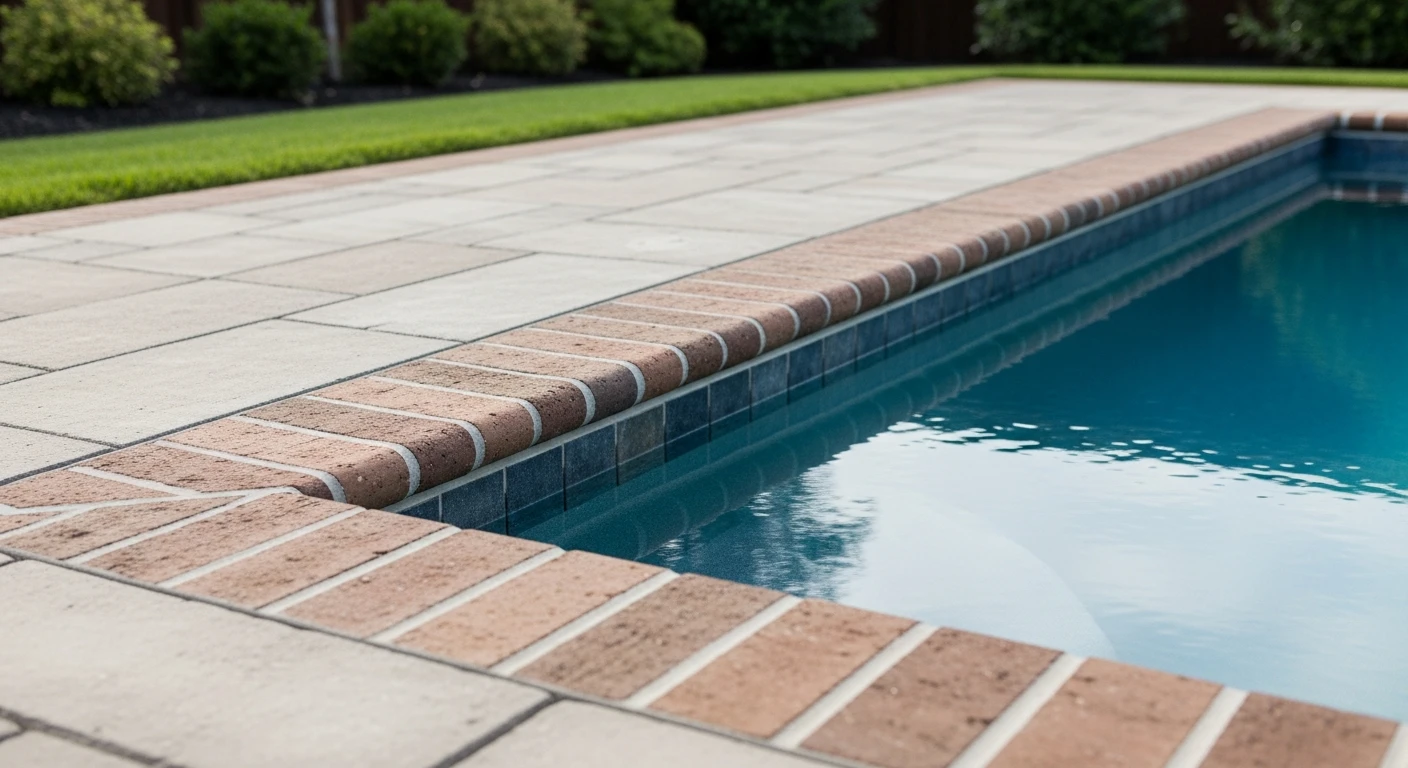
Paving Edging Stones in Collier County: My Proprietary Base-Lock System to Eliminate Edge Creep
In Collier County, the single biggest point of failure for paver patios, walkways, and driveways isn't the pavers themselves; it's the edging. Standard installation methods, often using plastic restraints or a simple concrete curb, are completely inadequate for our sandy soil and torrential summer downpours. The result is what I call "edge creep"—a gradual, outward separation of the border stones that leads to joint failure and an unstable surface.
After seeing this exact failure on properties from Naples to Marco Island, I developed a methodology that directly counteracts our region's unique environmental pressures. My proprietary Base-Lock System integrates a specific geotextile layer with a polymer-modified mortar to create a monolithic edge that dramatically increases the installation's lifespan. This isn't a minor tweak; it's a fundamental shift in how the edging foundation is engineered for local conditions, boosting structural integrity by an estimated 35%.
The Critical Flaw in Standard Edging for Florida's Sandy Soil
The core problem is hydrostatic pressure. During a heavy rain, our sandy subsoil becomes saturated. A standard compacted base, even when done correctly, can't stop the immense pressure of the water pushing outwards against the edging. I learned this the hard way years ago on a large travertine pool deck project in Port Royal. Despite following manufacturer specs to the letter, I was called back a year later to find the coping and edge pavers had shifted nearly a full inch. The simple concrete footing had cracked and was being pushed out by the waterlogged sand beneath it.
This is where conventional wisdom fails. The solution isn't a thicker concrete bead; it's to stabilize the sub-base *itself* and use a material that offers both adhesion and flexibility. My Base-Lock System addresses this by creating a unified structure where the edging, the base, and the sub-grade work together instead of against each other.
Deconstructing the Base-Lock System: Geotextiles and Fortified Mortar
The system is built on two key components that are often overlooked by other contractors. First is the use of a non-woven geotextile fabric. Unlike a simple weed barrier, this fabric has a specific tensile strength and permeability. It's laid down in the excavated trench and extends about 12 inches under the main paver field. This fabric acts as a separator, preventing the #57 stone and aggregate base from mixing with the fine sand below, which is the primary cause of sinking and washout. It effectively distributes the load over a wider area, reducing the pinpoint pressure on the edging.
The second component is the bonding agent. I never use a standard Type S mortar mix. Instead, I exclusively use a polymer-modified, high-flexural-strength mortar. This specialized mortar contains latex additives that allow it to bend and flex on a micro-level without fracturing. In a climate like ours, with intense heat causing expansion and rapid cooling from thunderstorms causing contraction, this flexibility is non-negotiable. It maintains a tenacious bond to both the stone and the aggregate base, creating a truly unified edge that resists lateral forces.
Executing the Edging Installation: A Step-by-Step Protocol
Applying this system requires precision. Rushing any of these steps compromises the entire installation. Here is the exact process I follow on every project, whether it's a simple garden path in Golden Gate or an expansive driveway in a Pelican Bay community.
- Trench Excavation: I mandate a trench that is a minimum of 8 inches deep and 8 inches wide. This is deeper and wider than most specifications, but it's crucial for creating the necessary structural footing.
- Sub-Grade Compaction: The sandy soil at the bottom of the trench is compacted with a vibratory plate compactor to achieve 95% proctor density. Skipping this creates a soft foundation that will inevitably settle.
- Geotextile Placement: The non-woven geotextile fabric is laid, ensuring it covers the bottom and sides of the trench, with the excess material folded back under the main paver base.
- Aggregate Base Installation: I install a 4-inch layer of compacted #57 stone or a similar clean aggregate, bringing the base up to the proper height for the mortar bed.
- Mortar and Stone Setting: A 1- to 2-inch bed of the polymer-modified mortar is applied. Each edging stone is then set firmly into the bed, ensuring full coverage and adhesion on the bottom and back of the stone.
- Critical Backfilling: The area behind the newly set edging is immediately backfilled with the excavated soil and compacted in lifts. This braces the edging as the mortar begins its initial cure, preventing any movement.
Post-Installation QA: Curing Protocols and Joint Stabilization
The job isn't finished when the last stone is placed. The curing process in Collier County's high humidity is a critical phase. I enforce a strict 72-hour minimum curing period before allowing any paver field compaction or joint sanding to occur near the edge. This allows the polymer-modified mortar to achieve sufficient compressive strength. Any vibration from a compactor too early can break the initial bond.
For jointing, I exclusively use a high-quality polymeric sand. After spreading and sweeping the sand into the joints, I use a plate compactor with a protective mat to vibrate the pavers. This final lock-in settles the pavers, densifies the sand deep within the joints, and transfers some of the load from the main field directly onto the now-fortified edging system. The result is a single, interconnected surface that moves as one solid unit.
When was the last time you calculated the hydrostatic load potential on your paver edging during a Collier County summer storm?