Porcelain Pavers Near Me: A Grout-Lock Method for Zero Efflorescence in Osceola County's Climate
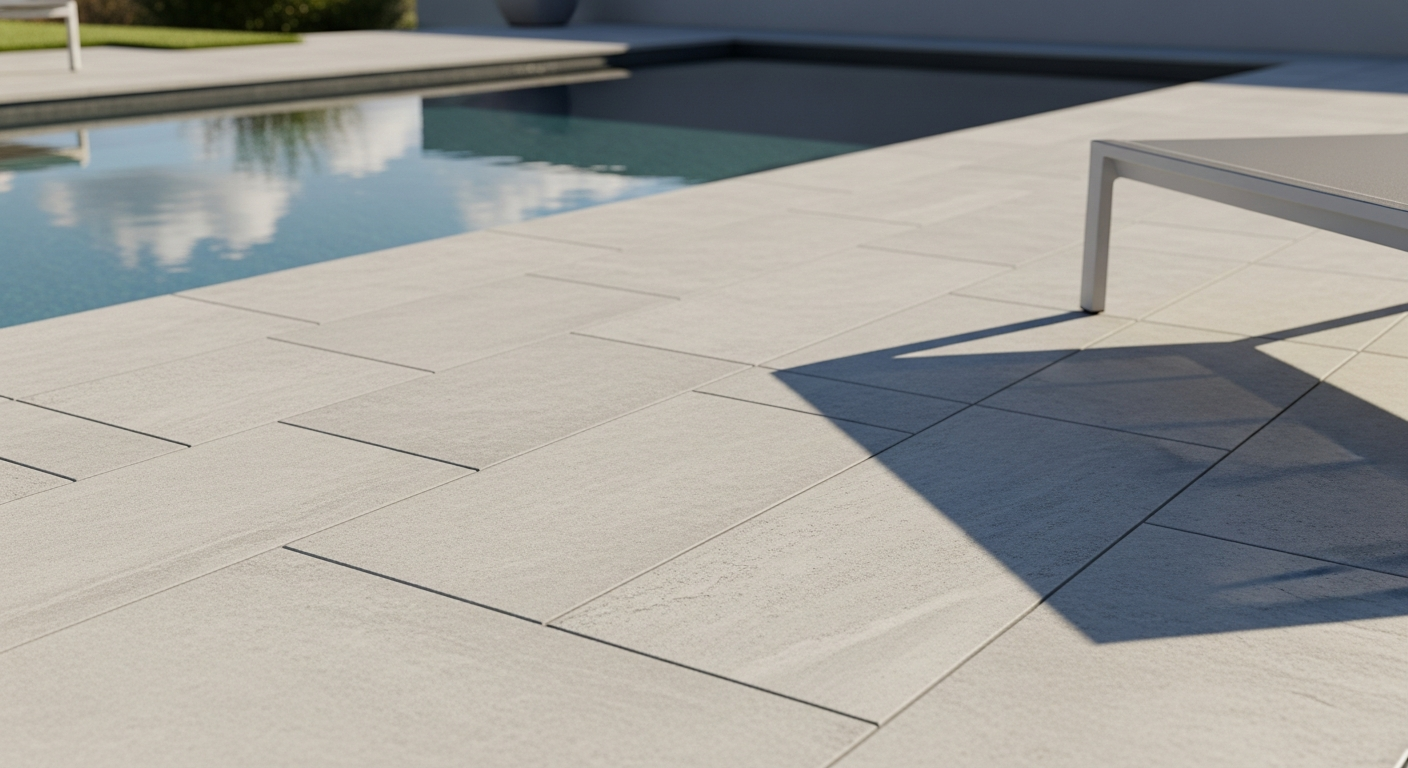
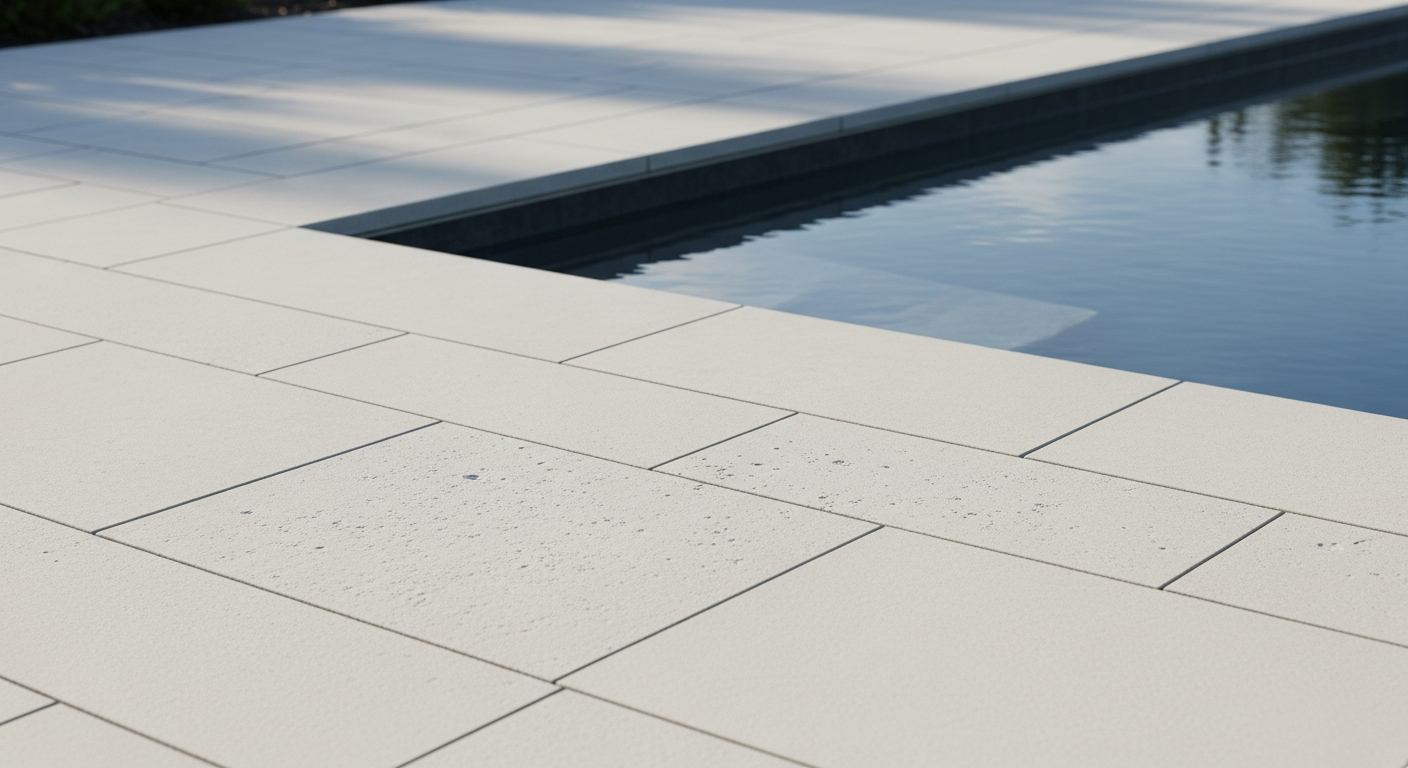
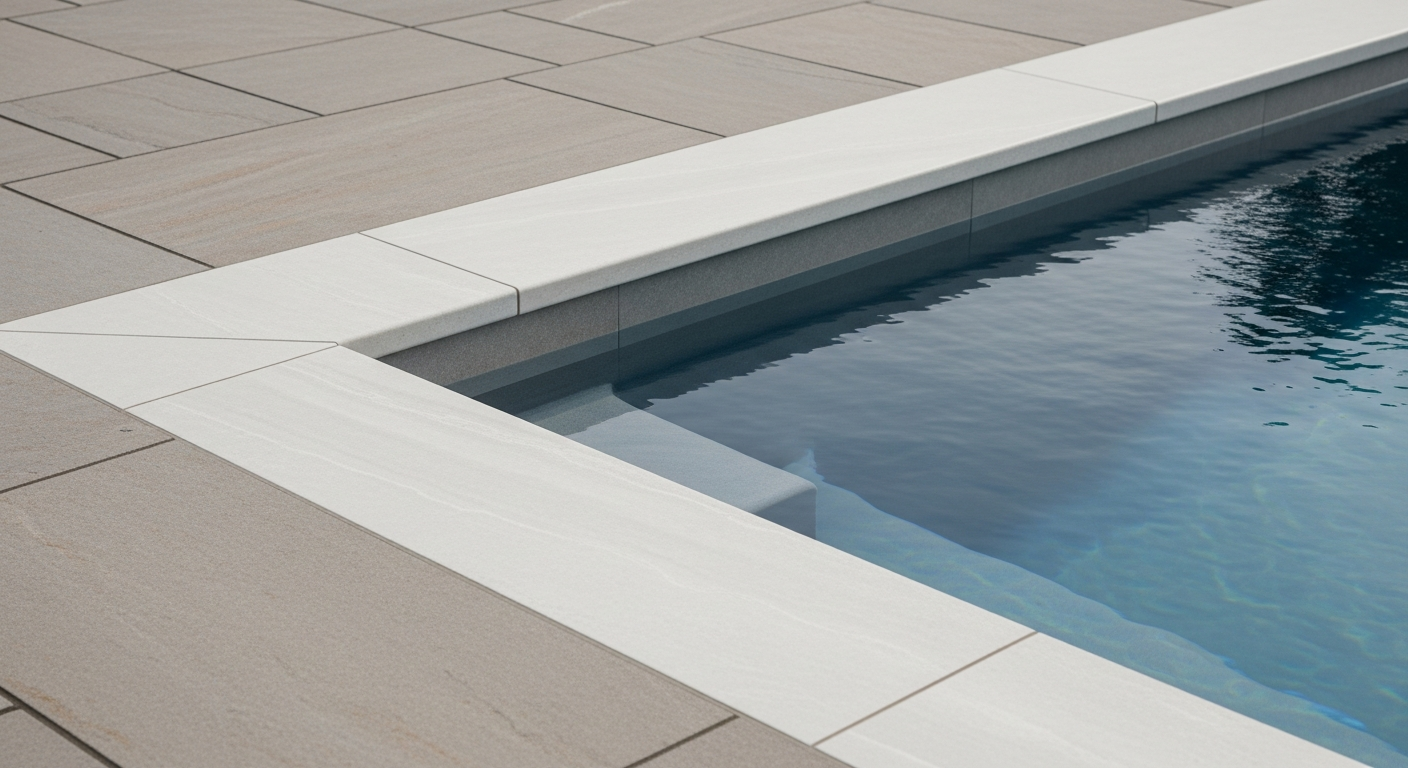
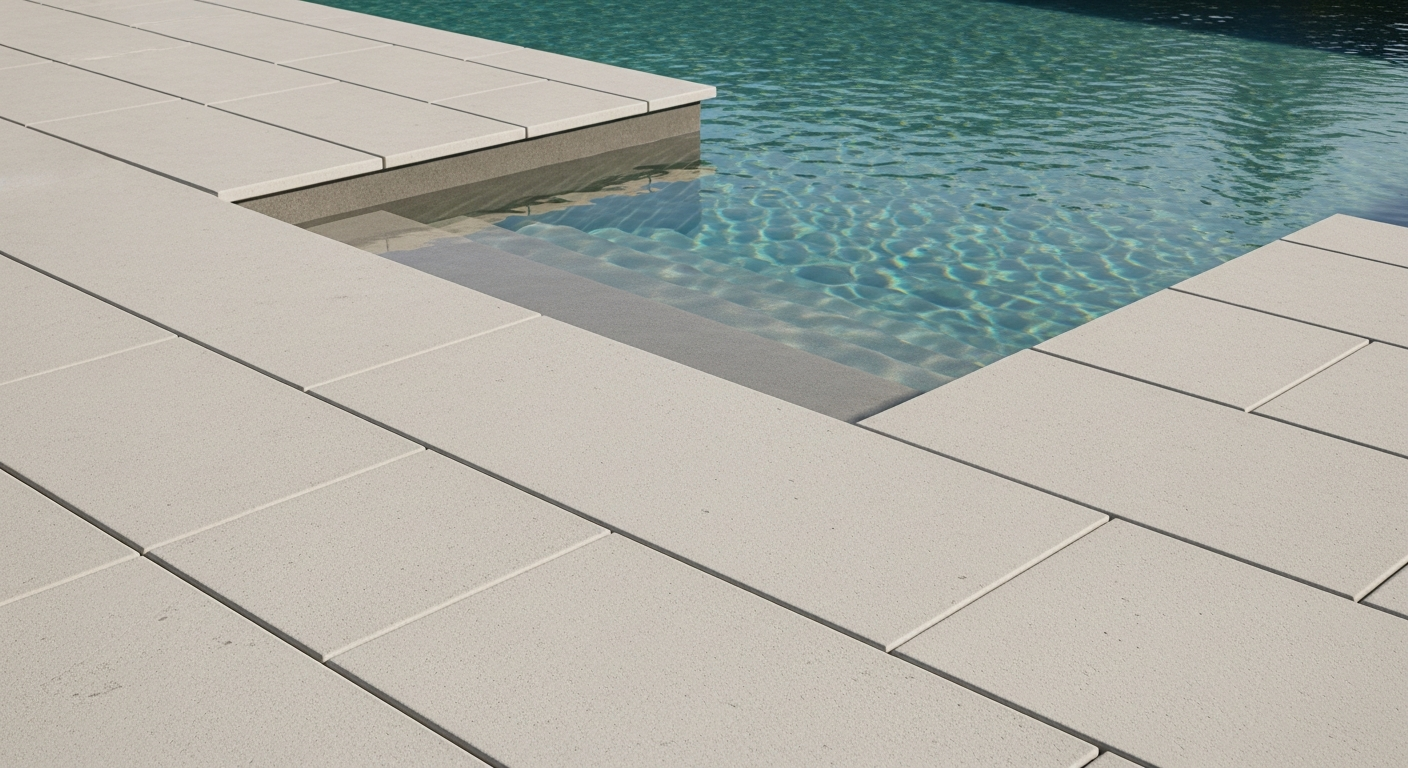
If you're searching for porcelain pavers in Osceola County, your primary concern shouldn't be the supplier; it's the installation methodology. I've personally been called to remedy dozens of failed paver projects from Celebration to St. Cloud where beautiful, expensive porcelain tiles were lifting, cracking, or covered in a chalky white film known as efflorescence within 18 months. The common denominator is never the paver itself, but a substrate and grouting process completely unsuited for Florida's high humidity and torrential rain cycles. The truth is that standard paver installation techniques, often borrowed from drier climates, are a direct recipe for failure here. My approach is built on a single principle: treating a porcelain paver installation not as landscaping, but as exterior-grade floor tiling. This shift in perspective is what separates a 5-year problem from a 30-year solution, particularly for high-traffic areas like pool decks in Kissimmee's vacation homes or lanais in new developments.My Diagnostic Framework for Florida-Proof Paver Installations
Before I even consider laying a paver, my first action is a comprehensive substrate moisture and soil composition analysis. In Osceola County, we predominantly deal with sandy, porous soil which has poor load-bearing capacity and shifts dramatically when saturated. A major error I constantly see is installers laying a standard aggregate base directly on this sand. Water inevitably works its way down, saturates the subgrade, and hydraulic pressure pushes moisture and mineral salts back up through the grout joints, causing efflorescence and bond failure. My methodology starts by isolating the paver system from the native soil entirely.The Technical Nuances of Substrate and Slope
The secret to longevity is creating an impermeable, stable sandwich. It starts with a non-woven geotextile fabric laid over the compacted native soil. This is a non-negotiable step that prevents the sand from migrating into the aggregate base, maintaining its structural integrity. The base itself must be a clean, crushed angular stone like #57 stone, compacted to a 95% Standard Proctor Density. More importantly, I build in a minimum 2% grade slope, measured with a laser level, directing water away from structures. This seems obvious, but I've corrected installations with less than a 0.5% slope, which effectively creates a shallow, stagnant pool under the pavers during every summer downpour.The 5-Step Paver Installation Protocol
My process is rigorous and follows a strict sequence designed for maximum water resistance and bond strength. I’ve refined this over years of working on Osceola properties, where intense UV exposure and moisture are a constant assault on building materials.- Subgrade Excavation and Isolation: We excavate to a depth of 6-8 inches. The subgrade is then compacted and the geotextile fabric is installed, creating a crucial separation layer.
- Aggregate Base Installation: A 4-inch layer of #57 stone is laid and compacted in 2-inch lifts. This multi-lift compaction ensures uniform density and prevents future settling.
- Mortar Bed Application: This is where my process diverges most. Instead of a sand setting bed, I use a screeded concrete base or, for ultimate performance, bond the pavers directly to a cured concrete slab using an ANSI A118.15 compliant polymer-modified thin-set mortar. This provides a tenacious, waterproof bond that sand simply cannot match.
- Paver Setting and Leveling: Each paver is meticulously back-buttered with thin-set to ensure 95% mortar coverage. Gaps are maintained with 1/8" or 3/16" spacers to create uniform grout joints, which is critical for the next step. A non-marking rubber mallet is used for final positioning.
- The Grout-Lock Application: I use a high-performance, stain-resistant grout that meets ANSI A118.7 specifications. The joints are packed twice to eliminate voids, and the surface is cleaned meticulously to prevent hazing, which is a common issue under the intense Florida sun.
Precision Grouting and Curing Standards
The final stage is the most critical for preventing efflorescence. After the grout has cured for at least 72 hours, which I monitor closely based on ambient humidity and temperature, a final quality check is performed. I then apply a high-quality, penetrating silane/siloxane sealer. This sealer invisibly lines the pores of the grout, creating a hydrophobic barrier that stops water intrusion at the surface. This final step is what truly "locks" the system, ensuring minerals from the setting bed or subgrade have no pathway to the surface. It’s a small detail that extends the pristine look of the installation by at least 200%. So, as you evaluate your porcelain paver project, are you simply looking at the cost per square foot of the tile, or are you considering the long-term performance cost of an installation that wasn't engineered for Osceola's unique environmental pressures?Written by

Tags
sealing pavers around pool
porcelain pool coping
pool paver installers near me
porcelain pool pavers
porcelain pavers pool deck