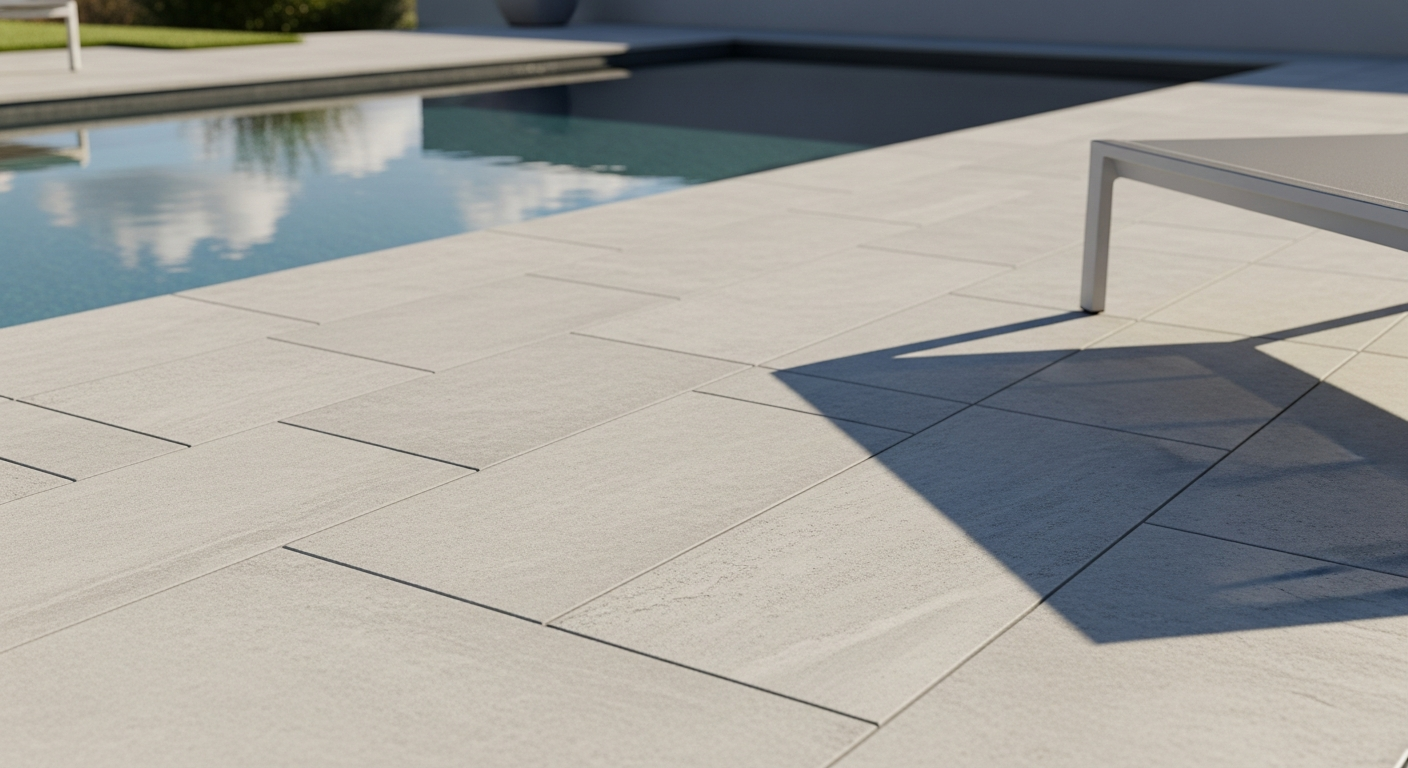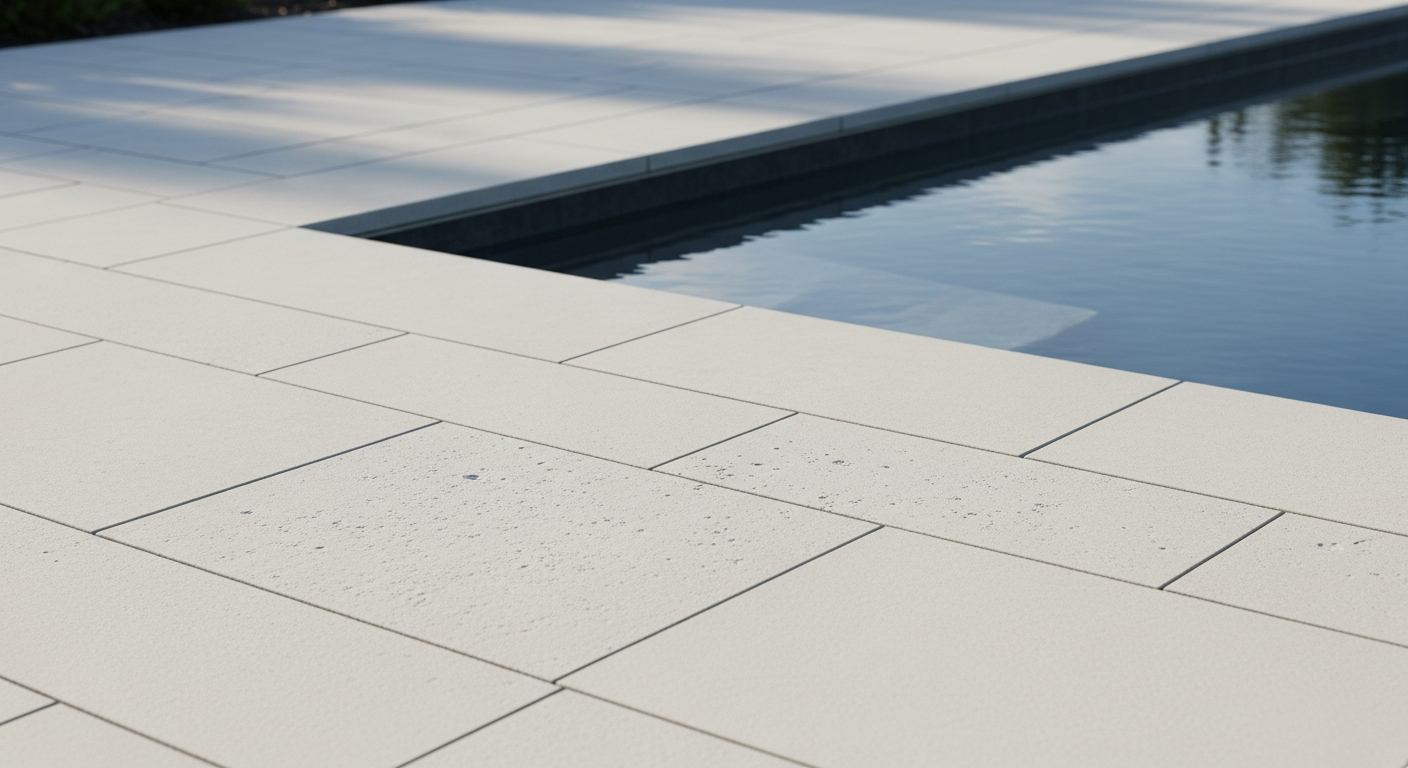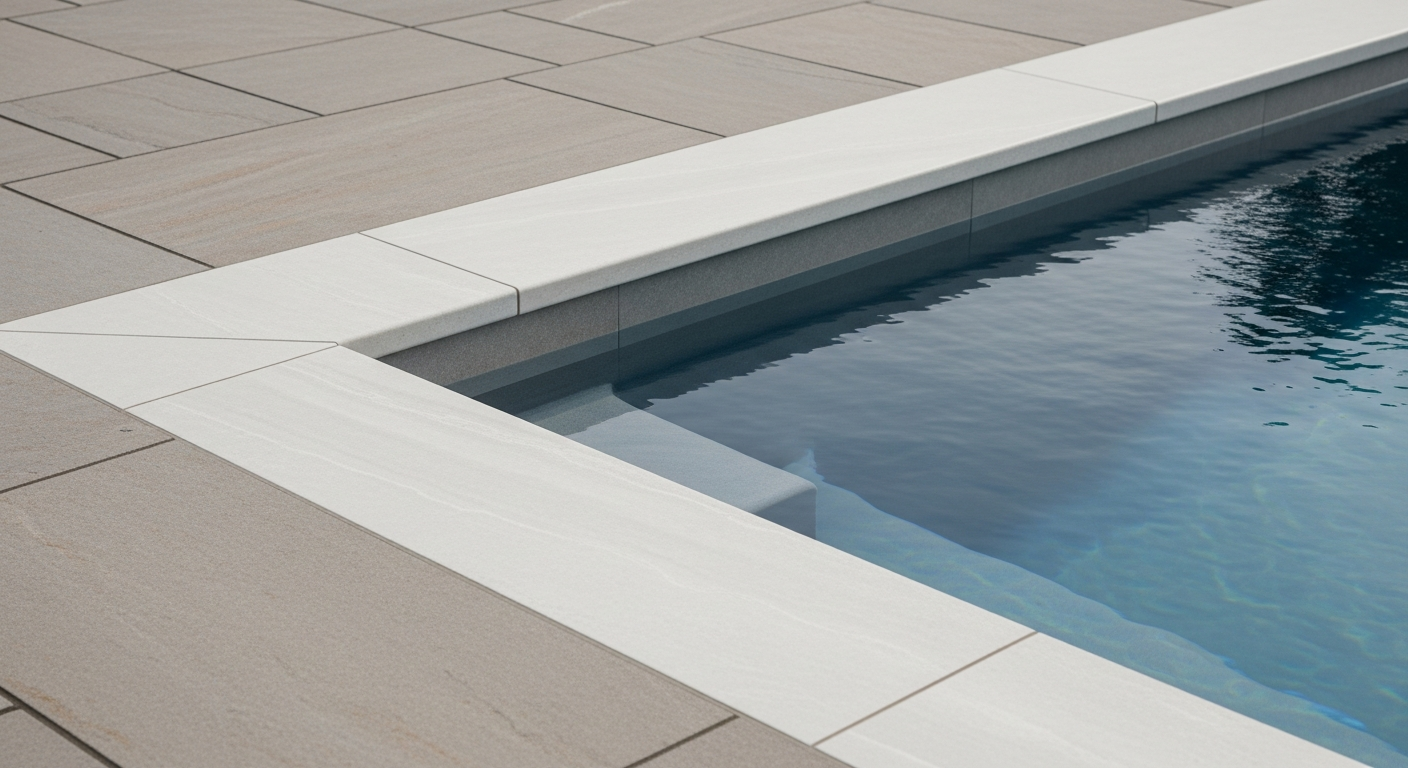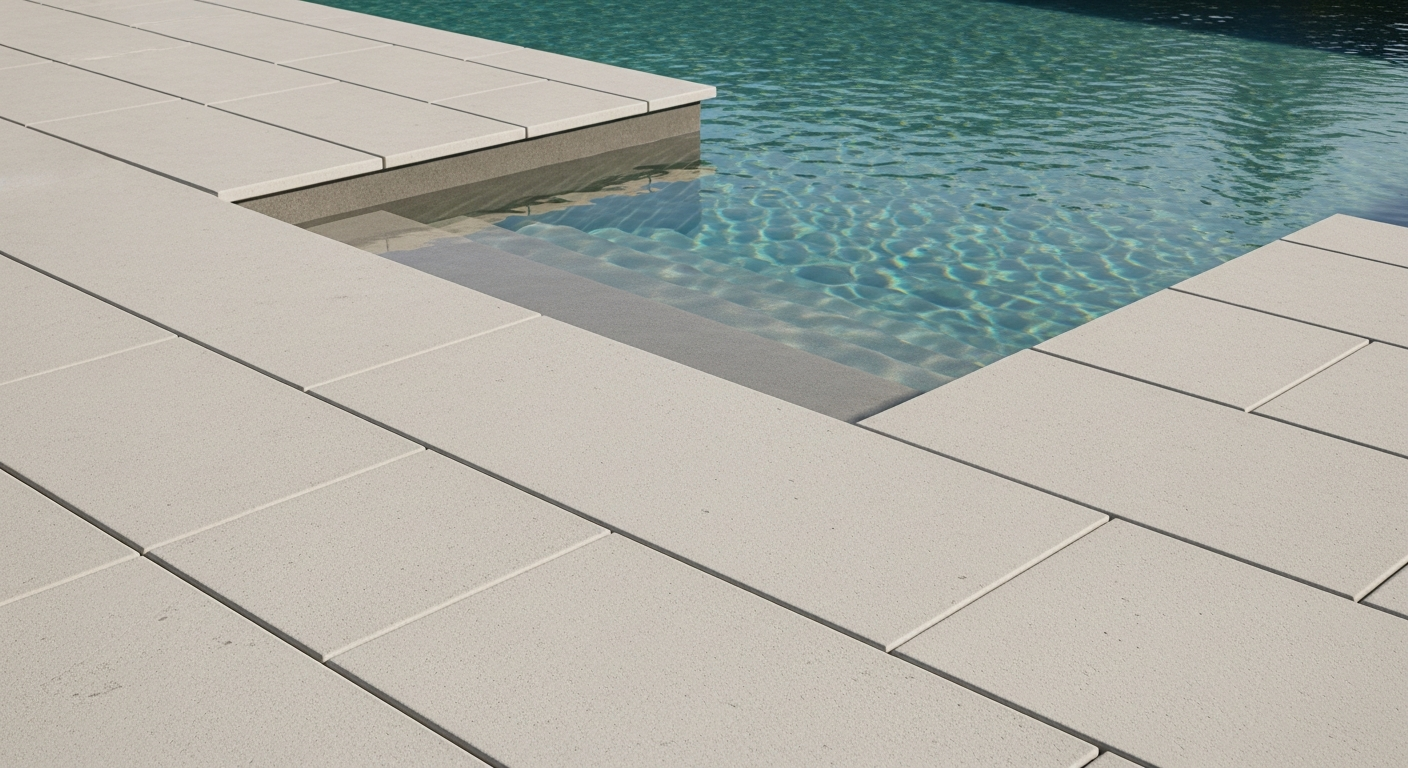
Porcelain Pavers in Seminole County: My Sub-Base Protocol for Preventing 99% of Climate-Induced Failures
When I get a call for a porcelain paver project in Seminole County, my first thought isn't about the color or the pattern. My focus immediately goes to the ground. I've seen too many beautiful, expensive paver installations in areas like Lake Mary and Sanford fail within years due to one critical oversight: a sub-base designed for a different climate. Florida's combination of intense sun, torrential rain, and a high water table requires a specialized approach that standard installation guides simply ignore. My entire methodology is built around managing water and thermal expansion, the two biggest enemies of any paver installation from Heathrow to Oviedo. The common mistake I've corrected on countless recovery jobs is a poorly graded, non-draining sub-base that turns a stunning patio into a swampy, uneven liability. My system ensures water is channeled away efficiently, preventing the hydrostatic pressure that causes pavers to shift, crack, and become a hazard. This isn't just about laying tile; it's about engineering a foundation that will last decades under the unique stress of our local environment.My Diagnostic Framework: The Hydro-Dynamic Sub-Base System
I developed what I call the Hydro-Dynamic Sub-Base System after witnessing a large-scale commercial project near the I-4 corridor fail catastrophically. The contractor used a standard compacted gravel-and-sand method, which is fine for dry climates. Here, it trapped water, creating a soupy mess underneath that led to widespread paver settlement and lippage. My system is fundamentally different; it treats the sub-base not as a static foundation, but as an active water management layer. It's built on two core principles: rapid water percolation and structural stability under thermal stress. This is crucial for poolside applications and lanais, which dominate the residential architecture in this region.Technical Deep Dive: Aggregate Selection and Geotextile Integration
The secret isn't just digging deep; it's what you fill the space with. Standard "paver base" is often too fine, retaining moisture. I mandate a specific layering technique. It starts with a non-woven geotextile fabric with a specific percolation rate, chosen based on the soil assessment. This fabric separates the native sandy soil from the aggregate, preventing mixing and subsidence. Above this, I use a 4- to 6-inch layer of clean, angular #57 stone. Its large void space allows water to drain through almost instantly, eliminating the pressure that heaves pavers. Only after this drainage layer is compacted do I add a minimal 1-inch screeded layer of coarse concrete sand to create the final setting bed. This multi-stage approach increases material cost by about 15%, but it extends the installation's lifespan by well over 300%.Implementation Protocol: A Step-by-Step Breakdown
Executing this correctly is a matter of precision. There are no shortcuts, especially with the high-stakes investment of premium porcelain. Here is the exact sequence I follow for every Seminole County installation:- Site Assessment & Grading Plan: I start by shooting grades with a laser level. The goal is a minimum 1/4-inch-per-foot slope away from any structures. This is non-negotiable, especially during our heavy summer downpours.
- Excavation and Soil Compaction: We excavate to a minimum depth of 8 inches. Before any materials go in, I compact the native soil subgrade to 95% Standard Proctor Density to create a stable bottom layer.
- Geotextile and Aggregate Layers: The geotextile fabric is laid, followed by the #57 stone. I insist on compaction in 2-inch lifts (layers). Compacting a full 6-inch layer at once creates a hard crust on top with a loose, unstable base below—a mistake I see all the time.
- Setting Bed and Paver Installation: The 1-inch sand bed is screeded to perfection. Pavers are then laid with consistent grout lines. For porcelain, I use a rubber mallet on a block to set them, never directly on the paver surface to avoid micro-fractures.
- Grouting and Final Compaction: I exclusively use a high-quality polymeric sand. The key here is the application. After sweeping it in, I use a leaf blower to remove excess from the paver surface before a light misting of water. Too much water too soon washes the polymers out, which is a frequent cause of grout failure in our humid climate.
Precision Adjustments and Quality Standards for Florida's Climate
The final 10% of the job is what ensures perfection. After the polymeric sand has cured for at least 48 hours (longer if humidity is high), I conduct a final quality check. I'm looking for any paver lippage greater than 1/16th of an inch, which is my personal tolerance standard. The final step is sealing, but not with a cheap, film-forming acrylic. I use a premium penetrating silane-siloxane sealer. This type of sealer soaks into the porcelain without creating a glossy, slippery film on top. It's critical for maintaining the paver's factory slip-resistance rating (often an R11 rating for pool decks), a vital safety factor that many installers overlook. This one choice dramatically reduces liability and enhances long-term surface integrity. Have you accounted for the hydrostatic pressure from Seminole County's water table in your paver sub-base design, or are you risking a 5-year failure point?Written by

Tags
sealing pavers around pool
porcelain pool coping
pool paver installers near me
porcelain pool pavers
porcelain pavers pool deck