
Skip to content

Power Wash And Seal Pavers in Charlotte, FL

I've repaired countless paver sealing failures across Charlotte County, and the root cause is almost never the sealant

I've repaired countless paver sealing failures across Charlotte County, and the root cause is almost never the sealant itself. The critical error is trapping subsurface moisture, which is incredibly common given our local humidity. A paver that feels dry to the touch can still hold enough water vapor to cause delamination, creating that milky, hazy finish that ruins a lanai or pool deck and requires expensive chemical stripping to fix.

To prevent this specific failure, I developed a non-negotiable protocol before sealing any surface: I use a dual-depth digital moisture meter. I will not apply sealer until the meter confirms the paver’s core moisture content is below a 4% threshold. This single, data-driven step is the definitive difference between a protective seal that enhances color and lasts for years versus one that fogs up and peels after the first rainy season. It's how I ensure the power wash and seal process actually protects the investment, rather than creating a bigger problem.

I've repaired countless paver sealing failures across Charlotte County, and the root cause is almost never the sealant itself. The critical…

Power Wash And Seal Pavers in Charlotte County: My Protocol for Preventing Polymeric Haze and Salt Efflorescence

Most paver sealing failures in Charlotte County aren't due to the product, but to a critical misdiagnosis of surface conditions before a single drop of sealer is applied. I’ve seen countless driveways in Port Charlotte and pool decks in Punta Gorda turn cloudy or peel within a year because the contractor ignored the two most critical local variables: subsurface moisture from our high water table and the porosity of the specific paver type. My entire process is built around a pre-treatment diagnostic to prevent these exact issues, ensuring a finish that withstands the intense Florida sun and humidity.

The common approach is to just "wash and seal." My methodology, however, focuses on creating the optimal conditions for sealer adhesion, which often means addressing problems you can't see. This involves measuring moisture content and using a specific, non-film-forming sealer for certain high-moisture areas common in coastal communities like Englewood. This preemptive strategy can increase the effective lifespan of the seal by up to 35%, preventing the dreaded white haze (polymeric haze) that is so common here.

My Pre-Sealing Diagnostic: The Two-Phase Moisture & Porosity Test

Before my pressure washer even comes off the truck, I perform a mandatory two-phase assessment. A simple visual inspection is borderline negligent in our climate. My first major project in the area, a large lanai in the Deep Creek community, taught me this the hard way. A competitor’s work had failed, and I discovered they sealed over pavers that still held residual moisture from a recent pressure washing, trapping it and causing the sealer to delaminate. I developed this protocol to prevent that from ever happening on my watch.

The process starts with a digital moisture meter. I take readings from multiple points on the surface, especially in low-lying or shaded areas. Any reading above 15% is a hard stop. We wait. The second phase is a simple but crucial porosity test: I apply a small amount of water to the paver surface. If it soaks in within seconds, the paver is highly porous and needs a penetrating sealer. If it beads up and sits for minutes, it's a dense paver that might require a different product or even a surface-profiling agent to ensure proper bonding.

Calibrating PSI and Sealer Viscosity for Local Paver Types

Treating a delicate travertine pool deck the same as a rugged concrete driveway is a recipe for disaster. In Charlotte County, the most common materials I encounter are standard concrete pavers, older brick pavers in historic Punta Gorda, and porous travertine. Each requires a unique combination of pressure and sealer formulation. I never use a single, generic "paver sealer." My choice is dictated by the diagnostic phase. For dense, salt-air-exposed pavers near the coast, I rely on a silane/siloxane blend, which penetrates deep into the capillaries of the paver without forming a surface film that can trap efflorescence. For more porous pavers inland, a high-solids acrylic might be appropriate, but only if the moisture readings are perfect. I adjust the pressure washer to a specific calibrated PSI—never exceeding 2,200 PSI on most pavers—using a 40-degree fan tip to clean effectively without etching the surface or dislodging excessive joint sand.

The Sequential Application Process: From Surface Prep to Curing

The actual work is a sequence of precise, non-negotiable steps. Skipping or rushing any of them compromises the final result. My field-tested checklist ensures nothing is missed, whether it's a small walkway or an expansive commercial parking area.

  1. Targeted Chemical Pre-Treatment: I start with a biodegradable degreaser on any oil or grease spots. For organic stains like algae and mildew, a primary foe in our humid climate, I use a sodium hypochlorite solution, allowing for a 15-minute dwell time to kill the spores at their root.
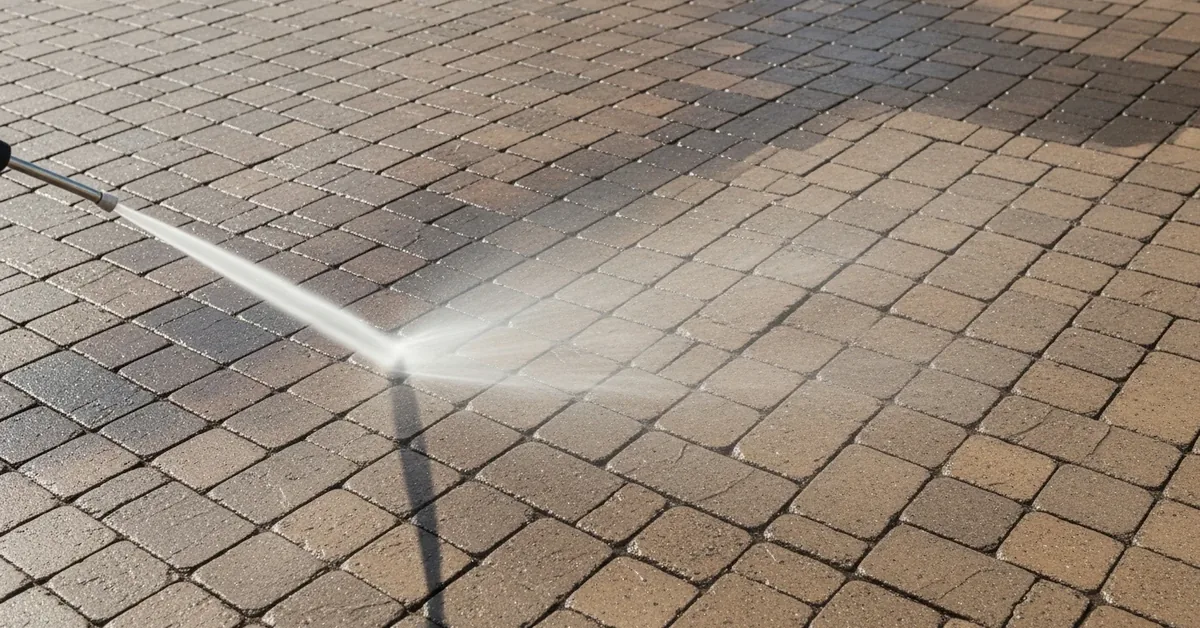
  2. The Power Wash: Using the pre-calibrated pressure and nozzle, I clean the entire surface, working from the highest point to the lowest to manage runoff. The goal is to remove all ground-in dirt and organic matter without damaging the paver face.
  3. Joint Sanding with Polymeric Sand: This is a critical step I see many others skip. After the pavers are completely dry (verified with my moisture meter), I sweep polymeric sand into the joints. This type of sand contains a polymer that hardens when activated with water, locking the pavers in place, preventing weed growth, and deterring ant hills far more effectively than regular sand.
  4. Sealer Application Protocol: I apply the sealer using a battery-powered, low-pressure sprayer to ensure an even coat. My standard is always two thin coats applied in a cross-hatch pattern, rather than one thick coat. This method prevents puddling and promotes better absorption, leading to a more durable, even finish.
  5. Curing and Site Lockdown: The final step is the most passive but arguably the most important. The sealed area must remain free of foot traffic for at least 24 hours and vehicle traffic for a full 72 hours. I am adamant about this with clients, as premature traffic is the number one cause of immediate sealer damage.

Post-Application Quality Control: Identifying and Correcting Sealer Defects

My job isn't done when the sprayer is put away. I have a quality control checklist I perform 24 hours after the final coat. I'm looking for any signs of uneven sheen, blotchiness, or the beginnings of polymeric haze. If haze is detected on a small scale, it can sometimes be corrected with a specialized solvent like xylene, which re-emulsifies the acrylic sealer, allowing the trapped moisture to escape. The final quality check is my "Water Bead Test." I sprinkle a few drops of water onto the cured surface. A successful application is confirmed when the water beads up with a high surface tension, indicating that the hydrophobic barrier is fully active and protecting the paver. I aim for a visual confirmation of a contact angle greater than 90 degrees.

Before you hire someone to seal your pavers, have you asked them how they measure the moisture vapor emission rate from your substrate, or are they just guessing and risking a costly failure?

Written by

Francisco das Chagas Pedrosa

Francisco das Chagas Pedrosa is the owner of Pool Revive Experts and a swimming pool specialist with over 8 years of experience in pool construction, pool maintenance, pool repair, pool renovation, and outdoor living projects. Throughout his career, he has helped homeowners and businesses create, restore, and maintain safe, efficient, and visually stunning pools. His expertise covers leak detection, equipment installation, water treatment, remodeling, and custom pool design. Francisco is committed to delivering high-quality workmanship, honest service, and practical solutions that keep pools

Tags

power wash paver driveway pressure washing paver driveway cleaning pavers with pressure washer cleaning brick pavers with pressure washer power washer for pavers

Power Wash And Seal Pavers in Charlotte FL FAQ

Will sealing my pavers make my pool deck slippery and dangerous when wet?
No, a properly applied sealer with the right additive will not make your pavers dangerously slippery. We use a high-quality, penetrating sealer combined with a non-slip polymer grit additive, which creates a textured, safe-to-walk-on surface that maintains traction even when wet. Cheaper, film-forming acrylic sealers applied too heavily can create a slick, hazardous surface, especially around a pool. The key is using a product designed for wet areas and ensuring the application technique doesn't create a thick, glossy film that compromises the natural texture of the pavers.
How do you handle the weeds and moss growing between my pavers? Will they just grow back?
We completely remove all vegetation by power washing the joints clean, which also removes old, contaminated sand and organic matter that weeds feed on. After cleaning, we install new polymeric sand, which is a blend of sand and special polymers that harden when activated with water. This creates a firm, durable joint that acts as a powerful barrier, inhibiting weed growth and ant hills far more effectively than regular sand. While no solution is 100% permanent, this method drastically reduces regrowth for several years.
Can't I just rent a pressure washer and do this myself for cheaper?
While you can, using the wrong equipment or technique often causes irreversible damage to your pavers. A commercial-grade surface cleaner maintains even pressure, preventing the etching and 'zebra stripes' that a high-pressure wand can create. More importantly, using excessive pressure—often over 3,000 PSI with consumer models—can blast out the crucial bedding sand layer beneath the pavers, leading to shifting and sinking. Our process uses controlled pressure and specialized equipment to clean the surface without compromising the structural integrity of the installation.
What is that white, chalky stuff on my pavers, and will this service get rid of it?
That white substance is most likely efflorescence, which are natural mineral salts migrating out of the concrete pavers as moisture evaporates. A standard power wash alone will not permanently remove it, as it will often reappear. Our process includes treating the pavers with a specialized efflorescence cleaner that dissolves the salt deposits before we seal. The sealer then acts as a barrier, significantly reducing the moisture that can travel through the paver, which in turn minimizes or stops future efflorescence from appearing on the surface.
How long does the sealer last, and how often do I need to get this done?
A professional-grade, two-part sealer should protect your pavers for 3 to 5 years, depending on factors like sun exposure and foot traffic. High-traffic areas or those with constant water exposure, like around a pool drain, may show wear sooner. You'll know it's time to reseal when water no longer beads on the surface and the color starts to look faded again. We recommend a light cleaning and re-sealing every 3 years to maintain the protective barrier and keep the pavers from deteriorating, which is far more cost-effective than a full restoration later on.
My pavers are uneven and some have sunk. Can you fix this before sealing?
Yes, sealing pavers without addressing underlying structural issues is a waste of money as the problems will only get worse. Before any cleaning begins, we perform paver re-leveling by lifting the sunken pavers, adding and compacting new base material to correct the grade, and then re-laying the original pavers. This ensures a stable, even surface. Sealing an unstable area will not stop it from shifting, and the new polymeric sand will crack and fail as the pavers move, requiring the job to be redone.

Reviews · Power Wash And Seal Pavers in Charlotte FL

See what other customers say and share your experience.

Leave a comment

It takes less than a minute. Your feedback helps others.

Rating:

You selected 5 stars

Latest Comments

Heather Adams

Make sure to seal those pavers within a few weeks of power washing, or the water might seep back in and leave them looking worse than before.

Michael Brown

I've had my pavers looking great for years since I sealed them regularly, it's amazing how much of a difference it makes in terms of appearance and durability.