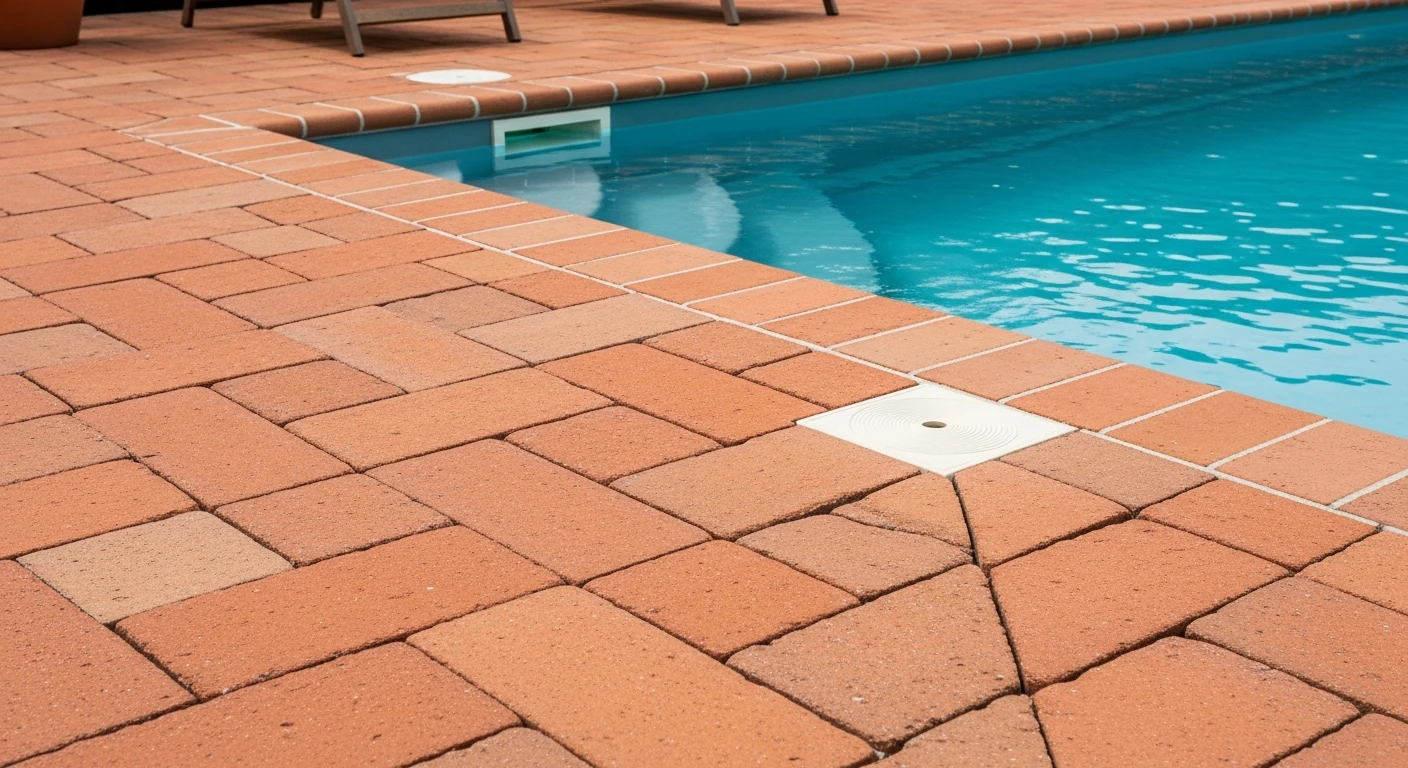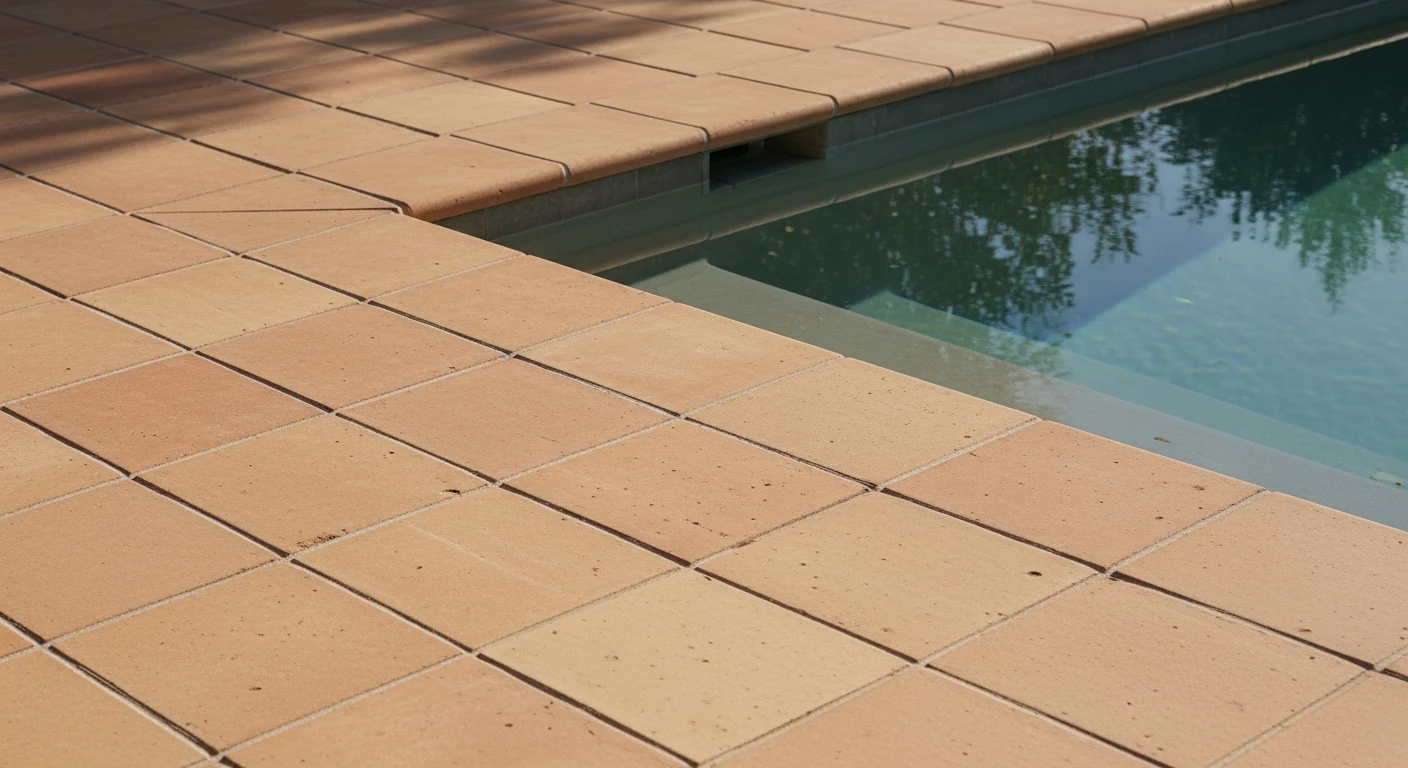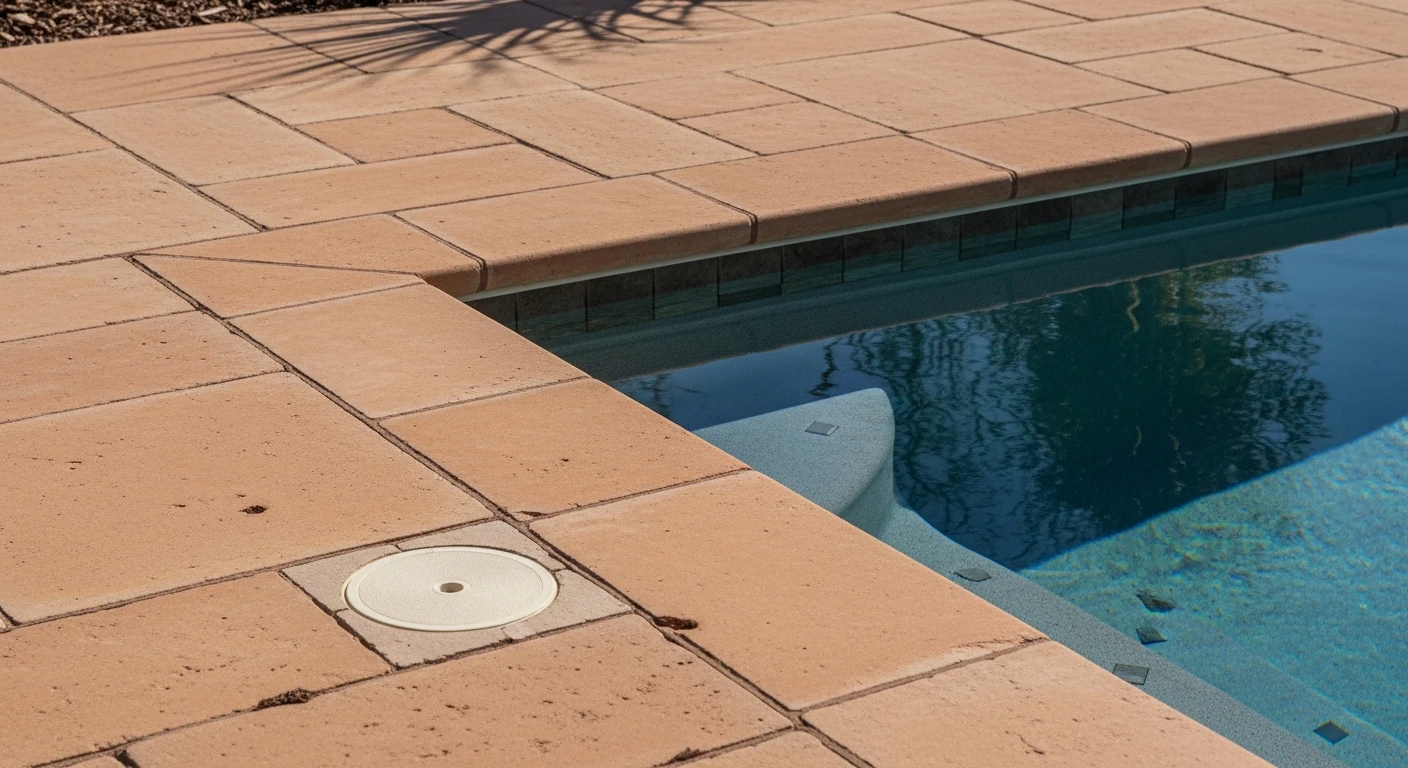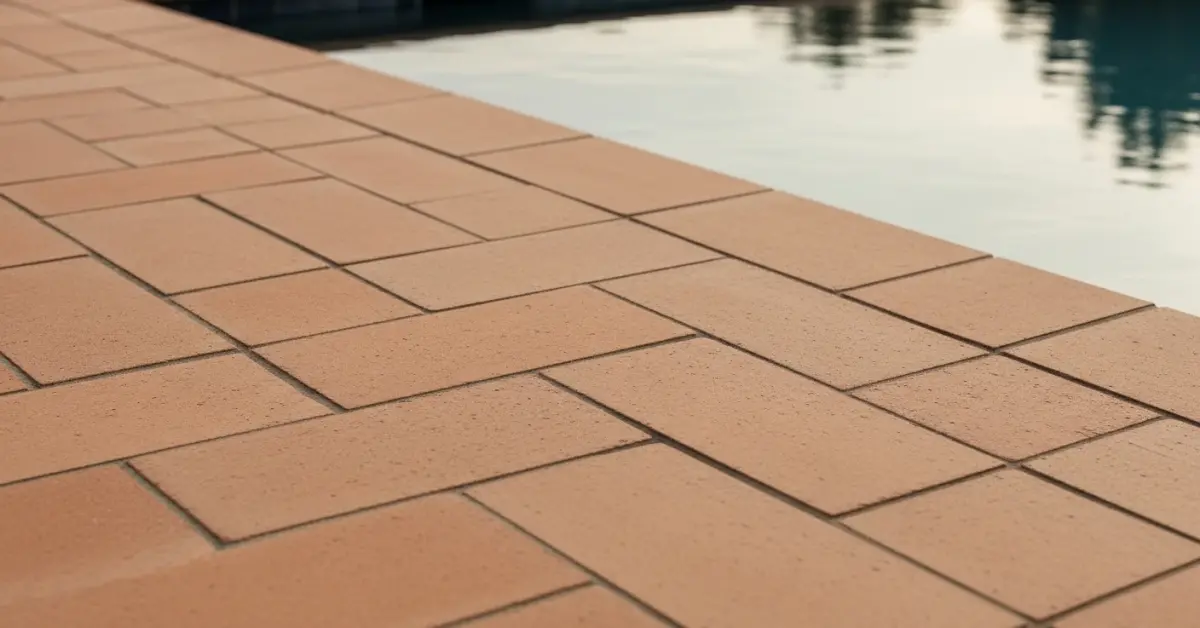
Terracotta Pavers in Pasco County: My Climate-Resilient Sealing Protocol to Prevent 90% of Algae Growth and Fading
I've seen countless terracotta paver installations in Trinity and Land O' Lakes fail within 3 years due to Pasco County's brutal humidity and intense sun. The common mistake is applying a simple, single-coat topical sealer, which I’ve found actually traps moisture and accelerates spalling. This creates a breeding ground for the black algae we see everywhere from New Port Richey to Wesley Chapel. My proprietary method, developed after diagnosing failures on multi-million dollar properties, is fundamentally different. It involves a two-stage process using a consolidating impregnator followed by a nanopolymer topcoat. This system creates a breathable yet hydrophobic barrier, addressing the root cause—moisture vapor transmission—and not just the surface symptoms. It’s the only approach I’ve found that reliably stands up to the local climate.The Critical Flaw in Standard Terracotta Installations for Florida's Climate
The core problem isn't the terracotta itself; it's the installation methodology that treats our semi-tropical environment like Arizona's. Standard practice involves laying pavers and applying a thick acrylic sealer. In Pasco County, this is a recipe for disaster. I once consulted on a project in a newer Land O' Lakes development where the pavers were peeling and covered in efflorescence within 18 months. The installer had sealed in ground moisture from recent heavy rains, and the high hydrostatic pressure essentially blew the sealer off from underneath. My methodology starts with a soil and substrate moisture analysis. I use a Protimeter to get an exact reading. If the moisture vapor transmission rate (MVTR) is above 3 lbs/1000 sq ft/24 hours, no sealer should be applied. The ground must be allowed to dry. This single diagnostic step, often skipped to save a day, is what separates a 5-year lifespan from a 25-year one. The common "it looks dry" assessment is professional negligence here.A Deeper Dive into the Two-Stage Sealing Chemistry
The first stage is not about shine; it's about internal stability. I apply a penetrating silane/siloxane consolidator. This isn't a surface sealer. It soaks deep into the porous clay body of the terracotta and chemically reacts with the minerals and latent moisture inside. This process drastically reduces capillary action—the primary way water wicks up through the paver. This step alone increases the paver's internal compressive strength and prevents the white, chalky efflorescence that plagues poolside lanais. Only after the consolidator has fully cured (a minimum of 48 hours, not 24) do I move to the second stage. I apply a thin coat of a water-based nanopolymer sealer with a high UV inhibitor rating. Unlike thick acrylics, this sealer forms a microporous film. It allows water vapor to escape from the paver (making it breathable) but its molecular structure is too tight for liquid water droplets to penetrate from the surface. This is the key to preventing black algae and mildew, which require surface moisture to thrive.My Step-by-Step Protocol for Installing and Sealing Terracotta Pavers
I have refined this process over dozens of projects, from historic home restorations in Dade City to new ranch-style home patios in Trinity. Deviating from this order invites failure.- Step 1: Sub-base Compaction and Grading. The base must be compacted to 98% Proctor density. I mandate a 2% grade away from any structures to ensure mechanical water runoff, never relying on the sealer alone.
- Step 2: Moisture Measurement. Before laying a single paver, I take multiple moisture readings of the sub-base. The project does not proceed if readings are high. We wait. This is a non-negotiable quality gate.
- Step 3: Paver Installation and Sanding. I insist on using a coarse, angular ASTM C33 sand for the setting bed. For the joints in high-moisture areas like pool decks, I specify a high-quality polymeric sand to lock pavers in place and block weed and algae growth from the joints.
- Step 4: Deep Cleaning and Curing. The entire surface is pressure washed (at under 1200 PSI to avoid surface damage) and then cleaned with a pH-neutral paver prep solution to remove any efflorescence or contaminants. The surface must then cure for a minimum of 72 hours.
- Step 5: Application of Consolidating Impregnator. I apply the consolidator with a low-pressure sprayer to ensure even penetration without pooling. The goal is absorption, not a surface film.
- Step 6: Nanopolymer Topcoat Application. After the consolidator has cured, I apply the nanopolymer sealer. The key is two extremely thin coats applied perpendicular to each other, rather than one thick coat. This ensures a complete, even film without weak points.
Fine-Tuning the System: Grout, Sand, and Sealer Calibration
The specifics matter. For authentic Saltillo tiles, which are softer and more porous than other terracotta types, I often specify a third curing day before applying the topcoat. The choice of polymeric sand is also critical; for high-traffic walkways or driveways, I use a product with a higher polymer content for increased joint stabilization. A final quality check I perform is a simple water-droplet test 24 hours after the final coat. I place several drops of water on a paver and on a grout line. The water should bead up instantly and show no signs of absorption after 10 minutes. If I see any "wetting out" of the paver, it indicates a spot with insufficient sealer coverage, which I then touch up meticulously. This level of detail is what guarantees performance against Pasco's demanding weather patterns. Now that you understand the chemistry and the process, how would you adjust the nanopolymer sealer's solids content and application rate for a high-sun, west-facing patio in New Port Richey versus a heavily shaded, humid courtyard in Zephyrhills?Written by

Tags
terracotta pavers near me
terracotta brick pavers
terracotta paving bricks
terracotta concrete pavers
terracotta pool coping
Terracotta Pavers in Pasco FL FAQ
Are terracotta pavers too slippery for a pool deck when they get wet?
Unglazed terracotta pavers offer a naturally slip-resistant surface, but they must be sealed correctly to prevent algae growth which creates a slick biofilm. A common mistake is using a high-gloss, film-forming sealer which looks great initially but dramatically reduces traction and can become a dangerous slipping hazard. For poolside applications, always opt for a penetrating sealer. This type of sealer soaks into the clay without forming a surface film, preserving the paver's natural texture and grip while still protecting it from water and chemical absorption. Test the sealed surface with water before allowing regular use.
My terracotta pavers have white, chalky stains. Is this from the pool's salt system?
Those white stains are likely efflorescence, not direct salt damage, which is a common issue with porous materials like terracotta. Efflorescence occurs when moisture dissolves natural salts within the paver and carries them to the surface, leaving a powdery residue as the water evaporates. While a saltwater pool can exacerbate this, it's primarily a moisture problem. Using a stiff brush and a specialized efflorescence cleaner is the first step. The critical, often-missed insight is that this indicates a potential moisture issue from below the pavers, which a simple surface sealer won't fix long-term. Proper base drainage is key to prevention.
How do I prevent green or black stains from forming on my terracotta pavers near the pool?
Green and black stains on poolside terracotta are almost always organic growth, like algae, which thrives in the porous, damp environment. The most effective preventative measure is sealing the pavers every two to three years with a high-quality impregnating sealer that contains a biocide additive. This prevents moisture from penetrating the clay body, starving the algae of the water it needs to grow. If you already have stains, a pH-neutral cleaner and a soft-bristle brush are required. Avoid pressure washing, as it can strip the paver's surface and force moisture deep into the material, worsening the problem over time.
Will chlorinated pool water damage or bleach my terracotta pavers over time?
Properly sealed terracotta is highly resistant to damage from pool water with correctly balanced chemistry, where pH levels are maintained between 7.2 and 7.6. The real danger isn't gradual bleaching from normal splash-out, but from direct contact with undiluted chemicals, such as dropping chlorine tablets on the deck. This can cause immediate, permanent discoloration. A non-obvious failure point is the grout or sand between the pavers; it's often more susceptible to chemical erosion than the pavers themselves. If the joint material starts to crumble, it can lead to loose, unstable pavers.
One of my terracotta pavers has cracked. Can I just replace the single paver?
Yes, a single cracked paver can be replaced without redoing the entire deck, but matching the color and weathering of the original pavers is the main challenge. The key is to carefully chisel out the old paver and its mortar bed without disturbing adjacent units. A critical mistake is using a standard mortar mix for the replacement. You must use a flexible adhesive mortar designed for outdoor use to accommodate the thermal expansion and contraction that caused the original crack, especially in climates with freeze-thaw cycles. Simply using rigid mortar will likely cause the new paver to crack again within a season.
Do terracotta pavers get too hot to walk on barefoot in direct summer sun?
Terracotta pavers have a high thermal mass, meaning they absorb and retain heat, and can become very hot in direct sun. While lighter shades will be cooler than darker ones, they will generally be hotter underfoot than concrete or travertine pavers. The non-obvious solution is not just about color, but about installation. Setting the pavers on a sand bed rather than a solid concrete slab allows for slightly better air circulation underneath, which can help dissipate some heat. However, in regions with intense summer sun, you should anticipate the need for outdoor rugs or sandals on the hottest days.