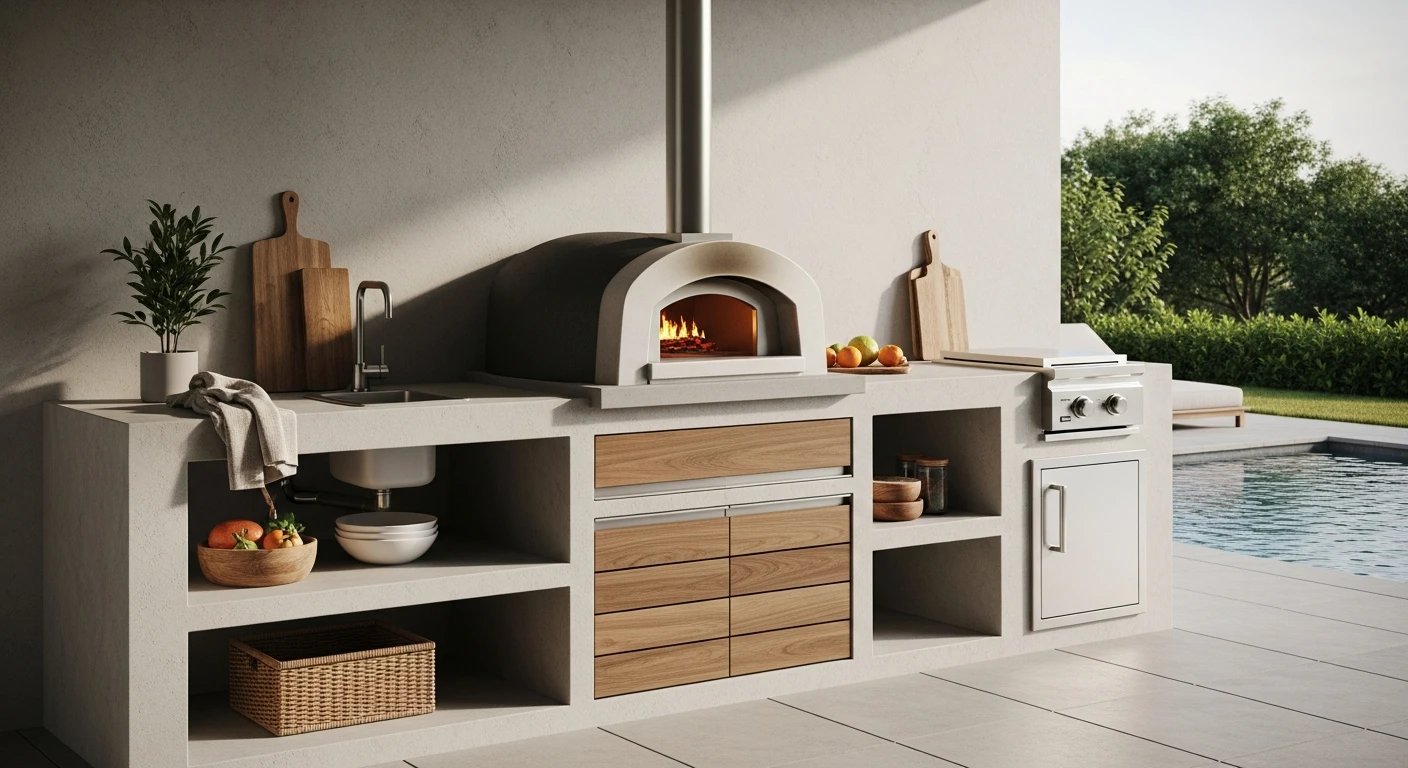
Custom Outdoor Pizza Oven Lee County: A Material Selection Protocol to Double Oven Lifespan
The biggest mistake I see in Lee County outdoor pizza ovens isn't the design; it's a fundamental misunderstanding of our coastal climate. Homeowners invest in beautiful setups on their lanais in Cape Coral or waterfront properties in Fort Myers, only to see catastrophic spalling and cracking within two years. The culprit is almost always moisture intrusion, accelerated by the relentless humidity and salt-laden air, which standard construction methods simply cannot handle. After diagnosing this failure pattern on dozens of projects, I developed a build protocol focused on creating a complete Thermal-Moisture Barrier System from the foundation up, a non-negotiable for longevity in Southwest Florida. This isn't just about using "good bricks." It's a systematic approach to material selection and layering that actively repels ambient moisture while managing the intense thermal cycles of a wood-fired oven. I’ve found this methodology can increase the structural integrity and lifespan of the oven by at least 200% compared to generic online plans. It addresses the unique high water table and humid air that turns typical insulating concrete into a sponge, leading to steam explosions within the masonry on a microscopic level.My Proprietary M-C-R Framework: Material, Containment, and Refractory Selection for Coastal Climates
My entire process is built on what I call the M-C-R Framework (Material, Containment, Refractory). It’s a methodology I created after repairing a high-end oven in a Bonita Springs home that had failed prematurely. The original builder used a standard firebrick and mortar that couldn't withstand the constant humidity cycling. The M-C-R Framework forces a pre-build analysis specific to the micro-environment of a Lee County backyard.- Material (M): This goes beyond the oven itself. It starts with the concrete slab. We have a high water table here. I mandate a capillary break using a heavy-duty vapor barrier and a layer of clean gravel beneath the slab to prevent ground moisture from wicking up into the oven's hearth. This is the single most overlooked step.
- Containment (C): This refers to the outer shell. A standard stucco finish will crack. I specify a polymer-modified stucco mix over a carefully wrapped structure, followed by a high-performance silane-siloxane penetrating sealer. This creates a breathable yet hydrophobic shell that repels rainwater without trapping internal vapor generated during firing.
- Refractory (R): This is the core. The choice of firebricks and mortar is critical. I've seen builders use low-duty firebricks that are perfectly fine in a dry climate but degrade quickly here. The key is analyzing the material's cold crushing strength and porosity in relation to our humidity.
A Closer Look at Refractory Core Integrity
Let's get technical on the 'R' in the M-C-R Framework. Standard mortars are the enemy. When I'm inspecting a potential project in Lehigh Acres or Estero, the first thing I ask about is the mortar specification. Using a standard Type N or S mortar with firebricks is a guarantee of failure. The Portland cement in it breaks down completely under wood-fired oven temperatures (1000°F+). The only acceptable bonding agent is a pre-blended, non-water-soluble calcium aluminate refractory mortar. For the firebricks themselves, I specify medium-duty bricks with a minimum 38% alumina content. The higher alumina content provides superior thermal stability and resistance to thermal shock. The key performance indicator here is a low porosity rating. A less porous brick absorbs less of our humid night air, which drastically reduces the risk of spalling when the oven is fired up hard and fast.Constructing the Insulated Dome: A 5-Step Execution Plan
Here is my direct, field-tested process for building the oven's dome and insulation layers, which is where performance is won or lost. This ensures rapid heat-up times and, more importantly, prolonged heat retention for baking multiple pizzas or even bread the next morning.- Build the Hearth Slab: Pour a reinforced concrete slab, ensuring the capillary break is correctly installed underneath. Upon this, I build the hearth using firebricks laid in a herringbone pattern with hair-thin mortar joints.
- Form the Dome: Using a sand form, I lay the medium-duty firebricks, cutting each one to achieve a tight, self-supporting dome structure. This is pure craftsmanship; gaps lead to heat loss and weak points.
- Apply Primary Insulation Layer: Once the dome is complete, I wrap it in a 2-inch layer of 6 lb density ceramic fiber blanket. This material is critical. It's the primary thermal break that keeps the heat inside the dome and away from the outer structure.
- Apply Secondary Insulation Shell: Over the ceramic blanket, I apply a 3-4 inch thick shell of insulating concrete made from a 5:1 ratio of vermiculite to Portland cement. This monolithic layer adds significant thermal mass and structural support for the final finish.
- Finish and Seal: The final step is applying the polymer-modified stucco and, after a full 28-day cure, two coats of the penetrating sealer. This completes the Containment part of the M-C-R system.
Precision Curing and Performance Benchmarking
A brand new oven cannot be fired to full temperature. Doing so will crack the dome from thermal shock as trapped water in the masonry turns to steam. I have a strict, non-negotiable 5-day Curing Fire Schedule that I provide to every client. It starts with a very small kindling fire for a few hours on day one and gradually increases in size and duration each day. This process gently drives out all the residual construction moisture. Once cured, I benchmark performance. My quality standard is a hearth temperature that reaches 750°F in under 60 minutes and maintains a temperature above 400°F for at least 8 hours after the fire is extinguished. Anything less indicates a flaw in the insulation or a leak in the dome structure. This is the ultimate proof of a correctly executed project. Have you properly calculated the thermal expansion coefficient of your chosen firebrick against the compressive strength of your calcium aluminate mortar to prevent joint failure during the initial firing cycle?Written by

Tags
grills with pizza oven
outdoor bbq with pizza oven
outdoor bbq kitchen with pizza oven
pizza oven for outdoor grill
pizza oven and bbq outdoor kitchen