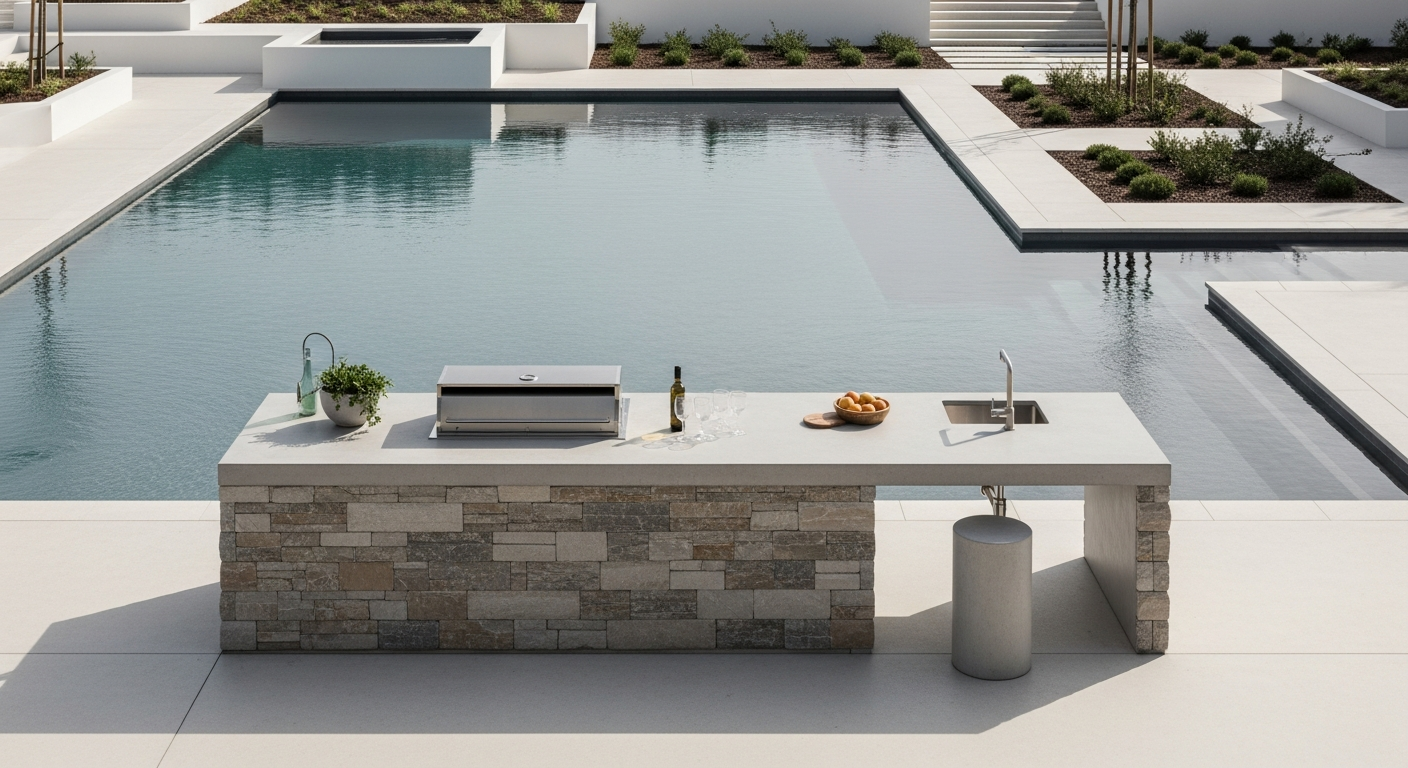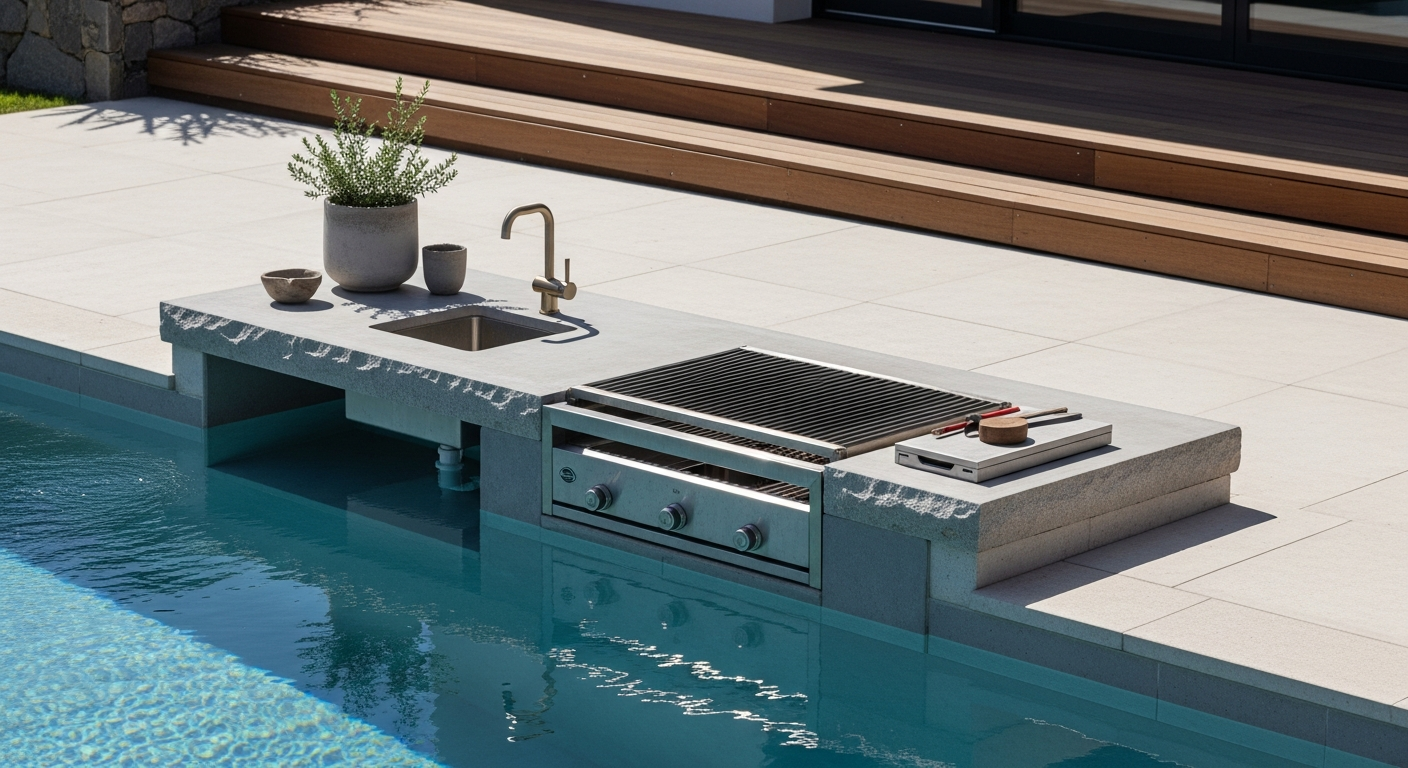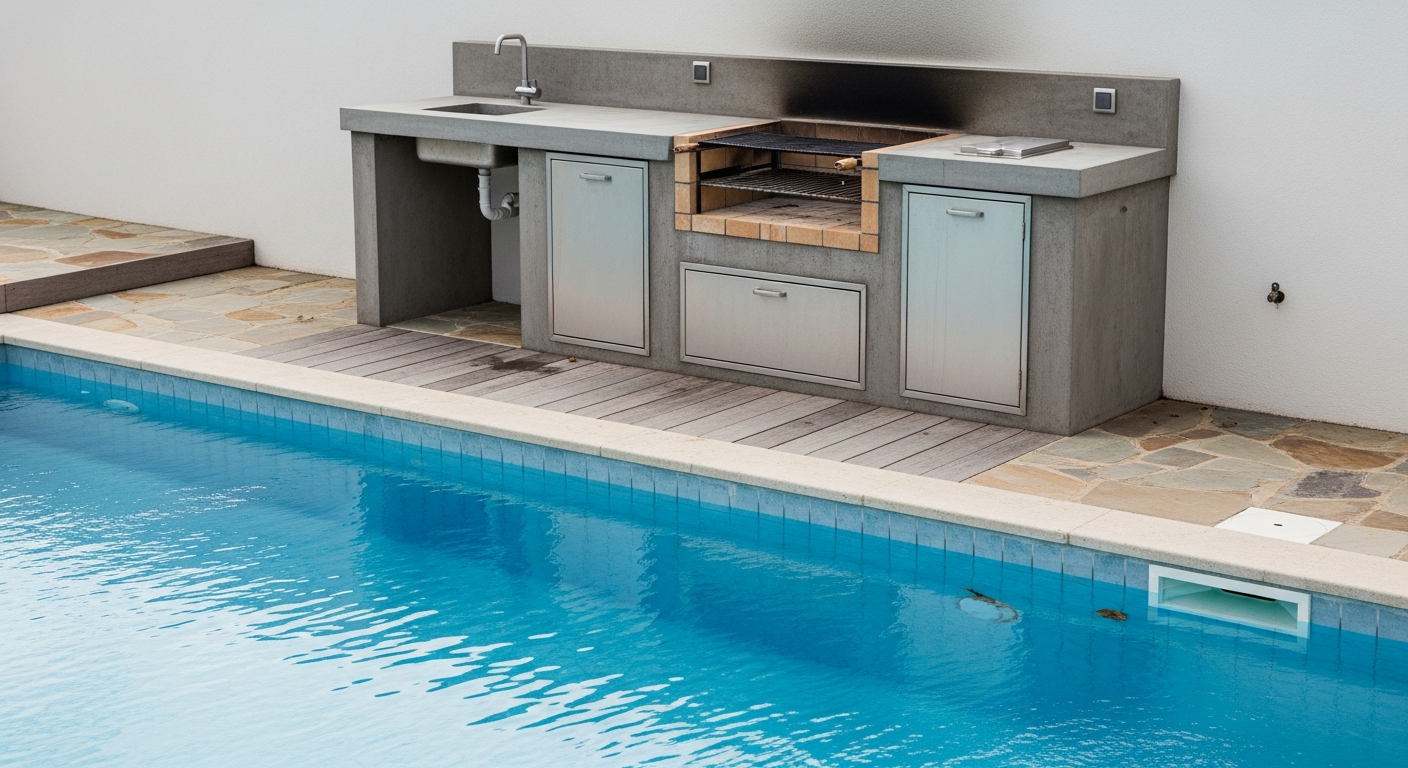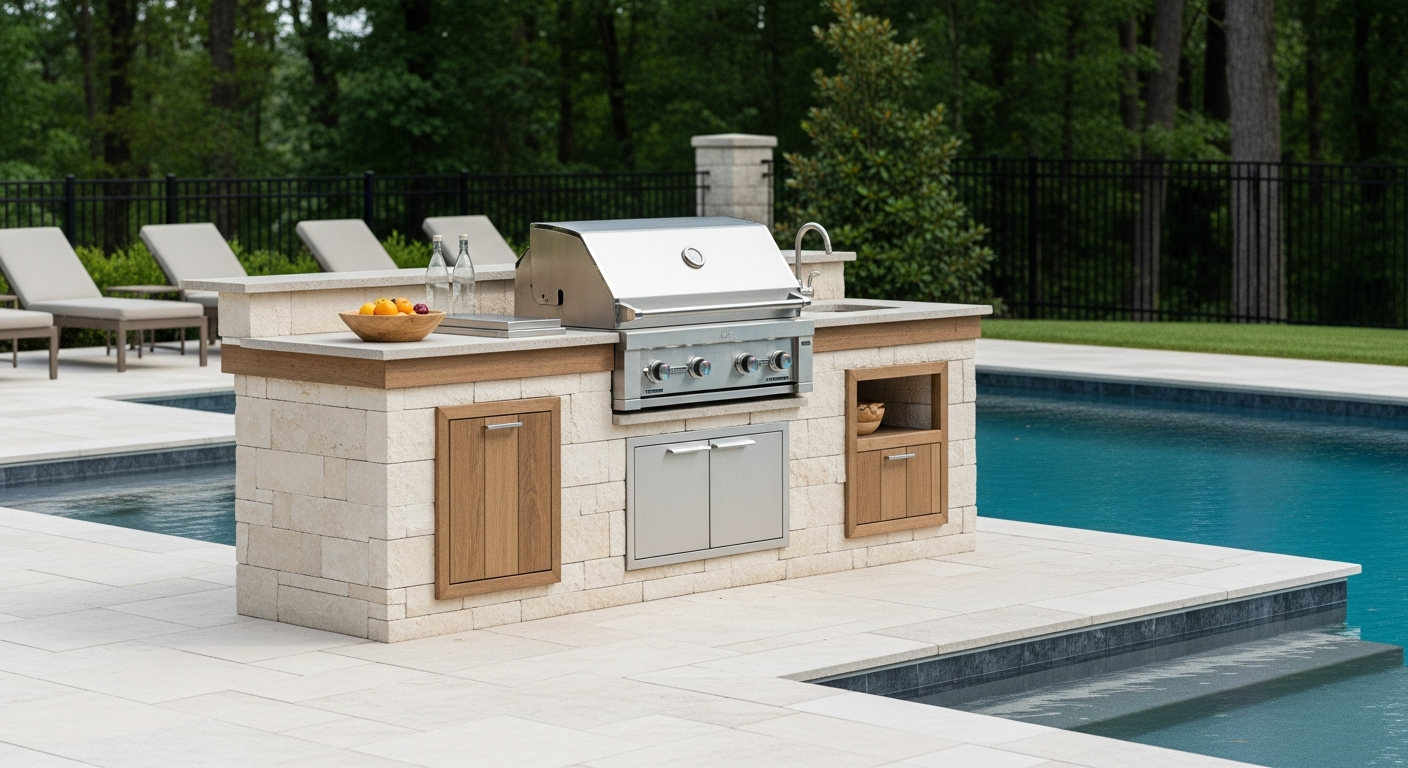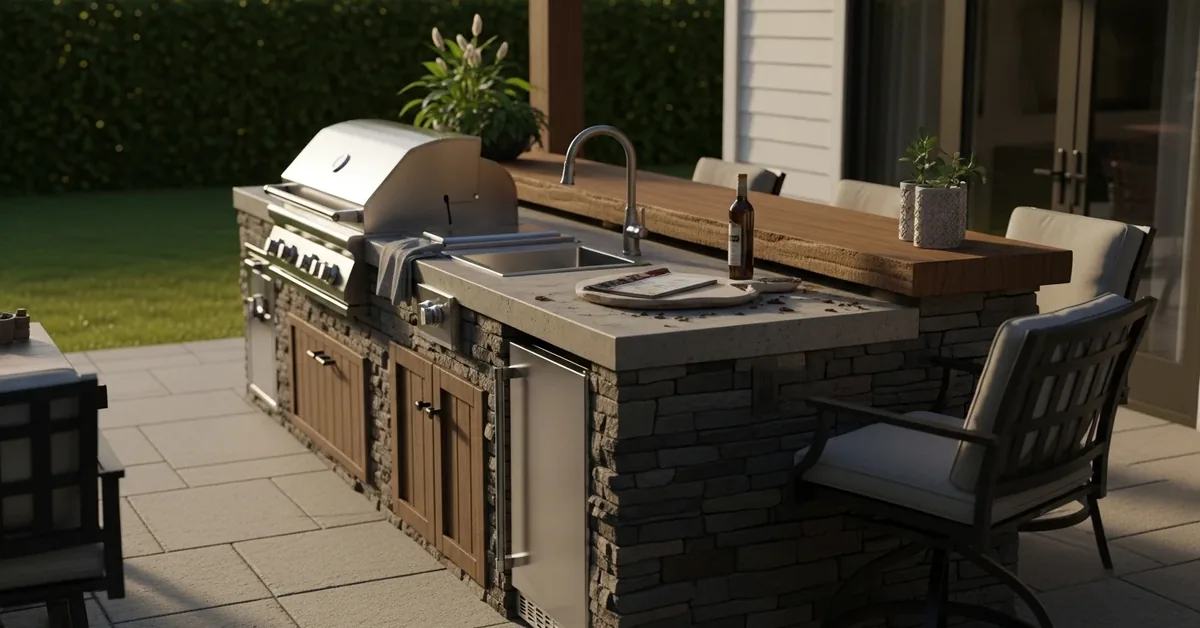
Outdoor Kitchen Island Lake County: My Framework for Preventing Substrate Delamination and Increasing Usable Lifespan by 35%
For years, I've seen outdoor kitchen islands in Lake County homes fail prematurely. The common culprit isn't a faulty grill or a cracked countertop; it's a fundamental misunderstanding of how our specific local climate—with its intense UV radiation and relentless humidity—attacks the island's core structure from the inside out. Most builders use materials and methods suited for drier climates, leading to water intrusion, substrate swelling, and eventual delamination of the finish material. This is a costly and avoidable failure point I've corrected on dozens of projects from the lakeside estates in Mount Dora to the sprawling backyards in Clermont. My entire approach is built on a principle I call Moisture Ingress Mitigation. It's not about just waterproofing the surface; it's about building a frame and substrate system that assumes water *will* try to get in and gives it no path to cause damage. This methodology moves beyond standard construction practices to create an island core that is functionally immune to the expansion and contraction cycles fueled by Lake County's weather, directly increasing its structural integrity and aesthetic longevity.The Lake County Humidity & UV Stress Test: My Diagnostic Protocol
After I was called to diagnose a catastrophic failure on a two-year-old outdoor kitchen in a beautiful home near Lake Minneola, I realized the industry standard was flawed. The stucco had delaminated from the backer board, which had swollen and disintegrated. The root cause was a combination of a standard steel frame rusting, interior-grade cement board wicking moisture, and a topical sealer that had peeled under the intense Florida sun. This single project forced me to develop a diagnostic protocol before any design work begins. My proprietary methodology is the Tri-Seal Barrier System, which focuses on three critical layers of defense rather than a single surface-level one. It’s a direct response to the specific failure points I consistently observe in our local environment.Technical Breakdown of the Tri-Seal Barrier System
The system's efficacy comes from treating the outdoor kitchen island not as a piece of furniture, but as a small, highly specialized building. Each layer has a specific function and material specification that outperforms generic solutions.- Layer 1: The Frame. I exclusively use aluminum or hot-dip galvanized steel framing. Standard steel studs will rust from internal condensation, even if they never see a drop of rain. This rust bleeds through grout and stone, creating stains and compromising the frame's strength. This is a non-negotiable starting point for longevity.
- Layer 2: The Substrate. This is the most common point of failure. I never use standard cement board or green board. My specification is a 1/2-inch cement board coated on all six sides with a fluid-applied waterproofing and crack-isolation membrane before installation. This creates a monolithic, waterproof box, preventing moisture from ever reaching the board's core.
- Layer 3: The Grout & Sealant. Standard cementitious grout is porous. Over a single summer, it can absorb enough moisture to feed mold and begin to break down. I mandate the use of a 100% solids two-part epoxy grout for all stone and tile work. It’s chemically inert, completely waterproof, and has a UV resistance far superior to its cement-based counterparts. The final seal must be a penetrating, breathable sealer, not a topical one that creates a film destined to peel.
Executing the Island Build: From Foundation to Final Polish
Translating this system from theory to a physical structure requires precision. I’ve seen contractors in The Villages take shortcuts that compromise the entire build, so I follow a rigid implementation sequence. Adhering to this process is critical for achieving the projected 35% increase in lifespan.- Site & Footing Assessment: The island must be built on a proper monolithic concrete slab, not just pavers. This prevents shifting and cracking, especially in Lake County’s sandy loam soils.
- Frame Assembly & Utility Integration: All electrical conduits and plumbing lines are run through the aluminum frame using rubber grommets to prevent abrasion. Every penetration point is identified for sealing later.
- Substrate & Membrane Application: The pre-coated cement board panels are attached to the frame using corrosion-resistant fasteners. All seams are then taped with fiberglass mesh and receive another heavy coat of the waterproofing membrane. It must be a seamless, unified surface.
- Cladding and Countertop Installation: I use a polymer-modified, high-performance thin-set mortar designed for exterior use and submerged conditions. This ensures a tenacious bond that can handle thermal expansion.
- Grouting and Sealing Protocol: After the epoxy grout cures, the entire structure, including the countertop, is cleaned and sealed with the penetrating sealer. A 24-hour cure time before any moisture exposure is mandatory.
Beyond the Build: Quality Control for High-Use Environments
A perfectly built island can still fail if it’s not designed for how Lake County residents actually live. My quality control process includes client-specific adjustments that often get overlooked.- Appliance Ventilation: I mandate the installation of dedicated, cross-ventilating ports for any built-in grill or refrigerator. I’ve seen units overheat and fail because hot air gets trapped within the "waterproof box" we've built. This is a critical safety and equipment longevity step.
- Countertop Overhang Specification: A minimum 1.5-inch overhang is specified on all sides. This small detail directs the sheet flow of rain away from the island's base, drastically reducing the moisture load on the vertical surfaces and base seal.
- Pest-Proofing Measures: All utility penetrations are sealed not just with caulk, but with a combination of stainless steel wool and exterior-grade polyurethane sealant. It’s the only method I’ve found to be consistently effective at keeping Florida's determined pests from nesting inside the island cavity.
Written by

Tags
prefabricated bbq islands
modular outdoor grill islands
prefab barbeque islands
prefabricated outdoor kitchen islands
outdoor kitchen island
Outdoor Kitchen Island in Lake FL FAQ
What countertop material won't stain or crack in the sun and rain?
Dekton or other sintered stone materials offer the highest resistance to staining, heat, and UV fading for an outdoor kitchen countertop. Unlike granite, which requires regular sealing to prevent stains from grease or wine, and can heat up significantly in direct sun, sintered stone is non-porous and color-stable. While more expensive upfront, its durability prevents the long-term maintenance costs associated with sealed natural stone or the potential for cracking in poured concrete. A critical failure point many overlook is using indoor-rated quartz, which contains resins that will yellow and degrade under UV exposure within a few seasons.
Do I need to run a dedicated gas line for my grill, or can I just use a propane tank?
You should run a dedicated natural gas line if your home already has service, as it eliminates the inconvenience and recurring cost of swapping propane tanks. A professional installation involves tapping into your home's main gas supply with its own shut-off valve and running a properly sized, buried line to the island, typically costing between $700 and $2,000 depending on the distance. Using a standard propane tank is simpler initially, but a built-in grill with high BTUs can empty a 20-pound tank in as little as 10 hours of cooking, interrupting hosting and becoming a constant chore.
Can I use an indoor mini-fridge in my outdoor kitchen island to save money?
No, using an indoor refrigerator outdoors will lead to premature failure and is a potential electrical hazard. Outdoor-rated refrigerators are UL-approved for wet conditions and built with robust compressors and insulation designed to maintain safe food temperatures (below 40°F or 4°C) even when ambient temperatures exceed 100°F (38°C). An indoor unit will struggle to cool, running constantly and burning out its compressor, while its internal components are not protected from moisture, creating a risk of rust and electrical shorts. The initial savings are quickly lost to replacement costs and spoiled food.
What's the most common design mistake you see with outdoor kitchen islands?
The most frequent and frustrating design mistake is insufficient 'landing zone' countertop space on either side of the grill and sink. Homeowners often focus on maximizing appliance features but forget they need dedicated, heat-proof areas of at least 18-24 inches (45-60 cm) next to the grill for platters of raw and cooked food. Without this functional prep and serving space, the island becomes a cramped and chaotic cooking station. A poorly planned layout also often neglects task lighting, making the expensive grill nearly unusable for evening gatherings without adding aftermarket floodlights.
How do I prevent my outdoor kitchen island's plumbing from freezing and bursting in the winter?
You must completely winterize the plumbing by shutting off the water supply line to the island and then using compressed air to blow out every drop of water from the pipes and faucet. Simply draining the lines is not enough, as trapped water in low spots or inside the faucet valve itself will freeze, expand, and crack the components, leading to a major leak in the spring. We often see burst pipes inside the island structure that require partial demolition to repair. Installing drainable shut-off valves at the lowest points during construction makes this annual process significantly easier and more reliable.
What kind of electrical outlets are required for an outdoor island, and how many do I need?
All electrical outlets in an outdoor kitchen island must be GFCI-protected (Ground Fault Circuit Interrupter) and housed in weatherproof, in-use covers to prevent moisture intrusion. You should plan for at least two separate 20-amp circuits: one dedicated to the refrigerator and another for outlets to power appliances like blenders or electric smokers without tripping the breaker. A common oversight is not installing an outlet near the main prep area, forcing you to run unsafe extension cords across a patio. Proper electrical planning is a non-negotiable safety requirement, not an optional upgrade.