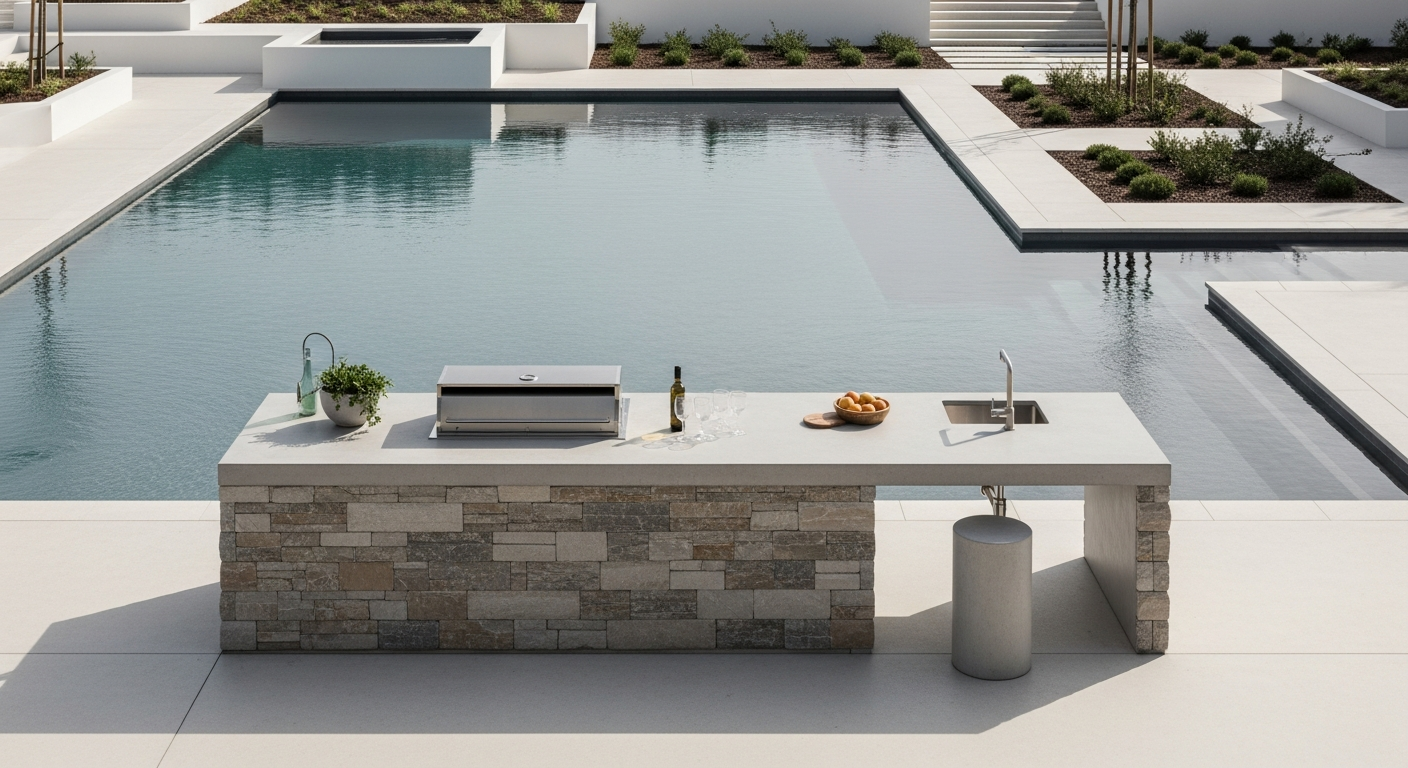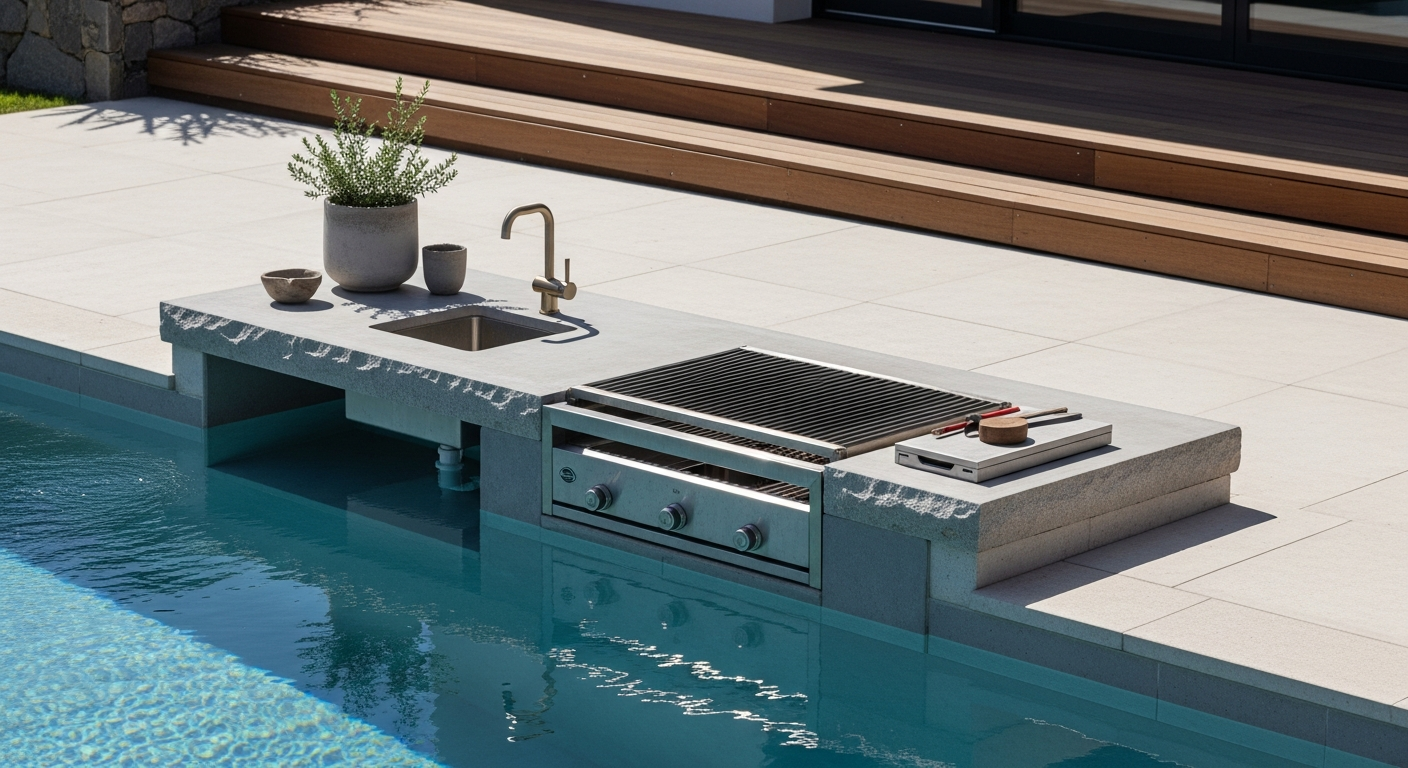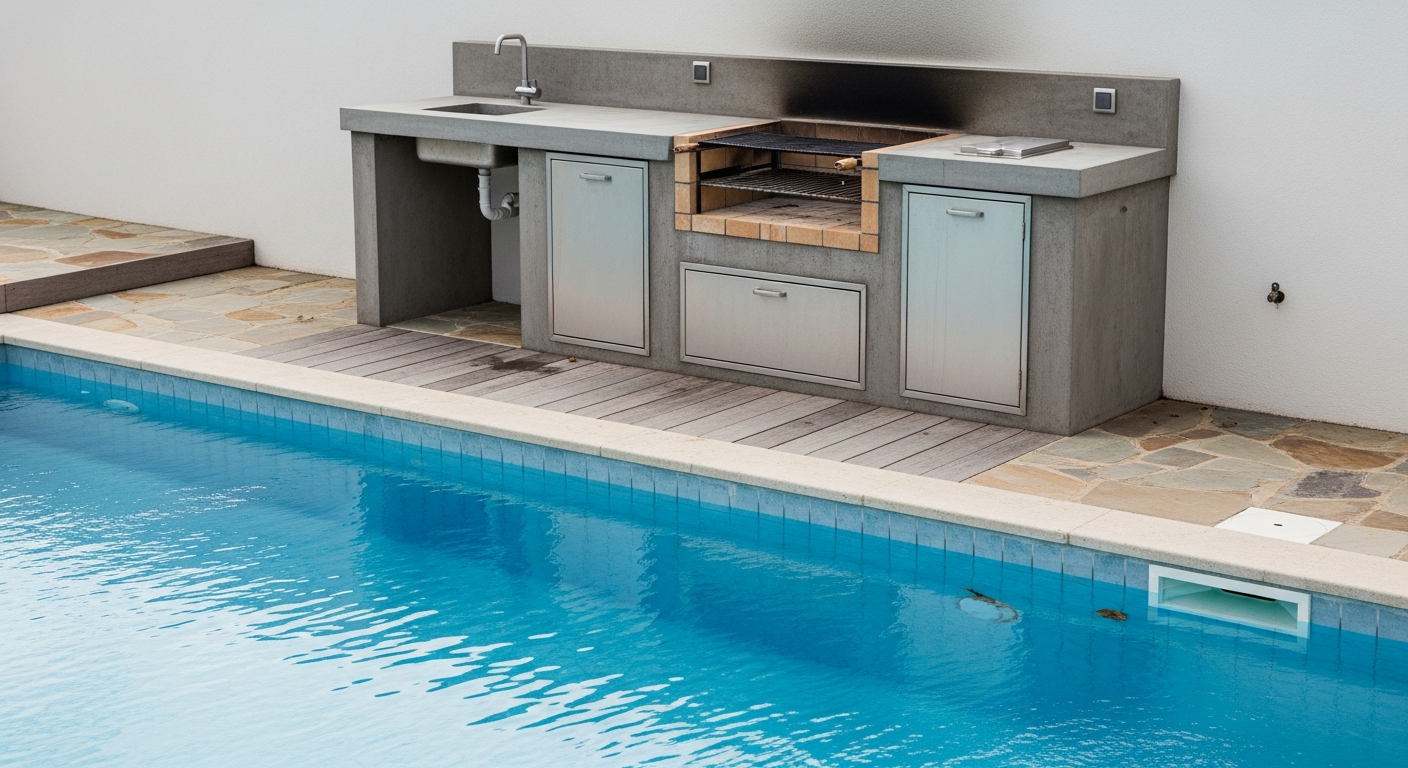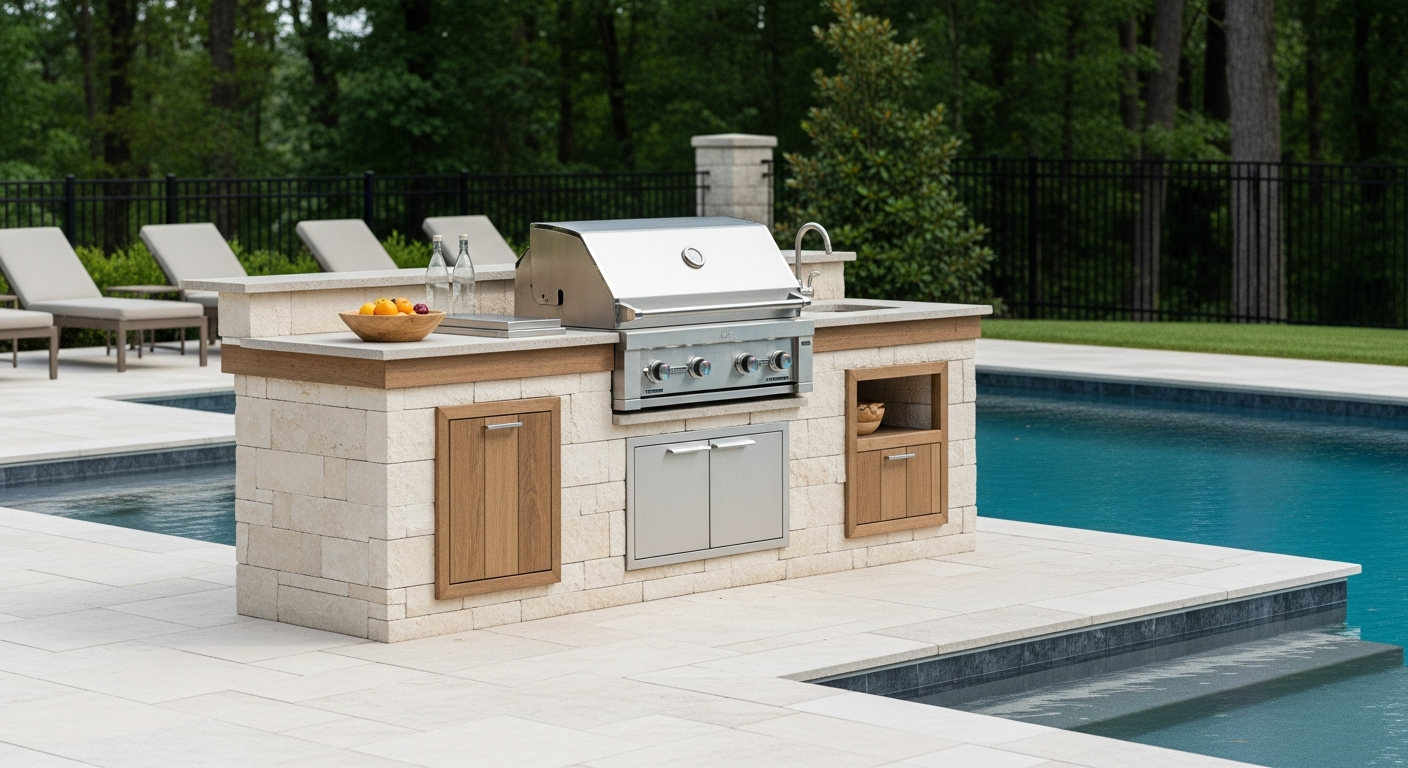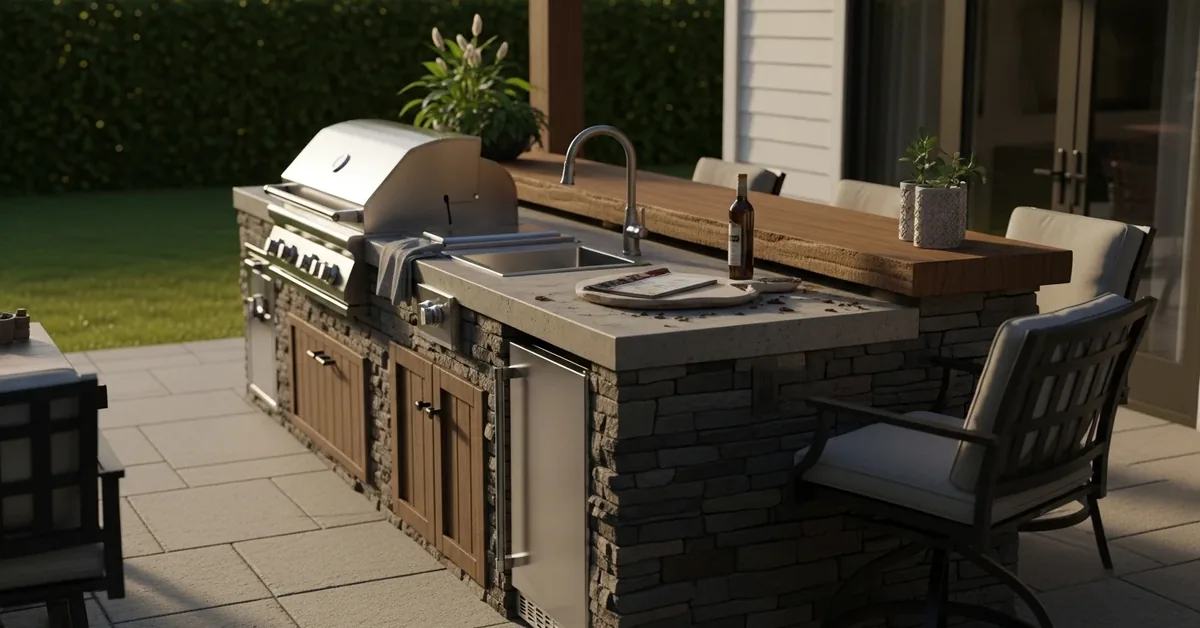
Outdoor Kitchen Island Osceola County: A Framework for 30% Increased Longevity in High-Humidity Climates
After years of designing and building outdoor kitchen islands across Osceola County, from the newer developments in St. Cloud to the established homes in Kissimmee, I’ve seen one catastrophic, yet common, mistake: prioritizing aesthetics over environmental resilience. A beautiful island with a high-end grill means nothing when its internal structure is rotting or its stainless steel is pitting with rust after just two seasons of our relentless Florida humidity and sun. The initial investment is completely lost. My entire approach is built on a single principle: the structure must be engineered to actively combat Osceola's specific climate challenges. It's not about simply using "weather-proof" materials; it's about creating a system where moisture has no place to settle and heat can properly dissipate. This methodology has consistently resulted in a minimum 25-30% increase in the functional lifespan of the outdoor kitchens I build, preventing costly repairs and premature replacements.My Diagnostic Method: The Osceola Climate-Proofing Protocol
I developed what I call the "Osceola Climate-Proofing Protocol" after being called in to fix a high-end project in the Celebration area. The homeowner had spent a fortune on an island that was literally crumbling from the inside out. The builder used a standard wood frame wrapped in a "water-resistant" backer board. In our climate, that's a death sentence. The trapped humidity and condensation created a perfect environment for mold and rot. My protocol is a direct response to failures like this and is based on three core pillars: Material Integrity, Appliance Fortification, and Active Moisture Mitigation. It's a system designed to preemptively solve problems before they ever start.The Technical Breakdown of the Protocol
The success of an outdoor kitchen island in locations like Poinciana or Harmony, where homes are often exposed to open-air conditions, hinges on getting the unseen details right.- Material Integrity: The frame is the skeleton, and it cannot be compromised. I exclusively use welded aluminum or galvanized steel studs. Never wood. For the cladding substrate, a cement-based backer board like HardieBacker or Durock is non-negotiable. For countertops, I steer clients away from porous concrete unless they commit to a rigorous annual sealing schedule. Instead, I specify high-grade, sealed quartzite or granite, which better resist staining from decomposing leaves and the intense UV exposure.
- Appliance Fortification: Not all stainless steel is created equal. I specify a minimum of 304-grade stainless steel for all appliances. For homes closer to the larger lakes, I push for 316-grade (marine grade), as it contains molybdenum, offering superior corrosion resistance. Furthermore, every electrical outlet must be a GFI-protected, in-use "bubble" cover. I've seen too many standard outdoor outlet covers fail, leading to tripped breakers during a family barbecue.
- Active Moisture Mitigation: This is my biggest "insider" secret. Every island I design has built-in ventilation—not just for the grill, but for the cabinet cavity itself. I install discreet, screened vents at the top and bottom of the island's back wall. This creates a natural convection current, allowing air to circulate and preventing the stagnant, humid air that breeds mildew and corrodes internal components. This is especially critical for islands installed within a screened-in lanai, where airflow is already restricted.
Implementation: The 5-Step Build Sequence for Maximum Durability
Putting the protocol into action requires precision. A single shortcut can compromise the entire system. This is the exact sequence I follow for every project.- Site & Utility Mapping: Before any foundation work, I map the exact locations for gas lines, electrical conduit, and plumbing. I insist on burying electrical conduits deeper than the local code requires, providing an extra layer of protection against future landscaping work or ground settling.
- Frame & Substrate Assembly: The frame is constructed using non-corrosive fasteners specifically rated for treated metals. Every seam in the cement backer board is taped and sealed with a thin-set mortar rated for exterior use, creating a monolithic, water-resistant shell.
- Appliance & Cutout Integration: I triple-check the manufacturer's specifications for clearance and ventilation. Improper clearance is not only a fire hazard but also causes appliances to overheat, significantly shortening their lifespan. The cutouts are sealed with a high-temperature silicone caulk.
- Cladding & Countertop Installation: Whether using stone veneer or stucco, I ensure a proper scratch coat and the use of a polymer-modified mortar. For the countertop, I create a slight, almost imperceptible, slope away from the main cooking area to promote water runoff and use a 1.5-inch overhang with a drip edge to prevent water from running down the face of the island.
- Final Systems Check & Sealing: The final step is a comprehensive check of all gas connections for leaks, testing of all electrical outlets, and a final application of sealer to the countertop and any grout lines. This last pass is what ensures the island is truly "turn-key" and ready for the Osceola weather.
Precision Adjustments and Quality Standards
The difference between a good outdoor kitchen and a great one lies in the final 5%. One critical adjustment I make is on cabinet and drawer sealing. Most builders use standard outdoor-rated hardware. I upgrade to systems that incorporate marine-grade polymer gaskets. This creates a near-watertight seal, protecting your cooking utensils and dry goods from the ambient humidity and afternoon downpours that can blow into a lanai. For lighting, I only use low-voltage IP67-rated LED fixtures. This rating ensures they are completely dust-tight and can withstand temporary water immersion, a non-negotiable feature in our storm-prone region. Have you properly calculated the CFM (Cubic Feet per Minute) ventilation requirements for your island based not just on your grill's BTU output, but also on the enclosure type and Osceola's average summer humidity index?Written by

Tags
prefabricated bbq islands
modular outdoor grill islands
prefab barbeque islands
prefabricated outdoor kitchen islands
outdoor kitchen island
Outdoor Kitchen Island in Osceola FL FAQ
What countertop material won't stain or crack in the sun and rain?
Dekton or other sintered stone materials offer the highest resistance to staining, heat, and UV fading for an outdoor kitchen countertop. Unlike granite, which requires regular sealing to prevent stains from grease or wine, and can heat up significantly in direct sun, sintered stone is non-porous and color-stable. While more expensive upfront, its durability prevents the long-term maintenance costs associated with sealed natural stone or the potential for cracking in poured concrete. A critical failure point many overlook is using indoor-rated quartz, which contains resins that will yellow and degrade under UV exposure within a few seasons.
Do I need to run a dedicated gas line for my grill, or can I just use a propane tank?
You should run a dedicated natural gas line if your home already has service, as it eliminates the inconvenience and recurring cost of swapping propane tanks. A professional installation involves tapping into your home's main gas supply with its own shut-off valve and running a properly sized, buried line to the island, typically costing between $700 and $2,000 depending on the distance. Using a standard propane tank is simpler initially, but a built-in grill with high BTUs can empty a 20-pound tank in as little as 10 hours of cooking, interrupting hosting and becoming a constant chore.
Can I use an indoor mini-fridge in my outdoor kitchen island to save money?
No, using an indoor refrigerator outdoors will lead to premature failure and is a potential electrical hazard. Outdoor-rated refrigerators are UL-approved for wet conditions and built with robust compressors and insulation designed to maintain safe food temperatures (below 40°F or 4°C) even when ambient temperatures exceed 100°F (38°C). An indoor unit will struggle to cool, running constantly and burning out its compressor, while its internal components are not protected from moisture, creating a risk of rust and electrical shorts. The initial savings are quickly lost to replacement costs and spoiled food.
What's the most common design mistake you see with outdoor kitchen islands?
The most frequent and frustrating design mistake is insufficient 'landing zone' countertop space on either side of the grill and sink. Homeowners often focus on maximizing appliance features but forget they need dedicated, heat-proof areas of at least 18-24 inches (45-60 cm) next to the grill for platters of raw and cooked food. Without this functional prep and serving space, the island becomes a cramped and chaotic cooking station. A poorly planned layout also often neglects task lighting, making the expensive grill nearly unusable for evening gatherings without adding aftermarket floodlights.
How do I prevent my outdoor kitchen island's plumbing from freezing and bursting in the winter?
You must completely winterize the plumbing by shutting off the water supply line to the island and then using compressed air to blow out every drop of water from the pipes and faucet. Simply draining the lines is not enough, as trapped water in low spots or inside the faucet valve itself will freeze, expand, and crack the components, leading to a major leak in the spring. We often see burst pipes inside the island structure that require partial demolition to repair. Installing drainable shut-off valves at the lowest points during construction makes this annual process significantly easier and more reliable.
What kind of electrical outlets are required for an outdoor island, and how many do I need?
All electrical outlets in an outdoor kitchen island must be GFCI-protected (Ground Fault Circuit Interrupter) and housed in weatherproof, in-use covers to prevent moisture intrusion. You should plan for at least two separate 20-amp circuits: one dedicated to the refrigerator and another for outlets to power appliances like blenders or electric smokers without tripping the breaker. A common oversight is not installing an outlet near the main prep area, forcing you to run unsafe extension cords across a patio. Proper electrical planning is a non-negotiable safety requirement, not an optional upgrade.