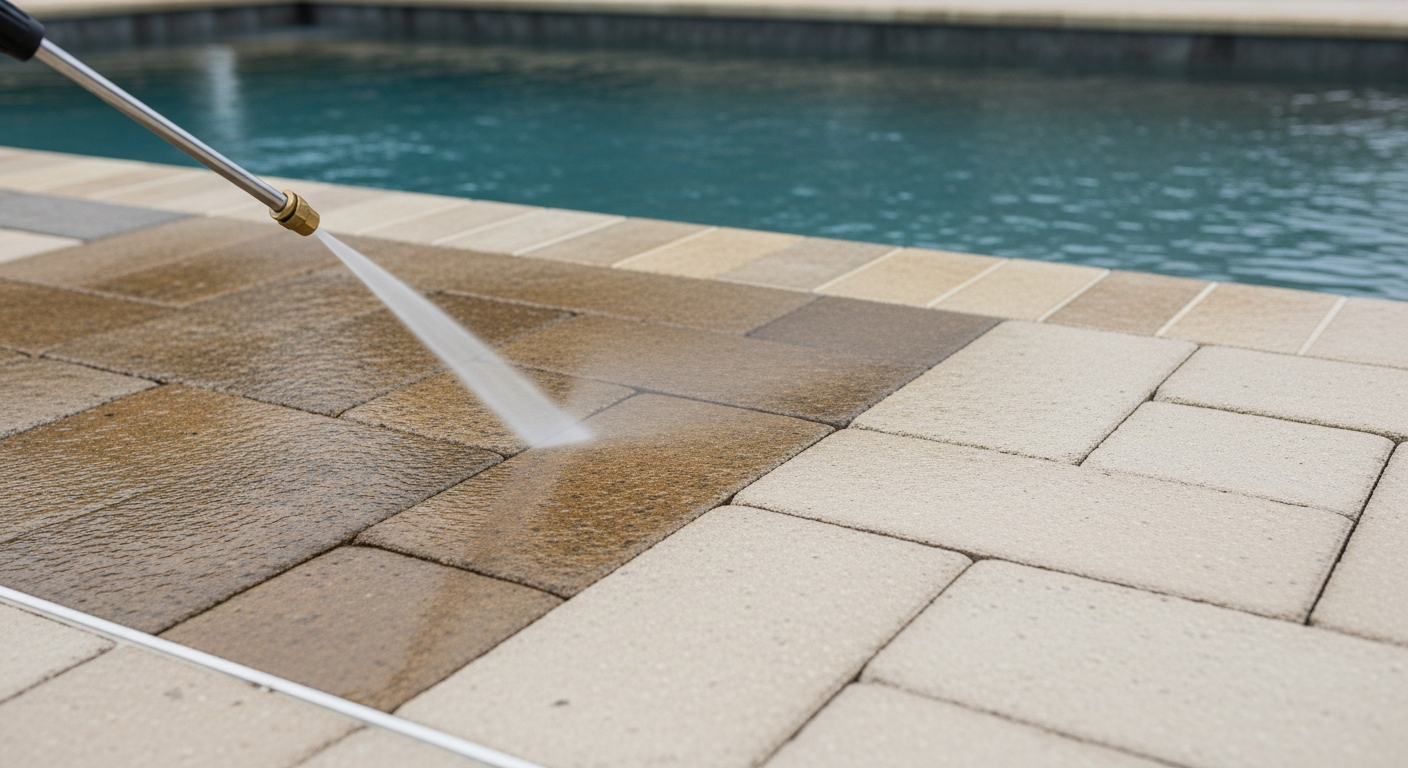
Cleaning Brick Pavers With Pressure Washer: A Method for a 30% Longer-Lasting Clean in Lee County
As a specialist working on properties from Cape Coral to Bonita Springs, the single biggest mistake I see with pressure washing brick pavers isn't the cleaning itself, but the rapid return of grime. The intense Lee County humidity and sun create a perfect breeding ground for black mold and algae, meaning most DIY jobs look dirty again in just a few months. My entire approach is built around not just cleaning the surface, but fundamentally disrupting this regrowth cycle. The solution isn't more power; it's a calibrated system. I've found that a specific combination of lower pressure, a wider-angle nozzle, and a crucial post-wash treatment extends the clean appearance of paver lanais and driveways by an average of 30%. This method prevents the surface erosion that actually makes pavers *more* susceptible to future staining, a common issue I've had to correct on countless pool decks in Fort Myers.The SWFL Paver Preservation Protocol: A Diagnostic Approach
Before I even start a machine, my first step is a diagnosis of the paver contamination. Simply blasting away with high pressure is a recipe for disaster. I categorize stains into two primary groups, as each requires a different approach. The first is organic growth—the ubiquitous black and green algae fueled by our year-round humidity. The second is inorganic staining, which includes efflorescence (those white, powdery salt deposits leaching from the pavers, very common near the salt air of Sanibel Island) and rust stains from patio furniture or irrigation systems. Treating efflorescence with the same high-pressure attack as algae can permanently etch the paver surface.Calibrating Pressure and Nozzle Selection for Porous Florida Pavers
The biggest myth is that higher PSI (pounds per square inch) equals a better clean. For the types of porous brick pavers used in most Lee County communities, anything above 1800 PSI begins to strip away the delicate top layer and, more critically, blasts out the jointing sand. My methodology strictly uses a pressure range of 1200-1500 PSI. This is enough to lift organic stains without damaging the paver itself. I pair this with a 25-degree (green) or 40-degree (white) nozzle tip. I never, under any circumstances, use a 0-degree (red) tip; I've seen it carve permanent lines into pavers, a costly and irreversible error. The key is maintaining a consistent distance of 10-12 inches from the surface, sweeping in a steady, overlapping motion to avoid "zebra striping."Step-by-Step Execution: From Pre-Soak to Final Seal
My process is methodical and designed for longevity, not just immediate results. Rushing any of these stages is what leads to premature failure and the return of that stubborn black algae on driveways and walkways.- Surface Preparation: I remove all furniture, planters, and debris. I then do a low-pressure rinse to remove loose dirt and cool the paver surface, which is critical under the intense Florida sun to prevent cleaning agents from evaporating too quickly.
- Pre-Treatment Application: This is a non-negotiable step in our humid climate. I apply a biodegradable, paver-safe algaecide and let it dwell for 10-15 minutes. This begins to kill the mold and algae at the root, making them far easier to remove with lower pressure.
- The Calibrated Wash: Using the specified 1200-1500 PSI and a wide-angle nozzle, I clean the pavers section by section. I work from the highest point to the lowest point to manage water runoff effectively.
- Thorough Rinsing: After the initial cleaning, I switch to an even lower pressure setting or a black soap nozzle to thoroughly rinse all the loosened grime and cleaning solution from the surface and, importantly, from the joints.
- Paver Joint Resanding: Once the area is completely dry—which can take a full day in Lee County's humidity—I sweep polymeric sand into all the paver joints. This specialized sand contains a polymer that hardens when wet, locking the pavers in place and creating a powerful barrier against weed and ant intrusion.
- Application of a Penetrating Sealer: The final and most critical step for longevity. I apply two coats of a high-quality, non-slip silicate sealer. This sealer penetrates the paver's pores, hardening them from within and making the surface hydrophobic. This not only protects against stains but also makes it significantly harder for mold and algae to take root.
Avoiding Common Pitfalls: Joint Sand Erosion and Surface Etching
The two most common and damaging errors I'm called to fix are blown-out joints and surface etching. Joint sand erosion is a direct result of using too much pressure or holding the nozzle too close to the surface. When this sand is removed, pavers become unstable and can shift or sink over time. This is why my post-wash resanding protocol is so vital for the structural integrity of the patio or driveway. Surface etching, or "wand marks," are faint, permanent lines left on the pavers. They're caused by an inconsistent cleaning motion, using the wrong nozzle, or getting too close. My sweeping, overlapping technique at a fixed distance ensures a uniform finish without any lasting damage to the paver's face. This level of precision is what separates a professional, lasting job from a quick, damaging blast. Now that you understand the mechanics of the wash, have you considered how the specific porosity of your pavers dictates the choice between a water-based and a solvent-based sealant for maximum UV protection under the intense Fort Myers sun?Written by

Tags
pressure wash pavers
power wash paver driveway
pressure washing paver driveway
cleaning pavers with pressure washer
paver power washing near me