Cleaning Pavers With Power Washer: My PSI Protocol to Prevent Etching in Collier County
I've restored hundreds of paver driveways and lanais across Collier County, from the sprawling estates in Port Royal to the tight-knit communities in Lely Resort. The single most destructive mistake I see is the misuse of a power washer. Homeowners and even some "professionals" grab a high-PSI machine and blast away, causing irreversible etching and surface damage. My entire method is built around avoiding this, focusing on a low-pressure, chemically assisted approach that protects the paver's integrity, a crucial factor under the intense Florida sun and humidity. The common belief is that more pressure equals a better clean. This is fundamentally wrong, especially for the porous concrete and travertine pavers popular in Naples and Marco Island. My Surface Integrity PSI Protocol prioritizes the correct pre-treatment solution to do the heavy lifting, allowing me to use a fraction of the pressure. This not only cleans more effectively but extends the paver's lifespan by up to 30% by preventing the erosion of the delicate surface layer.My Diagnostic Approach for Collier County Pavers
Before a single drop of water is sprayed, my process begins with a crucial diagnostic phase that most people skip. I learned this lesson the hard way on a travertine pool deck in Grey Oaks, where a one-size-fits-all approach almost cost me the job. Now, I analyze three core factors. First is the paver type and condition. Is it soft, porous travertine or dense, modern concrete? Second, I identify the primary contaminant. The slick, black algae that thrives in the humidity of a Golden Gate Estates backyard requires a different chemical approach than the rust stains from irrigation I often find in Pelican Bay. Third, I assess the joint sand integrity. Blasting out this stabilizing sand is a rookie error that leads to paver shifting and weed growth.The Surface Integrity PSI Protocol Explained
My proprietary protocol isn't about raw power; it's about precision. The goal is to lift stains, not chisel them out. For most residential projects in Collier County, I've found the optimal pressure settings are far lower than what is commonly recommended.- For soft, light-colored travertine or older pavers, I never exceed 1,200 PSI. This is non-negotiable.
- For standard concrete pavers, a calibrated range of 1,500-1,800 PSI is the maximum effective pressure before you start removing the "cream" layer of the concrete.
Step-by-Step Implementation: The Paver Restoration Process
Executing the cleaning process correctly is just as important as the diagnosis. I follow a strict sequence of operations to ensure a uniform, long-lasting result. This is the exact methodology I've refined over years of working on Collier County properties.- Surface Preparation: I begin by using a high-CFM blower to remove all loose debris, leaves, and sand. Washing this dirt into the paver joints is a common mistake.
- Pre-Treatment Application: I apply my specialized, buffered cleaning solution using a low-pressure sprayer. This solution is designed to break the bond of organic matter (algae, mold) from the paver surface without harsh, color-stripping chemicals. It dwells for 10-15 minutes but is never allowed to dry.
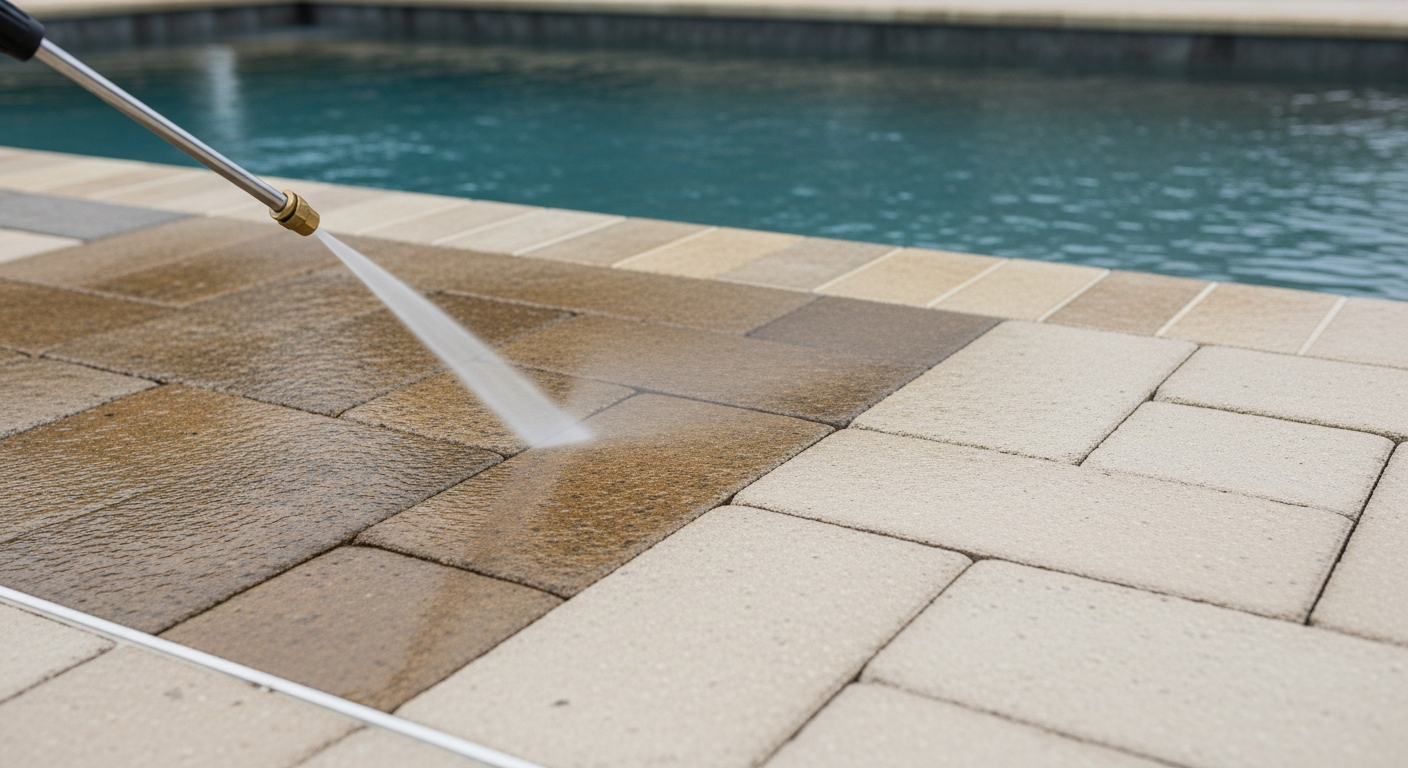
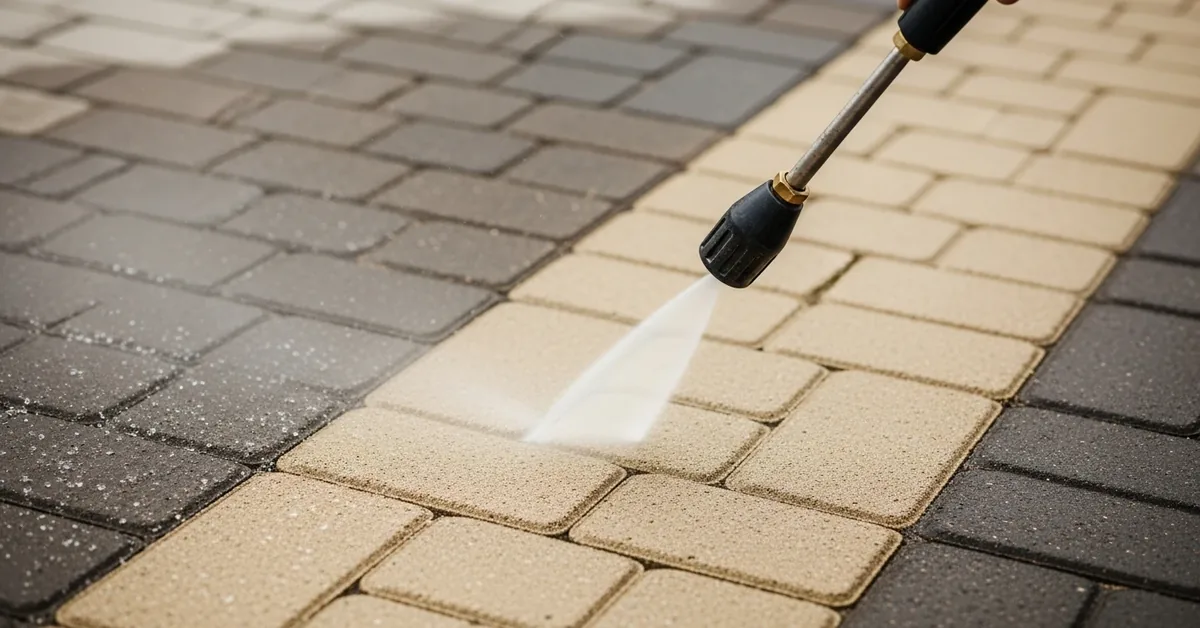
- The Low-Pressure Wash: Using the correct PSI and the 40-degree nozzle, I clean the surface methodically. I maintain a consistent distance of 12-16 inches from the surface and work at a 45-degree angle to sweep the dirt away, not drive it into the pores.
- Thorough Rinsing and Joint Inspection: After the initial clean, I switch to a very low-pressure rinse to wash all cleaning solution and debris away from the property and off any nearby vegetation. I then inspect the joints to see how much sand was displaced.
- The Critical Re-Sanding Phase: This is non-negotiable. After the pavers are completely dry—which can take a full day in the Naples humidity—I sweep new polymeric sand into all the joints. This sand contains a polymer that hardens when wet, locking the pavers in place and preventing weed growth.
Precision Adjustments and Post-Cleaning Quality Control
The final touches are what separate a standard job from a professional restoration. One key technique is "feathering" the edges of the cleaning path to prevent visible lines. For stubborn oil stains, a specialized poultice may be needed before the main cleaning process. A critical quality check I perform is ensuring the polymeric sand is swept perfectly clean from the paver surface before its final water activation; any residue left behind can create a permanent hazy film. My standard for a completed project is simple: uniform color from curb to door, no organic growth visible even on close inspection, and joints filled with perfectly set, hardened sand. Now that you understand the critical relationship between chemical pre-treatment and water pressure, have you considered how the pH of your cleaning solution might be affecting the long-term performance of your paver sealant?Written by

Tags
cleaning patio brick pavers
pressure washer pavers
power wash paving stones
patio paver cleaner
outdoor paver cleaner
Cleaning Pavers With Power Washer in Collier FL FAQ
What's the right pressure setting to use on my power washer so I don't damage the pavers around my pool?
Use a pressure setting between 1,200 and 1,600 PSI to effectively clean pavers without causing surface damage. Exceeding this range, especially with a narrow-tipped nozzle, can etch the paver surface, creating permanent marks and making them more susceptible to future staining. Start with a lower pressure and a wider fan tip, like a 25-degree (green) or 40-degree (white) nozzle, testing on an inconspicuous area first. The goal is to remove grime, not the top layer of the paver itself, which is a common and costly DIY mistake.
Will power washing blast out the sand between my pavers, and what should I do about it?
Yes, power washing will inevitably remove a significant amount of the jointing sand, which is critical for locking the pavers in place. After the pavers are completely clean and dry, you must sweep new polymeric sand into the joints to stabilize the entire surface. Skipping this step allows pavers to shift and wobble, leading to an uneven deck and trip hazards. The new sand, when lightly misted with water, hardens to form a durable bond that also helps prevent weed growth.
How do I prevent dirty water and cleaning chemicals from getting into my pool?
Always direct your spray pattern away from the pool edge, working from the pool outwards towards the yard or drains. Before starting, you can slightly overfill the pool so that water flows out of the skimmers, creating an outward current that pushes debris away. If using a chemical cleaner, ensure it is specifically rated as safe for pool areas; runoff from general-purpose cleaners can introduce phosphates that fuel algae blooms or metals that stain your pool's surface, forcing you to rebalance a water chemistry with a pH level that has been thrown out of the safe 7.2 to 7.6 range.
Can I use the power washer to remove those stubborn black spots on my pavers?
A power washer alone may not remove embedded organic stains like black algae or lichen, which can root into the porous surface. For these, you will need to pre-treat the area with a paver-safe algaecide or a diluted bleach solution, allowing it to dwell before washing. A common mistake is using a high-pressure, zero-degree (red) nozzle to blast these spots, which is extremely dangerous and almost certain to permanently scar the paver. The right approach is chemical treatment followed by washing with an appropriate fan tip.
What's the most common mistake people make when power washing their own pool deck?
The most damaging mistake is inconsistent technique, creating visible lines and unevenly cleaned patches called 'zebra striping'. This happens from holding the nozzle too close to the surface, moving at an inconsistent speed, or stopping and starting in the middle of a paver. To avoid this, maintain a constant distance of 20 to 30 cm (8 to 12 inches) between the nozzle and the paver. Work in long, sweeping, slightly overlapping motions to ensure a uniform finish across the entire deck.
Do I need to seal my pavers after I'm done power washing them?
Sealing your pavers after cleaning and re-sanding is highly recommended to protect your investment and simplify future maintenance. A quality sealer will protect against stains from spills, inhibit weed and algae growth, and prevent the color from fading due to UV exposure. Critically, you must wait at least 24 to 48 hours after washing for the pavers and the new jointing sand to be bone-dry before applying a sealer. Applying sealer to a damp surface will trap moisture, resulting in a cloudy, white haze that is very difficult to remove.